Raspberry Pi & Windows 10: How to Get Started

There are two main ways to use a Raspberry Pi for Windows 10. Read on to learn how to get started running a full PC from your SBC!
Why the Pi?
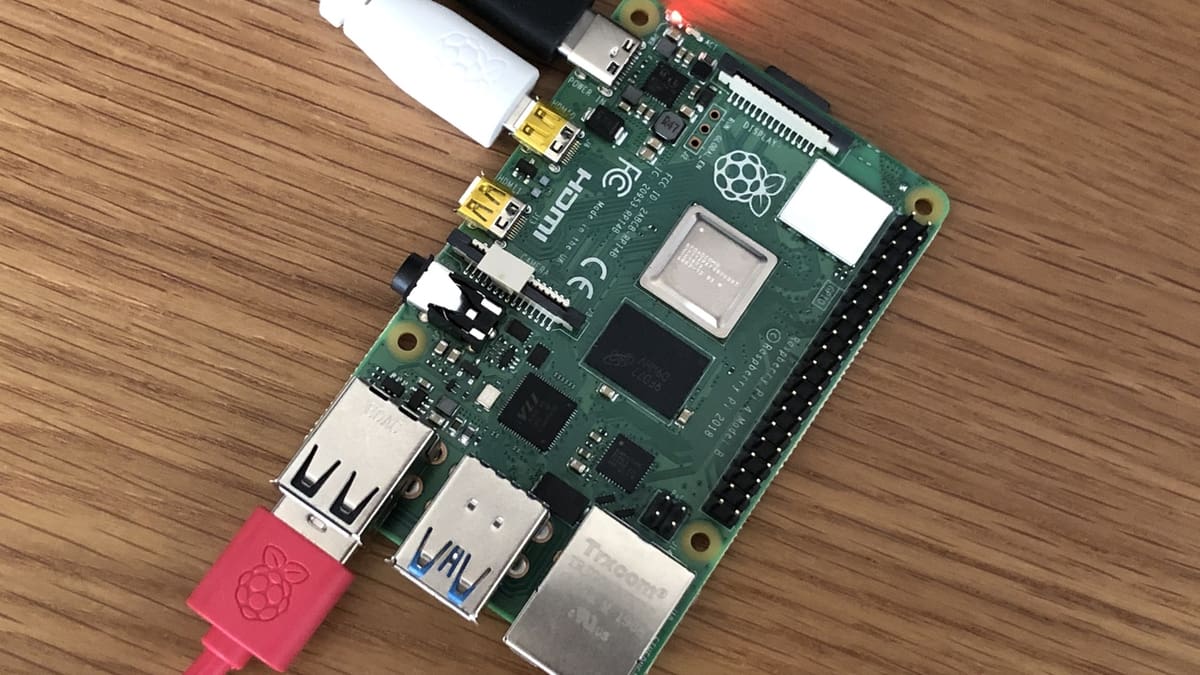
The Raspberry Pi is an excellent low-cost single-board computer (SBC) that has a dizzying array of operating system choices for users to pick from. New users conventionally install the officially-supported Raspberry Pi OS, but an often overlooked choice (at least in the realm of ARM-based SBCs) is installing Windows 10.
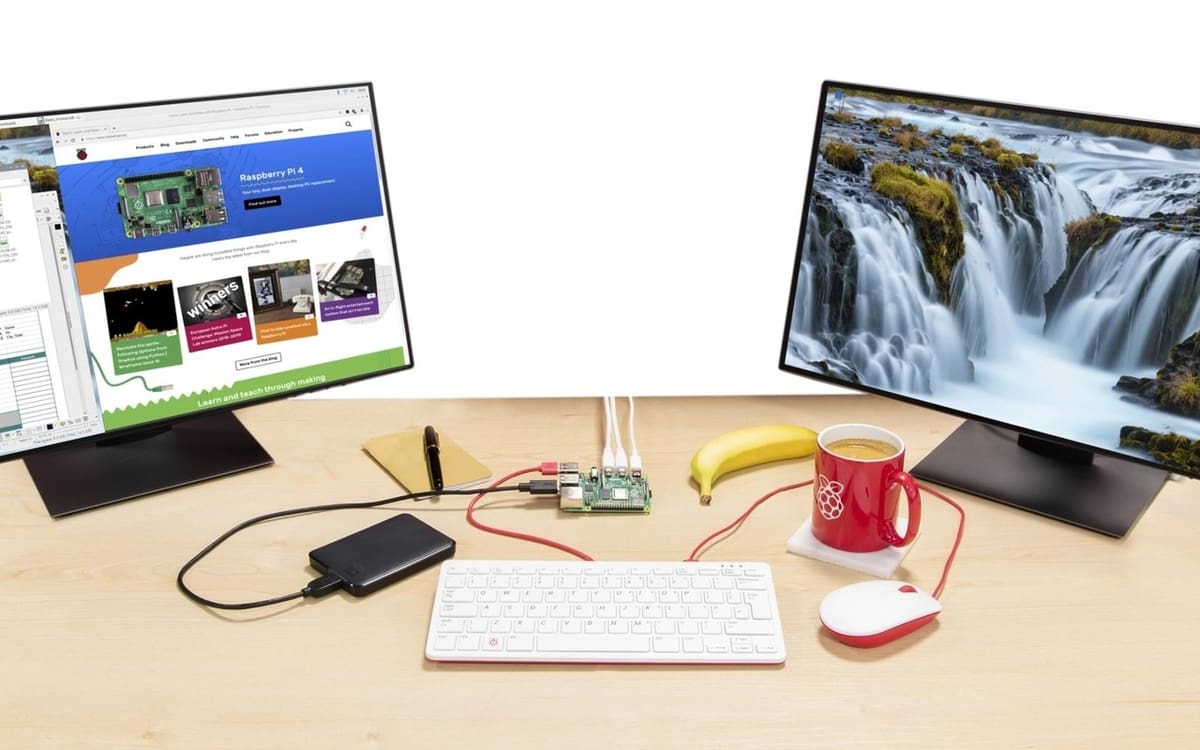
Installing the ARM version of Windows 10 enables Pi users to get access to one of the most well-established personal operating systems on the planet. While not all apps can be installed in the ARM version of Windows 10, most 32-bit games and programs can be run through Microsoft’s built-in x86 CPU emulator, which is designed to run seamlessly within the OS.
Alternatively, owners of the Pi 2 and 3 have first-party Microsoft support if they want to try and turn an older board into an Internet of Things (IoT) connected device with Windows 10 IoT Core edition. While the IoT Core edition isn’t a traditional version of Windows – with a desktop interface – it’s optimized to run on lightweight SBCs and provide an efficient environment for prototype applications.
It’s also important to mention that Windows 10 can be installed on a variety of alternative SBCs to the Raspberry Pi. SBCs like the Odroid-H2+ often come with an X86-64 chipset that can run Windows 10 natively, but these options tend to be a bit more pricey than using a Raspberry Pi.
This article will focus on the Raspberry Pi ecosystem, detailing the two main methods that are available for installing Windows 10. While reading, keep in mind that the information described is meant to provide a gateway for users looking to get started and to learn the key aspects of installing Windows 10 on your Pi. We’ve included a variety of additional resources for those seeking more details.
Windows 10 ARM Edition
Although not directly affiliated with Microsoft, the open-source Windows on Raspberry (WoR) project enables Pi owners to install the Windows 10 ARM edition onto their Raspberry Pi. Since Windows 10 requires greater amounts of RAM than most Linux distributions, only a Raspberry Pi 4, 3, or 2 with at least 1 GB of RAM can run the ARM edition through the WoR project.
While the overall installation process is mostly straightforward, users preparing to go this route should prepare to do some extra reading before trying to get this to run fully on their Pi.
Requirements
The ARM version of Windows 10 needs a Raspberry Pi 2 (revision 1.2), 3, or 4, with the 8 GB. (The Pi 4 is the current board of choice for running Windows 10 ARM). Additionally, you must have at least an 8-GB MicroSD card, although 32 GB is preferable in order to install all the applications you’ll need. Last, you need access to a Windows 10 computer with an administrative account in order to flash the MicroSD card.
Installation Process
- Before starting, you’ll need to download an ARM ISO image and have a valid license key.
- Download and install the Windows on Raspberry imager to your Windows 10 host machine.
- Run the Windows on Raspberry interactive setup process to flash your MicroSD card.
- Insert the flashed MicroSD card into the Raspberry Pi.
- Boot Windows 10 to complete the setup.
Extra Resources
- If you’re looking to start doing some background research, there’s a good YouTube tutorial by Novaspirit Tech that covers the entire installation process from beginning to end.
- You can reference the brief but helpful FAQ page on the WoR website
- The WoR Discord group has over 25,000 members who can answer your questions.
- Owners of the Raspberry Pi 4 can use this set of setup instructions which includes overclocking instructions.
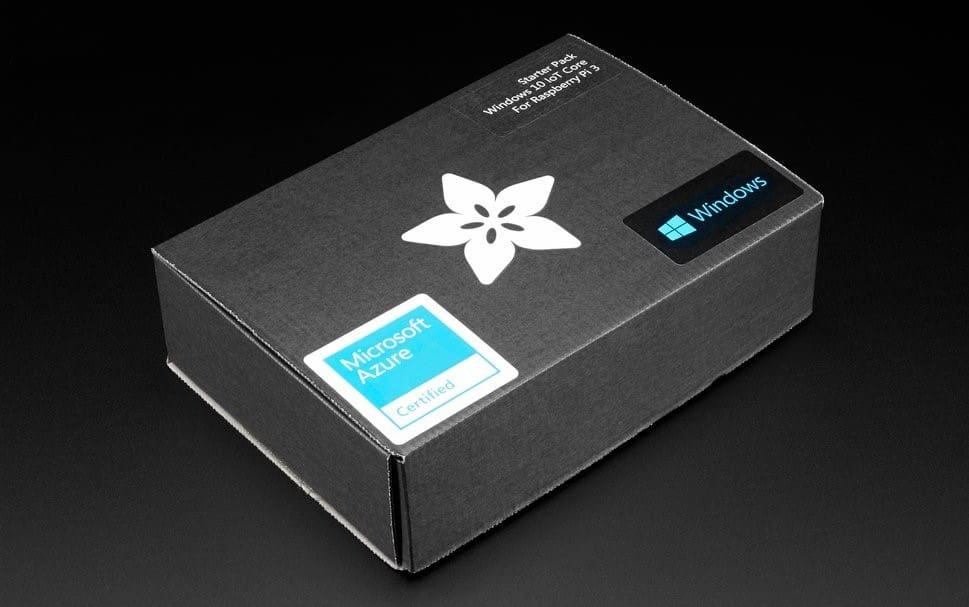
Windows 10 IoT Core

Raspberry Pi 2 or 3 owners can install the Microsoft-supported Windows 10 IoT Core edition. This version of Windows 10 supports the same universal apps and drivers as the standard version but is streamlined to work via a command-line interface. This version of Windows is intended for professional and hobbyist users to develop prototype devices with basic sensors, interfaces, and motors.
Requirements
Windows 10 IoT Core is officially supported by Microsoft on the Raspberry Pi 2 or 3. Raspberry Pi 4 owners do not have official support but some users have reported successfully installing the OS, with the caveat that certain features and hardware don’t work properly.
In addition to having a Raspberry Pi 2 or 3, users must also have a minimum 2 GB (16 GB recommended) SD card and a host computer running Windows 10 with administration privileges. You can work around the Windows 10 host machine if you opt to install the Windows 10 IoT image through an alternate NOOBS installation process (described below).
Last, you will need one of the dongles supported by Microsoft if you intend to use Wi-Fi to connect your Pi to your network. Alternatively, you can connect your Pi 2 or 3 with an Ethernet cable.
Official Installation Process
- Download and Install the Windows 10 IoT Dashboard application on your host Windows 10 computer.
- Launch the dashboard application and select “set up a new device” to flash your Raspberry Pi.
- Insert the flashed MicroSD card into the Pi and power it up.
- Connect to the Pi remotely through the IoT Dashboard on your host PC.
Alternative Installation Process
- Download NOOBS and extract its contents to your MicroSD card.
- Insert the MicroSD card into the Pi and power it up.
- In the NOOBS OS selection menu, select Windows 10 IoT Core.
- After the installation process has completed, you can connect to the Pi remotely with either the IoT Dashboard or through your command line.
Extra Resources
- Microsoft has provided some excellent written documentation for the Raspberry Pi as well as a good hands-on video tutorial with examples that make it really easy to follow along with.
- If you choose to install the OS through NOOBS, you can check out the installation guide from the Raspberry Pi Foundation.
- Once you are up and running, you can check Adafruit’s quick-start tutorial for developing apps in a Windows 10 IoT core.
- TechRepublic’s guide has an end-to-end set of instructions for creating a very basic test application.
- If you don’t want to install the IoT Dashboard from Microsoft, this IoT Stack Exchange question describes how you can connect to the Raspberry Pi remotely through your Linux terminal or Windows PowerShell.
- Finally, owners of other SBCs can check out Microsoft’s official documentation in order to see if your board is supported.
Lead image source: TechCrunch
License: The text of "Raspberry Pi & Windows 10: How to Get Started" by All3DP is licensed under a Creative Commons Attribution 4.0 International License.