You’ve definitely seen them on social media and many platforms – 3D printer time-lapses add mysticism and a sci-fi element to the already futuristic process of 3D printing. Watching models materialize on a 3D printer in a matter of seconds is an enthralling experience; creating these videos yourself can be rewarding and content-worthy.
How does one go from 3D print to flawless video?
While we’ve also got guides on great time-lapse tips – most focusing on fused deposition modeling (FDM) 3D printing –, as well as the best settings if your setup includes OctoPrint or Klipper, in this article, we’ll be working on resin-based 3D printing.
Several solutions exist. Some are plug-and-play but require up-front investment. Others can be done with just the camera of a mobile phone but require extensive video editing. Regardless of the method chosen, a great resin 3D print time-lapse could be the next cool project that impresses friends or generates likes.
The Perfect Time-Lapse

Without seeing a good resin 3D printing time-lapse, it might be difficult to figure out why it can be so challenging to make one. Most time-lapses simply involve pointing the camera towards a point of interest and leaving it to run on its own.
However, resin 3D printers constantly move up and down in order to break the bond between each newly-cured layer and the FEP film at the bottom of the resin vat. If a raw time-lapse were taken of this process, the resulting video would show a frenetically-teleporting, blurry object.
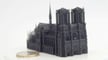
Conversely, an ideal time-lapse would show an object being pulled out of the vat of liquid resin, almost as if by magic. This can be accomplished using auto-shutters, manual post-processing, or clever tricks using machine vision, and can certainly be great content to share with friends or drive social media engagement.
With a clearer idea of what an ideal time-lapse looks like, let’s take a look at a few key aspects that need to be accounted for before looking at the three different methods.
Setting Up the Time-Lapse
A few things are generally true for every resin 3D printer time-lapse.
First, and most obvious, is that the camera has to have a direct line-of-sight to the model as it’s being 3D printed. This typically requires removing the hood and, depending on its size and what it allows for, having the printer outside of the enclosure. So, a time-lapse can only be taken if the 3D printer is far away from a UV-source (such as sunlight or nearby hydroponic lights) and in a room with adequate ventilation to disperse the resin’s volatile organic compounds (VOCs).
The 3D printer’s hood, if clear or mostly transparent (perhaps with a slight yellow or orange tint), can be left on the 3D printer as long as it’s clean and unscratched. That way, the camera can still capture the time-lapse from outside, looking through it. If using a resin 3D printer with a metal hood, it should be removed. That way, the camera (which is outside the 3D printer), won’t be obstructed.
Unfortunately, due to the size of most hobbyist resin 3D printers, having the camera in the setup itself (within the hood) is a challenge. Between a very short distance that won’t allow for a good view of the full print being created and the possibility of resin splashes damaging the camera, plus the difficulty of setting it up with cables or such, this option is rarely possible.
Again, if removing the hood, do so only in a well-ventilated room and while wearing personal protective equipment, such as a respirator or N95 mask. If you’re unsure what the ventilation of your 3D printing room is like, a helpful tool to use is MadeWithLayers’ 3D Printer Emissions Sensor Array.
The Camera
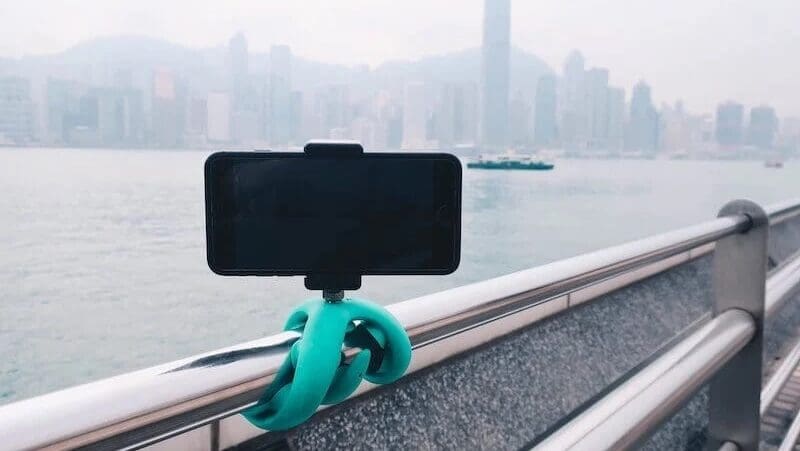
Depending on what’s available (or what can be purchased), the camera setup could be anywhere from a mobile phone and stand to a full-on DSLR camera and tripod. If you find yourself in need of a mobile phone tripod, there are many models to save the day.
With this in mind, there are three different ways that 3D printer owners commonly use to capture perfect resin 3D printer time-lapses.
Method #1: Off-the-Shelf Shutter
For those with access to finer cameras, many off-the-shelf automatic photo triggers have been produced to take a picture at exactly the right time for a 3D printer time-lapse.
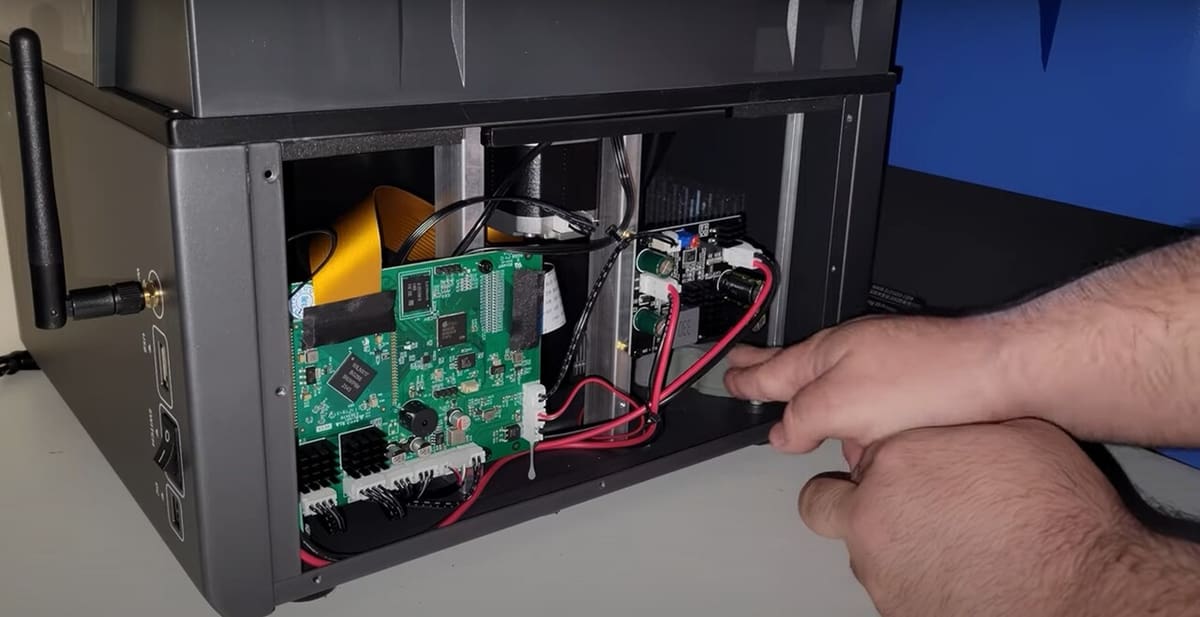
The auto-shutter is essentially a light-dependent resistor that a user inserts into the 3D printer’s UV-source, which triggers the auto-shutter every time the UV light turns on. These plug into camera auto-shutter ports and have been made for Sony, for example. For those with more time to tinker with creating such a device, there’s a DIY option by Makers Corner, as seen above, that connects to cameras with 1/8″ AUX triggers.
The backend is divinely easy: String all the images into a time-lapse using DaVinci Resolve or a similar program, and it’s immediately ready to share.
Pros
- Minimal (if any) post-processing work required
- Plug-and-play time-lapses
Cons
- Auto-shutters (even the DIY solution) aren’t the cheapest, and only work on select cameras
- This method requires rooting around inside the 3D printer to place the shutter in the correct spot within the UV-emitting light chamber; on several models of 3D printer, such as the Wanhao D7, this isn’t possible without permanently damaging the 3D printer’s internals
Method #2: Manual Post-Processing
Resin time-lapses are still possible without access to a camera or auto-trigger, but they’re more time-consuming to post-process.
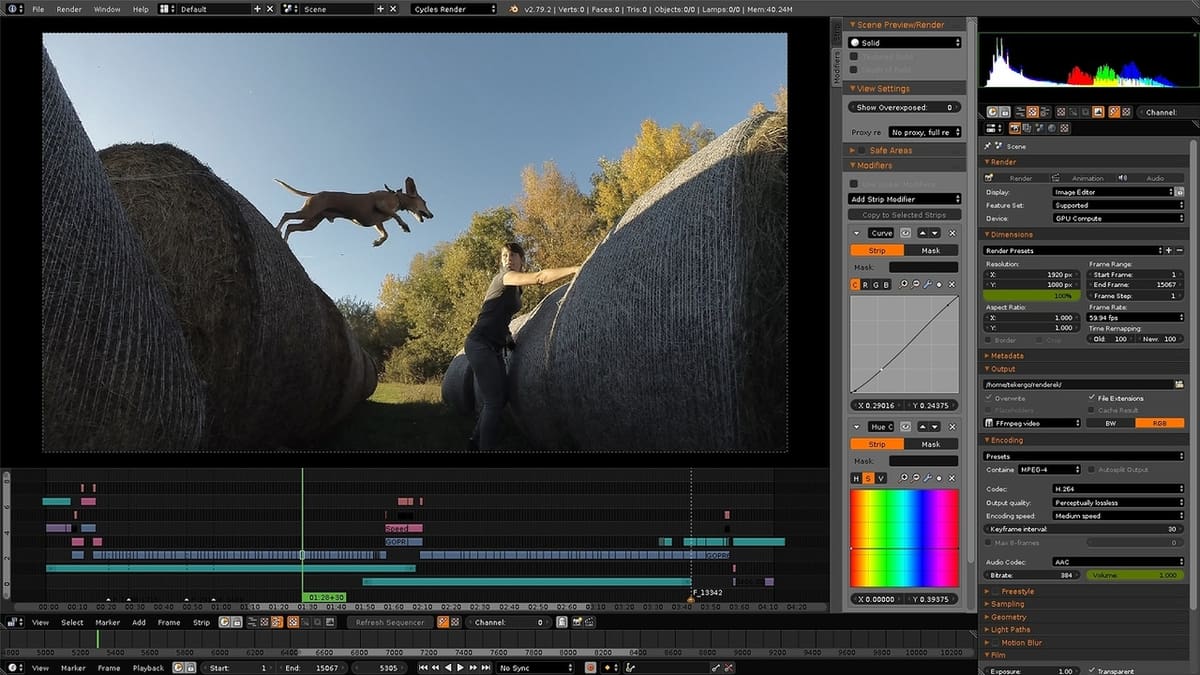
Using any video-capable camera, take a video or a time-lapse of the resin 3D printer. Ensure that the output is compatible with Blender’s or DaVinci Resolve’s accepted video import filetypes. If not, then use an online converter to carry out the conversion into one of these acceptable filetypes (such as MP4 for convenience or MOV for video quality). Once this video or time-lapse is complete, open it in Blender or DaVinci Resolve, which are both free programs capable of video editing.
From there, there are two options for cleaning up the time-lapse depending on the 3D printing technology.
For stereolithography (SLA) 3D printers, such as the Form 3 or Peopoly Moai, manually delete all frames of the video that show the transition between each layer. This is the only possible way to (manually) prepare a time-lapse. This is because SLA 3D printers use a laser (unlike LCD 3D printers, which use a screen), so each layer takes a different amount of time to cure.
For DLP and LCD 3D printers, which print each layer in the same amount of time, it’s a bit easier. Change the framerate or playback speed of the video so that the frame lines up with the moment each layer is being cured.
Changing the framerate or playback speed is much less time-consuming, but can be tedious.
- Start by deleting all frames prior to the beginning of the first normal-speed layer of the 3D print. This includes the much longer burn-in layers that are typically the first ~3-5 layers of every resin 3D print.
- Find the total amount of time between one layer and the next. This can be done with a stopwatch or with the following formula: total layer time = exposure time + light-off delay + lift distance * lift speed * 2.
- Multiply the playback speed by the ratio: total layer time / frames per second of the original video. This is the new playback speed. Setting the video to have this playback speed should eliminate all undesired frames.
Since this method has a low margin of error in calculation, it can help to increase the light-off delay for the resin, which adds extra time where the build plate is in the correct spot (for the time-lapse) without over-curing resin. This can be done by altering the material profile for the resin in most resin-based 3D printing slicers, such as Lychee Slicer.
Pros
- Any camera can be used for this method
- Apart from the software fee (if any), post-processing is free
Cons
- Video-editing is time-intensive
- Some 3D printers don’t have precise timing control, meaning that additional adjustments might be necessary to eliminate noisy frames that make it into the video after playback speed adjustment
- The 3D print itself takes longer, as increasing the light-off delay adds time to each layer
Method #3: Automatic Post-Processing
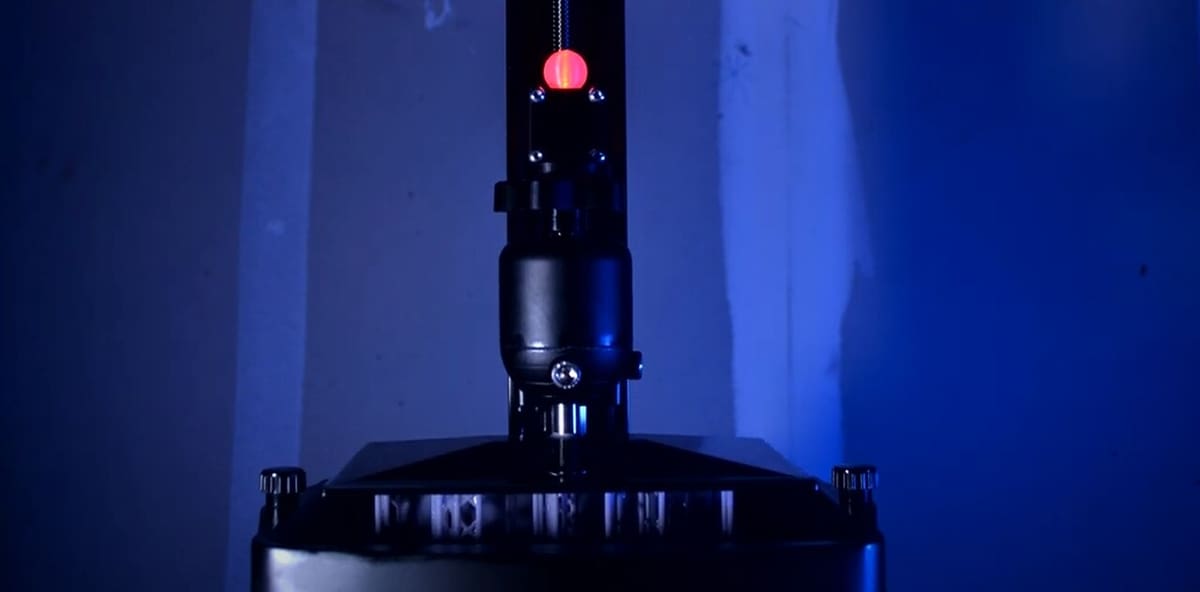
A third method to create perfect time-lapses that has been featured on Hackaday and was developed by Super Make Something is to use machine vision to do the post-processing work on a raw time-lapse of the resin 3D print.
This method relies on using a red LED that’s placed on top of the build plate to filter out frames where the motor moves in-between layers. The computer vision tracks this red light, and eliminates all frames where it’s still or moving downwards. It also touches up the time lapse by eliminating common issues such as flickering. All necessary code can be found on Super Make Something’s GitHub.
Pros
- Minimal financial investment
- Minimal post-processing time required after the first successful time-lapse
Cons
- Requires considerable machine vision and programming experience
- Incredibly time-intensive at the start; it’s best to only use this method if taking tens or hundreds of time-lapses
- Some frames are created with machine learning (to smooth out lighting), which means that it’s not an authentic, raw time-lapse but rather a visually-edited time-lapse
License: The text of "Resin 3D Printer Time-Lapse: How to Get It Right" by All3DP is licensed under a Creative Commons Attribution 4.0 International License.