Simplify3D & OctoPrint: How to Make Them Work Together

Do you have Octoprint? Are you using Simplify3D? Get the best of both worlds by connecting the two with these easy steps!
The Best of the Best
If you’re reading this article, chances are you’ve heard of Simplify3D and OctoPrint. If not, we have several great pieces on both Simplify3D and OctoPrint.
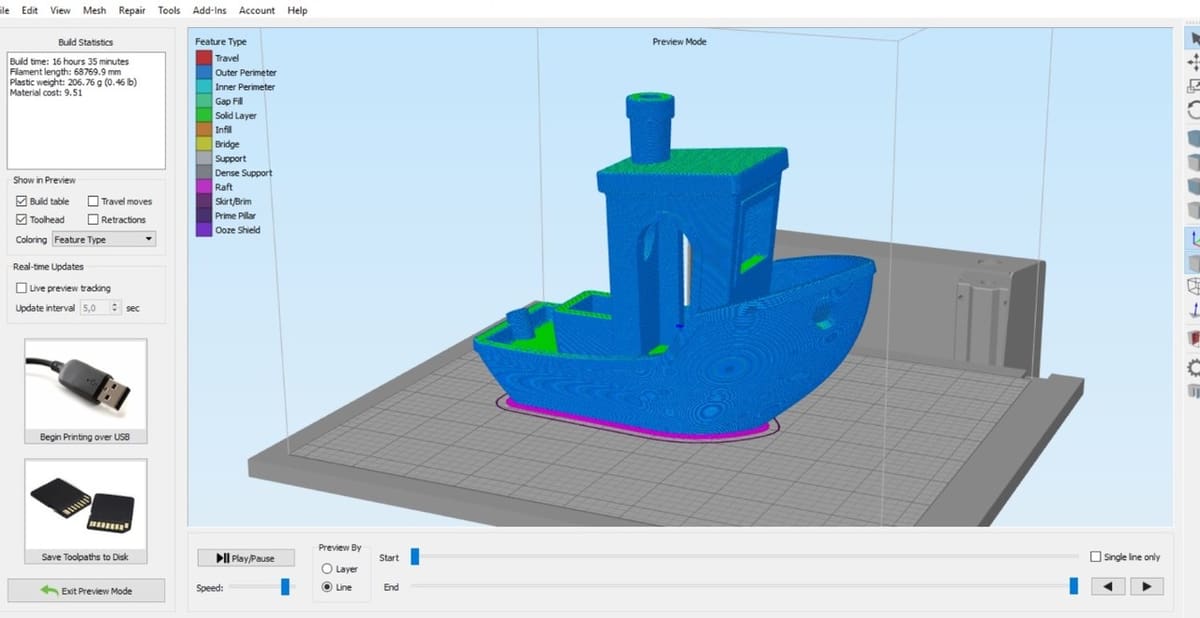
As a quick refresher, Simplify3D is a powerful and fully-integrated software that manages your FDM printer, from slicing models to controlling the manual operations. However, it can’t remotely monitor your printer, and the number of plug-ins and other utilities is limited.
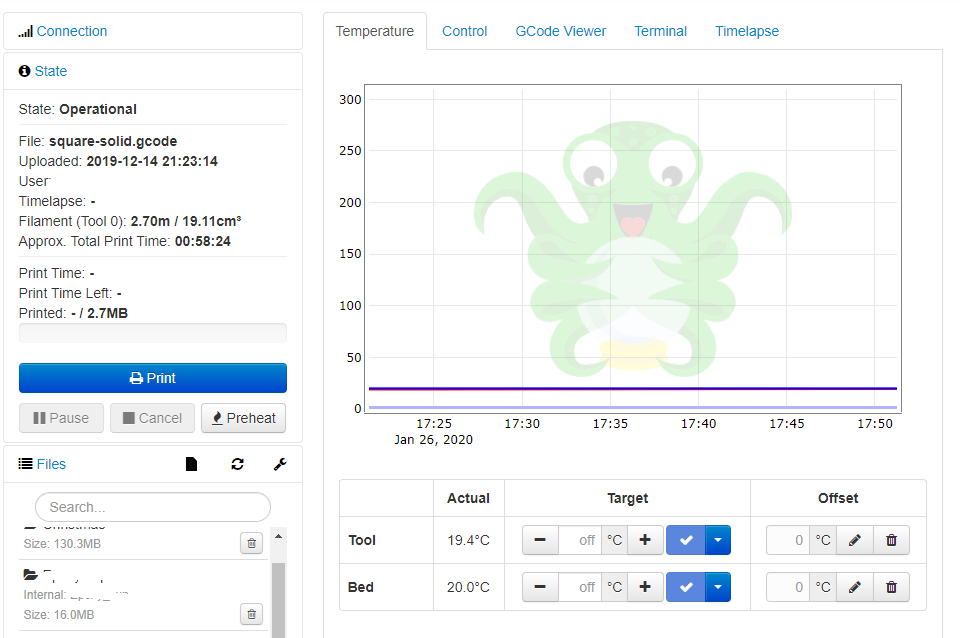
That’s where OctoPrint comes into play. With its vibrant open-source community, OctoPrint features webcam interfaces, file management, print times, Telegram (messaging) integration, and more. While OctoPrint has many strengths, it lacks the model-slicing capability that Simplify3D provides.
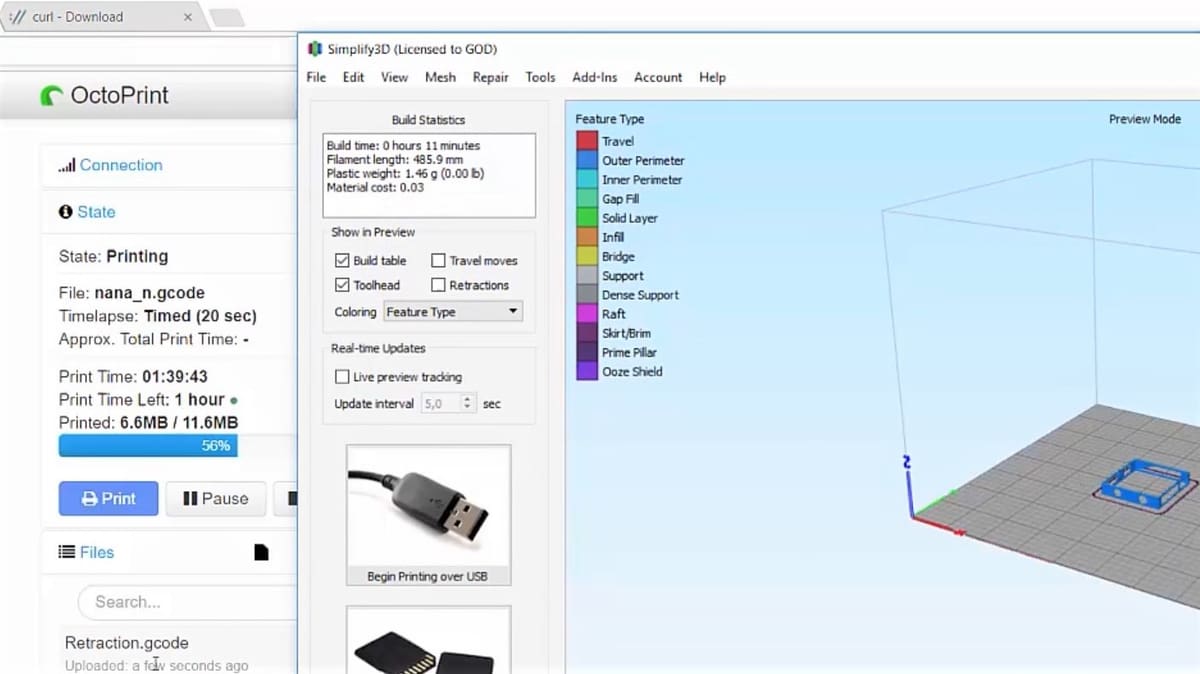
Why settle for just one? Like peanut butter and jelly, this is a match made in heaven. In this guide, we’ll show you a simple method to make your Simplify3D models export directly to your OctoPrint server.
What You'll Need
To have Simplify3D automatically upload files to OctoPrint, we need a few things first:
- From the OctoPrint installation, retrieve
- the IP address and
- the API key.
- Install cURL (not required if using Linux or Mac). cURL is an open-source software used to transfer data with URLs.
- Acquire the Simplify3D script.
The general idea is that cURL begins a file transfer of the network with the OctoPrint API credentials. Once everything is set up and the G-code is saved to a temporary folder on your slicing computer, you’ll have the ability to transfer your Simplify3D-sliced files directly to OctoPrint.
Retrieving Information from OctoPrint
For Simplify3D to communicate with OctoPrint, we need to gain access to the OctoPrint server and client rights. Luckily, OctoPrint is designed around flexible software integration and add-ons.
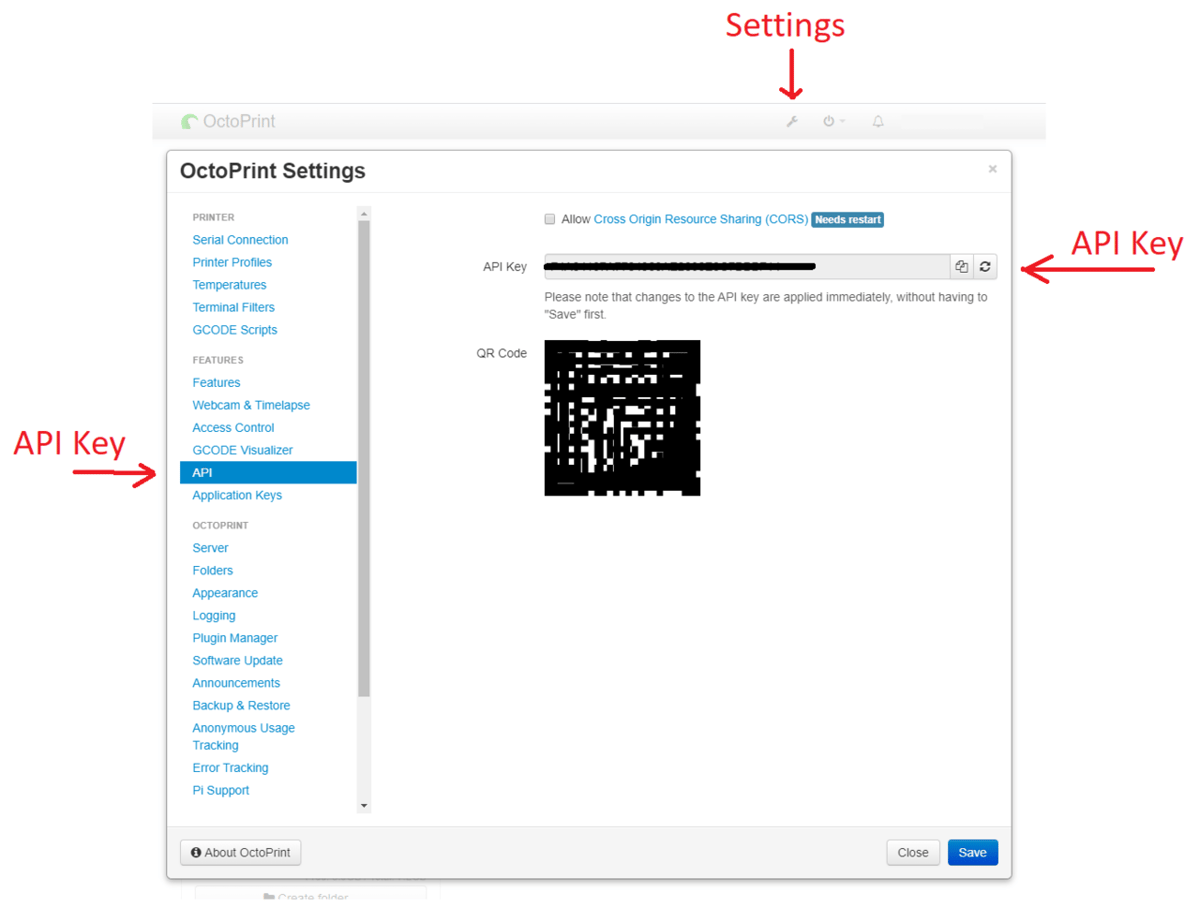
Here’s how to get your API key:
- Go to the OctoPrint installation and click the wrench icon. This will take you to your settings.
- Click “API” on the left column. You should see your API key and a QR code representation of the key.
- Leave this setting open or copy and paste the API key into a notepad for future use.
Armed with your API key and OctoPrint IP address, you’re ready to move on.
Installing cURL
Since OctoPrint lives in the network, we need software that will allow us to transfer data over that network and into the storage of the OctoPrint host computer. In order to perform a network file transfer, we’ll use a common network file transfer protocol: cURL.
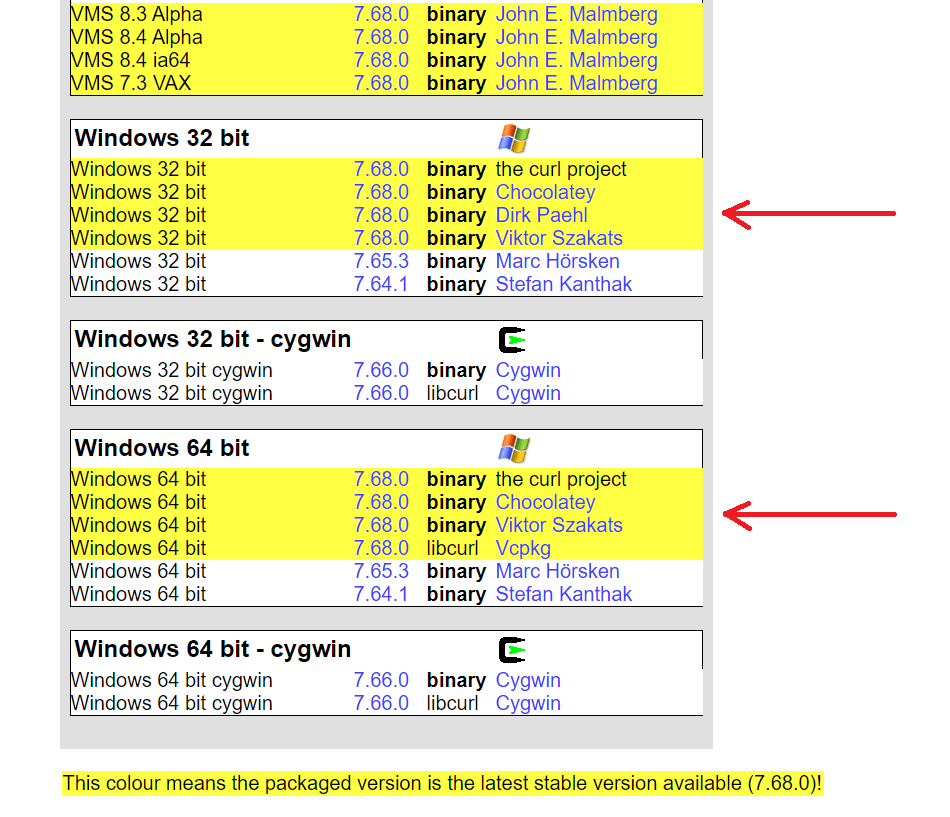
Typically, Windows doesn’t come with cURL pre-installed, so we’ll need the Windows installation file (towards the bottom of the page). Check if you have Windows 32-bit or Windows 64-bit. (The latter is more common on newer systems.) Select the appropriate file and download it.
To install curl, extract the files curl.exe and libcurl.dll to the folder windowssystem32. You can check if you have cURL properly installed by running the command curl into the command prompt. You should see a message that looks like the following:
curl: try 'curl --help' or 'curl --manual' for more information.
Once you have that, you’re good to go to the next step!
Coding Simplify3D with Post-Processing Scripts
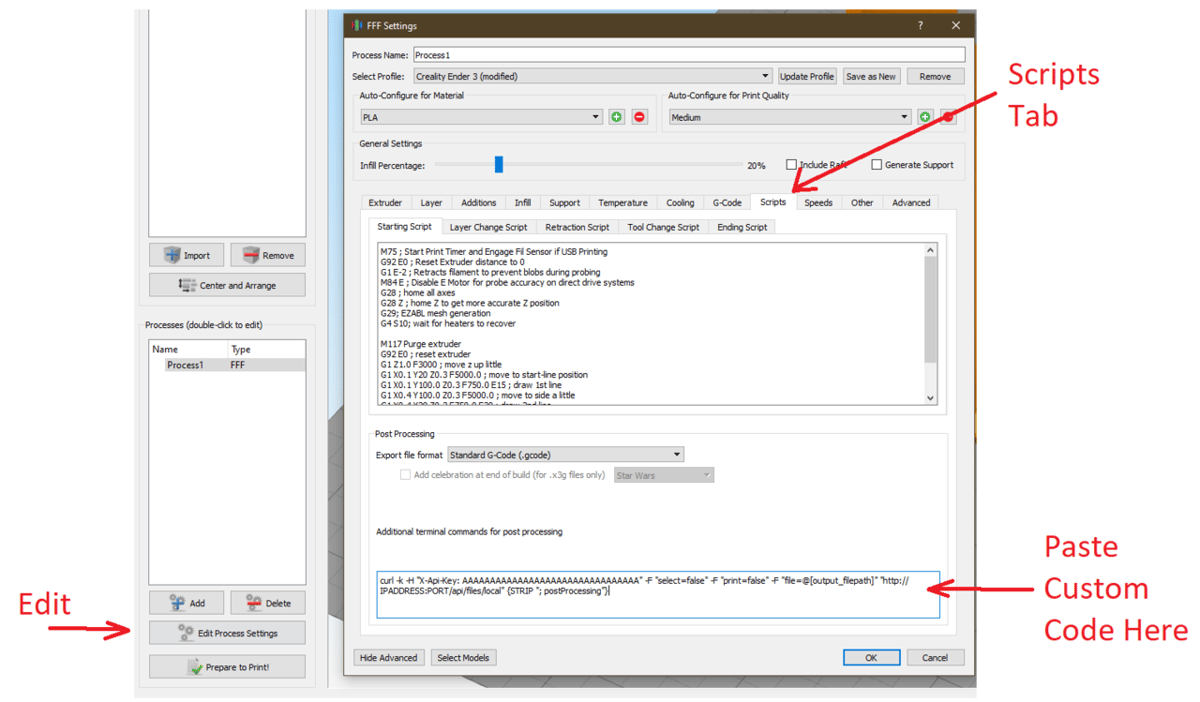
The final step is to paste the following curl script into the post-processing command in Simplify3D:
curl -k -H "X-Api-Key: AAAAAAAAAAAAAAAAAAAAAAAAAAAAAAAA" -F "select=false" -F "print=false" -F "file=@[output_filepath]" "http://IPADDRESS/api/files/local" {STRIP "; postProcessing"}
Here’s how to do this:
- To access the setting, select “Edit Process Settings” for any process.
- Navigate to the Scripts tab, scroll to the bottom and you’ll find the post-processing script entry box.
- Copy and paste the above command.
- Replace the
AAAAAAAAAAAAAAAAAAAAAAAAAAAAAAAAwith your OctoPrint API key. - Replace the
IPADDRESSwith your OctoPrint location and port.
- Replace the
Once you’ve pasted and saved your process settings, the command will run every time the sliced G-code file is saved to your local disk. Go ahead and try it out now: Slice any model you like, save the G-code to a temporary folder on your PC, and check OctoPrint for the file in the file browser.
If everything goes well, you should be able to see the file. Congratulations, you’re now able to enjoy the benefits of both of these great programs together! Happy 3D Printing!
(Lead image source: Patatenra via YouTube)