Slic3r vs Cura: The Differences – Simply Explained

Slic3r or Cura? That's the question! We compare the top two open source slicers, focusing on their best features. Find out which is best for you.
What Do Slicers Do?
A slicer is a software application that takes in 3D model files, like STL and OBJ, as input and, based on the user’s preferences and settings, creates g-code files as output.
G-code is a set of commands that control the movement of a 3D printer along the X, Y, and Z axes for the entire model. They also contain instructions for heaters and other connected devices, such as servos or leveling sensors.
Slicers are a crucial piece of the 3D printing workflow as they have a major impact on the quality and resolution of the finished product.
In this article, we’ll compare two of the most popular slicers, Cura and Slic3r.
A Tribute to the Creators

It takes a unique attitude to work for thousands of hours writing tens of thousands of lines of code that not only work but do wonders! These people are the square pegs in the round holes who have pushed the 3D printing community forward. Instead of becoming millionaires by charging a small fee for their work, they’ve instead opened the doors to all contributors to join and improve their products at a much faster pace.
Today, there are thousands of companies all over the world that use open source software to generate their income. Let’s raise a toast to all the creators and contributors for their genuine love for 3D printing, which has helped push the boundaries of this amazing technology.
Both Cura and Slic3r started out in the year 2011 – Cura with original author David Braam and Slic3r with Alessandro Ranellucci. Cura developers have since joined the Ultimaker team to work on the software full-time. In the meantime, Slic3r is still being worked on by part-time developers. This difference is apparent in the quality and features. Nevertheless, Slic3r Prusa Edition (now PrusaSlicer) is developed by the Prusa team and has excellent capabilities compared to the base version.
This article compares Cura 3.6 with Slic3r 1.3.0, the two latest stable releases. Let the battle begin!
User Interface and Experience
The interaction between a user and a platform is crucial for any software’s acceptance. Layout should be neat and icons must be self-explanatory so that navigating the platform is intuitive for basic tasks.
Overall, Cura takes the lead in this area, being a bit more user-friendly and guiding first-time users. Yet, hopefully with a few updates, we’ll soon see Slic3r on par with its Ultimaker counterpart.
Layout
The layout of different functions can make the slicer less intimidating and more friendly.
Cura has a “beginner friendly” setting under the recommended tab. This is a useful feature, as the custom tab can be quite confusing with its large number of settings (even if they do have headings).
Slic3r, on the other hand, has its settings neatly organized into three different categories, with each one having its own set of subheadings. This breaks the information into smaller bite-sized chunks, which is a little easier for the user to digest.
Movement and Positioning
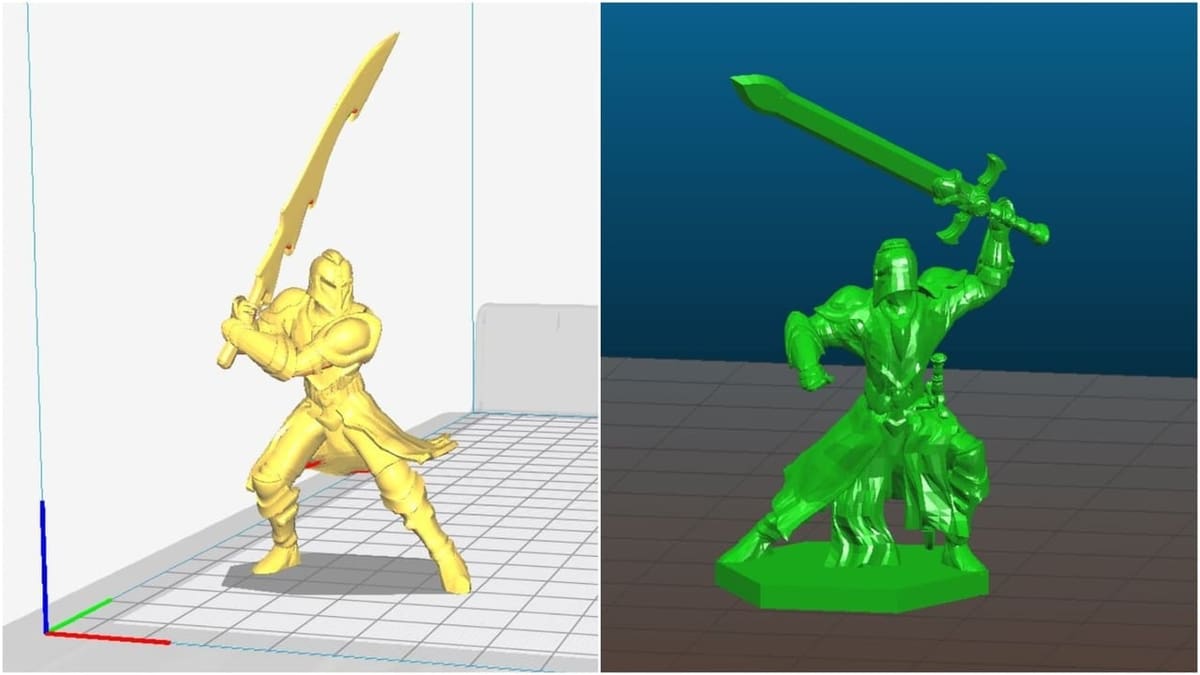
Being able to orient a model with respect to the print surface helps reduce support and gives the user the ability to strengthen the part accordingly.
Cura is quite intuitive in this regard. When a part is selected, the movement, rotation, and scale tabs are highlighted, prompting the user to click on them. Yet, rotation can only be done in 15-degree increments, which can be very cumbersome for users to orient the part exactly the way they want.
Another nice feature of Cura is the support blocker. Sometimes supports can be positioned in places where they’re not completely required (i.e. bridging is possible). The support blocker is a handy tool here.
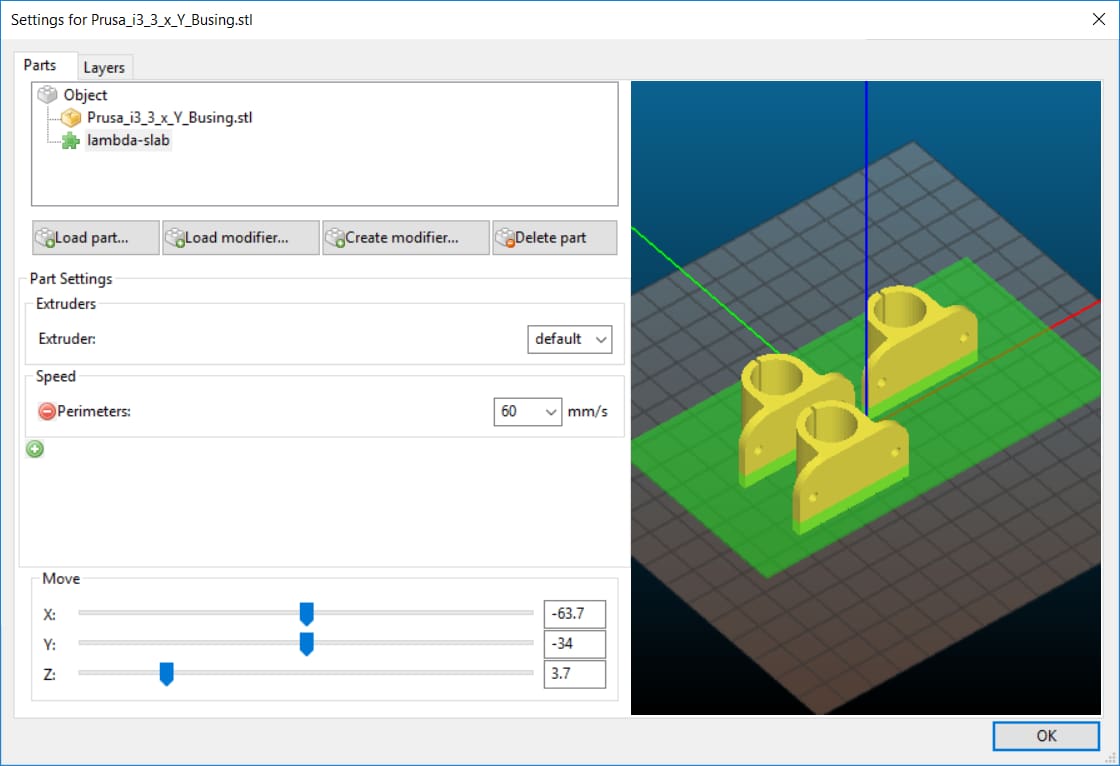
Slic3r, in this aspect, is not very intuitive. The movement and rotation icons are available right above the model, but getting used to them takes some time and experimentation. Slic3r allows users to rotate the model at any angle, which can be entered into the rotation field. Currently, Slic3r doesn’t support any support removal or addition options.
Model Information
Model information, such as print time, filament usage, and material costs are important features to have in case you’re running a print farm or just want to keep a tab on your consumables.
Cura’s slicing engine provides you with basic information like print time, filament used (by length and weight), and a rough estimation of how much the print should cost you in terms of the material consumed. An interesting additional feature is the time break down, available when you hover over the print time: It displays the time required for infill, perimeters, travel, and supports. With this information, you can better optimize your settings to reduce print time even more!
Slic3r drops the ball in this segment. The only information you can get from the slicing engine is the filament used in terms of length. If you’ve added the density of the filament and cost by yourself, you can know the cost of your print and the filament used (in weight). However, the inability of Slic3r to give the user the print time is a huge letdown.
Profiles
Another interesting slicer feature is pre-programmed machine profiles.
Cura has a few hundred profiles, making it easy to quickly configure your print. Alternately, manufacturers can also send you their profile settings, which can be directly uploaded to Cura.
Again, Slic3r misses out here. Although it’s possible to import and export printer settings, mostly you’ll be manually entering them, as profiles for many printers are not easy to come by.
Workload
For professional users, it’s critical for a slicer to be able to handle large files.
We compared the two platforms using a 25-MB file. Using the same computer, Cura was able to slice the model and save the g-code in under 5 minutes, whereas Slic3r took roughly 25 minutes. This clearly shows the power of Cura’s slicing engine over Slic3r.
Features
Not all slicers are made equal, and what sets them apart are the features they provide.
In this category, Cura once again pulls slightly ahead thanks to its wider variety and ease-of-use. Nevertheless, let’s see what’s on offer.
Pause at Z Height
This feature has become a community favorite, allowing you, for example, to drop in few nuts and bolts and make a functional part. Even electronic boards can be dropped in to give your final part some additional functionality. Pause at Z height has made countless functional parts possible that otherwise would have been impossible to make!
Cura uses a plugin available under the post-processing scripts section of the pause at Z feature. You can set the nozzle park distance so that the print head moves out of the way, allowing you to freely access the printed part.
Slic3r has a slightly more complicated workaround for the pause feature. The easiest method seems is to use a conditional G-code command, such as an IF statement, to check the Z height at every layer change. If the Z height reaches a particular number, the pause M code can be activated. This can be a bit more complex for early users and takes a bit more experimentation in the beginning.
Vase Mode
Vase mode has showcased the aesthetic ability of 3D printed parts. Complex, single-wall structures are simply a great addition to any living space!
In Cura, simply click on the spiralize outer contour checkbox under the special modes tab. Cura’s easy-to-use settings are beginner-friendly and can save a ton of time during print setup.
In Slic3r, one must reduce infill to zero and remove all top layers.
Connectivity
Being able to connect to a printer directly from your slicer is a nice feature to have. The workflow is more streamlined and one doesn’t need to save g-code files and upload elsewhere.
Both Cura and Slic3r provide Octoprint as well as Duet 2 WiFi functionality, tools that upload your sliced g-code files directly to the respective web servers and have them printed automatically. While both slicers have USB connection functionality as well, Cura has an additional monitor tab, which allows you to view your print if a camera is attached, and the machine can be jogged as well.
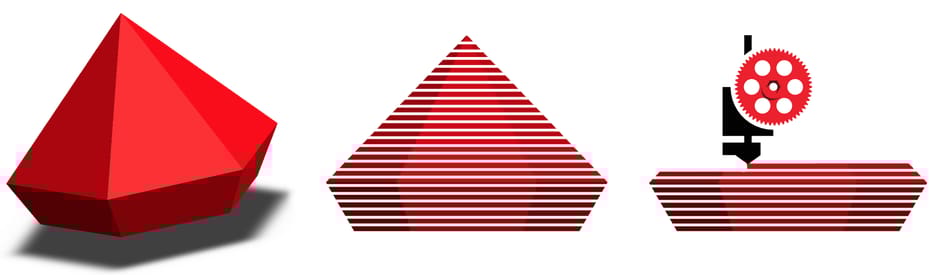
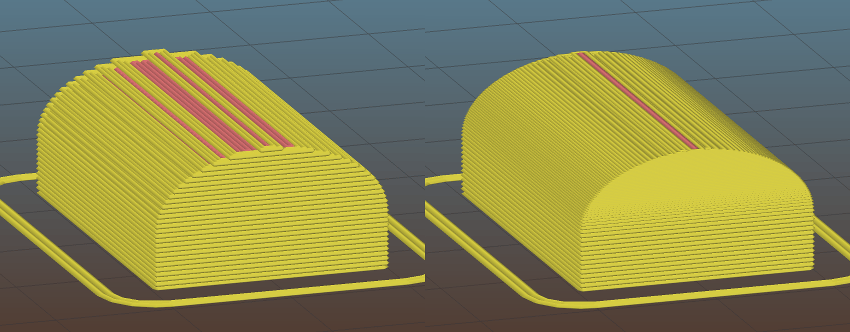
Variable Layer Height
This is an amazing new feature available in both Cura and Slic3r. If you’ve ever 3D printed curved surfaces, you’ll have noticed the staircase effect. This happens as the layer height is usually the same for all of the layers.
The variable layer height feature automatically changes layer heights at different parts of the print based on the curvature of the part. Users can control the maximum and minimum layer height and the software takes care of the rest.
Cura’s feature is said to still have some issues that need to be worked out while prints coming from Slic3r have been demonstrated to be quite amazing! Print times are nearly the same by increasing the layer height at straight parts and decreasing it around curves.
More Features
What makes these platforms stand out are their unique features. Here, both slicers have something to prove. Let’s take a look!
Cura’s Mold Feature
This feature instantly makes a negative around the required model, which can then be printed out and used for casting. This is an exciting feature, opening up a lot of possibilities. Still, it requires some development. For example, options for draft angles are not provided, and it’s hard to cast anything with undercuts.
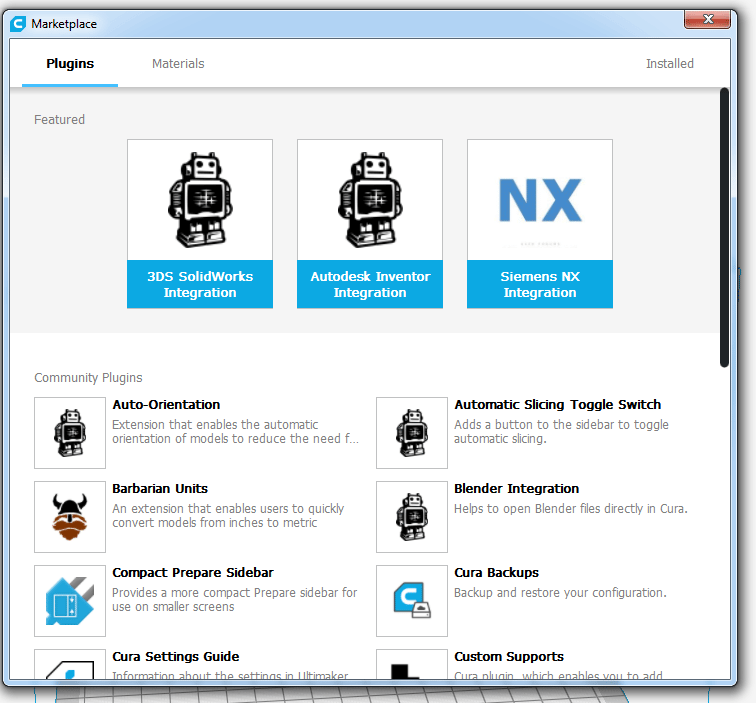
Cura’s Marketplace
This is by far the most powerful feature we have ever seen on any slicer before. Put simply, it’s a marketplace of features.
For professionals, the integration of Solidworks, Inventor, and NX is simply mind-blowing. It makes the workflow simpler and easier to use, preventing the user from converting to STLs, saving them, and then loading them again.
The additions of custom supports and a large number of community-driven plugins provide a great deal of functionality all in one place. And the marketplace will only become more powerful with time as the community keeps contributing.
Slic3r’s Conditional G-code
We’ve spoken about it before, but the power of this advanced feature is yet to be showcased. While technically it’s a single feature, realistically it’s a plethora of functionality made possible all in one place.
There is a learning curve, but once mastered, you’ll have far greater control over the g-code and be able to modify it at your will.
Final Thoughts
Both Cura and Slic3r have come a long way in improving the performance and quality of prints. They are the community’s go-to slicers, with dedicated forums full of threads on resolving issues and discussing updates.
Thanks to its dedicated team at Ultimaker, Cura has definitely been able to develop faster and bring new and exciting features to its users. Nevertheless, Slic3r remains close behind, with a large community of developers and the Prusa edition slowly gaining traction.
With continued support from the community, we wish both teams continued success and hope there are many more interesting features to come in the years to come!