
Slicer for Fusion 360: New Software Overview

The new 3D slicer feature in Fusion 360 is a great addition and will come very handy for 3D printing users. Let's find out more about it.
Added Functionality
Autodesk’s Fusion 360 is one of the most popular 3D modeling programs for 3D printing today. Why? Maybe it’s because of the free software license for hobbyists or the multiple capabilities, like parametric and surface modeling.
Either way, Fusion 360 is a top-notch program backed up by a huge software development company. A full license for commercial purposes costs up to $500 per year, but it’s free for small businesses with a yearly revenue of under $100,000.
Moreover, it offers much more than 3D modeling, bringing extra functionalities like rendering, computational simulation, shape optimization, and computer-aided manufacturing (CAM) tools. Until very recently, it’s only supported subtractive manufacturing (like machining) in the CAM module, but that’s changed with its new 3D printing slicer extension, which arrived in April 2020.
It looks like Autodesk is trying to include the entire 3D printing workflow within Fusion 360, which is pretty convenient for its users. But what exactly does this new feature have to offer, and how does it compare to other popular 3D slicers? Let’s find out!

Pros & Cons

Fusion 360 is already well-established as a 3D modeling tool, but how does this new slicer feature work?
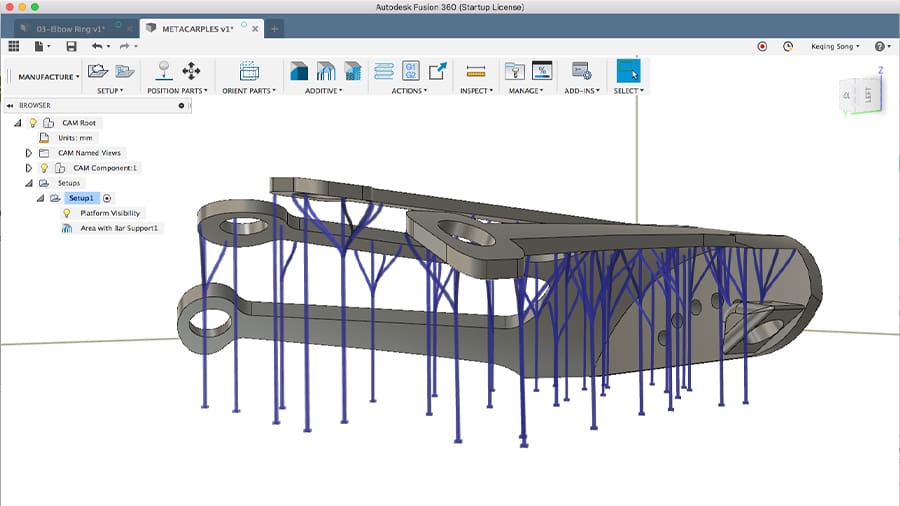
The “additive” extension was incorporated into the CAM module and follows the usability guidelines that Fusion 360 users should already be familiar with. Just like milling operations, the user creates new setups for every 3D printing process to be developed.
It also already supports some popular 3D printers, like the Prusa i3, Ultimakers, and some from Creality, including the CR-10 and the Ender 3.
Convenience Rules
The main advantage of using Fusion 360’s slicer feature is convenience. For those parts being 3D modeled, it’s just a matter of switching workspaces within the software to slice and export ready-to-print G-code files.
This can be very time-saving, as 3D models often need some tweaking, which can easily be spotted during slicing. For traditional slicing techniques, it can become an endless back-and-forth from CAD to slicer.
With that said, slicing an external STL file for 3D printing in Fusion isn’t that straightforward. First, the user must import the mesh into the design workspace, which may lead to scaling issues. And while that’s usually not a major issue, Fusion may not even be the best option for simply preparing a model for 3D printing (without editing it).
The slicer features in Fusion 360 are rather basic, including a preview mode and most of the printing settings we’re used to. In fact, it comes with several default printing settings profiles for ABS and PLA, which can be used with any machine setup. Interestingly enough, these profiles all include printing a brim as a default setting.
Notable Features
The automatic orientation tool is worth mentioning, as it’s not really a standard feature seen in many 3D slicers. Similar to PrusaSlicer‘s own auto-orientation, in Fusion, the user can rank priorities, like reducing support structure volume, support contact area, and a model’s Z-height.
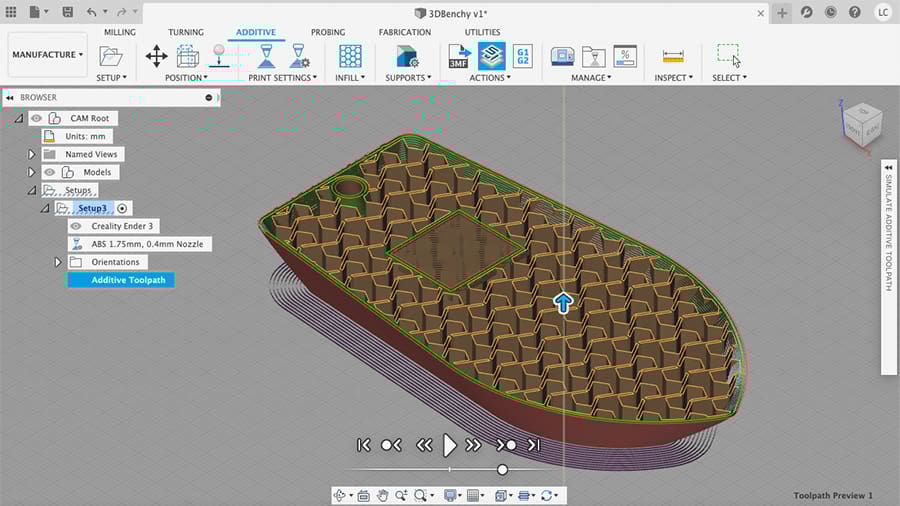
Another great feature from Fusion’s slicer is the many infill patterns available. There are a total of 13, a wide variety compared to some slicers, including interesting choices, like auxetic and “Rhombus3D”. The downside is that intricate infill is reported to take a longer time to slice.
There’s Always a But
There are some shortcomings to this slicer, with many users reporting issues like missing functionality buttons and other bugs like preview mode issues. Performance-wise, it’s also not the fastest at processing. At the same time, it’s normal for any new software with ambitious features to be a bit slow, and hopefully, these drawbacks will be improved upon soon.
User Interface & Experience
Fusion 360 is already user-friendly by nature. When running the software for the first time, it offers customized mouse controls based on other CAD software the user might be used to. The user can simply choose the “SolidWorks” controls and all mouse buttons and functionalities (like pan and orbit) will be adjusted automatically.
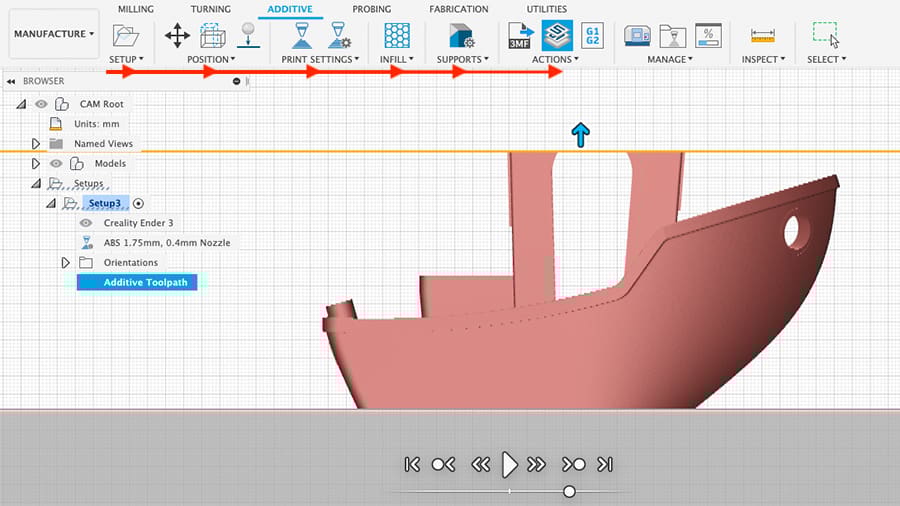
For those already using Fusion for anything from 3D modeling to CAM, the slicer’s ambiance will feel very familiar. Following the pattern set by other features, the slicer’s functions and tool positioning sort of guides the user through the workflow. Usually, it goes from left to right, and this pattern is seen across all workspaces. The ribbon menu style is also kept for the slicer, a characteristic many CAD programs have in common.
So whether a user is totally new to Fusion 360 or not, one shouldn’t feel overwhelmed with the new slicer workspace. The workflow does differ a bit from popular 3D slicers, and there might be confusion regarding some feature names, like “Generate Toolpath” for slicing and “Simulate Toolpath” for preview. Still, the learning curve can be quite fast.
Every 3D printing process created is saved together with the 3D model and kept within the same file. This enhances the organization of your work and lends security, as everything is automatically stored in Fusion’s cloud.
Troubleshooting & Support

Fusion 360 has many users worldwide, and being developed by such a large company like Autodesk has its advantages. Official documentation is comprehensive and usually kept up to date.
As for community support, since the new slicer feature has recently been released, there simply aren’t that many online sources yet. For now, Autodesk’s forum might be the best place for troubleshooting and issue reporting. To that end, we’ll have to wait and see whether this new feature becomes popular or not.
In the meantime, there are plenty of tutorials and guides offered by Autodesk that range from 3D modeling to how to use manufacturing tools in the CAM workspace, including 3D printing.
Some Alternatives
As mentioned earlier, Fusion 360’s built-in slicer covers all the basic functionalities expected from such a program. But that’s it. If you’re looking for advanced controls and unique features, you might be better off using dedicated 3D slicers. Here are a few popular options:
- Ultimaker Cura: 100% free software with plenty of exclusive features, like adaptive layers and a huge user community
- Simplify3D: A paid slicer that offers full control of the 3D printing process, including highly customizable support structures
- PrusaSlicer: The adopted successor of Slic3r, and yet another free slicer from the 3D printer manufacturer Prusa Research
The above doesn’t mean to imply that the new slicer feature in Fusion is poor – it just offers a different approach. For an all-in-one simple slicer, Fusion 360 offers a great alternative to the more complicated process of exporting your STL file and processing the G-code in separate software.
Final Thoughts
So, should you try it?
It’s clear that the slicer for Fusion 360 still requires Autodesk to work on performance and bugs. Still, we can say that it’s been a very good debut. One just needs to keep in mind that this slicer will probably never be like the alternatives mentioned above, as its functionality isn’t focused solely on slicing.
For people that already use Fusion 360 for 3D modeling, slicing the models within the same software is very handy and probably worth its current shortcomings in most cases. As for the future, we’ll be watching closely to see how this new kid on the block grows up.
License: The text of "Slicer for Fusion 360: New Software Overview" by All3DP is licensed under a Creative Commons Attribution 4.0 International License.