QR Codes Are Here to Simplify Your Life
QR codes are easy to generate and just as easy to 3D print. It's no surprise we've got a few of these, and so should you!
QR codes can come in handy, to say the least.
You’ve got friends over, and your Wi-Fi password is 14 digits and letters, plus the router’s under the table behind the gaming console? You’ve got a venture, and you’ve got a market stall, and having a 3D printed QR code means that people can easily access your website or a reseller that’s got all your products? You’ve organized an event and need people to check in via an app, so setting up the right link can streamline things, and you avoid a queue? You want to Rick Roll people?
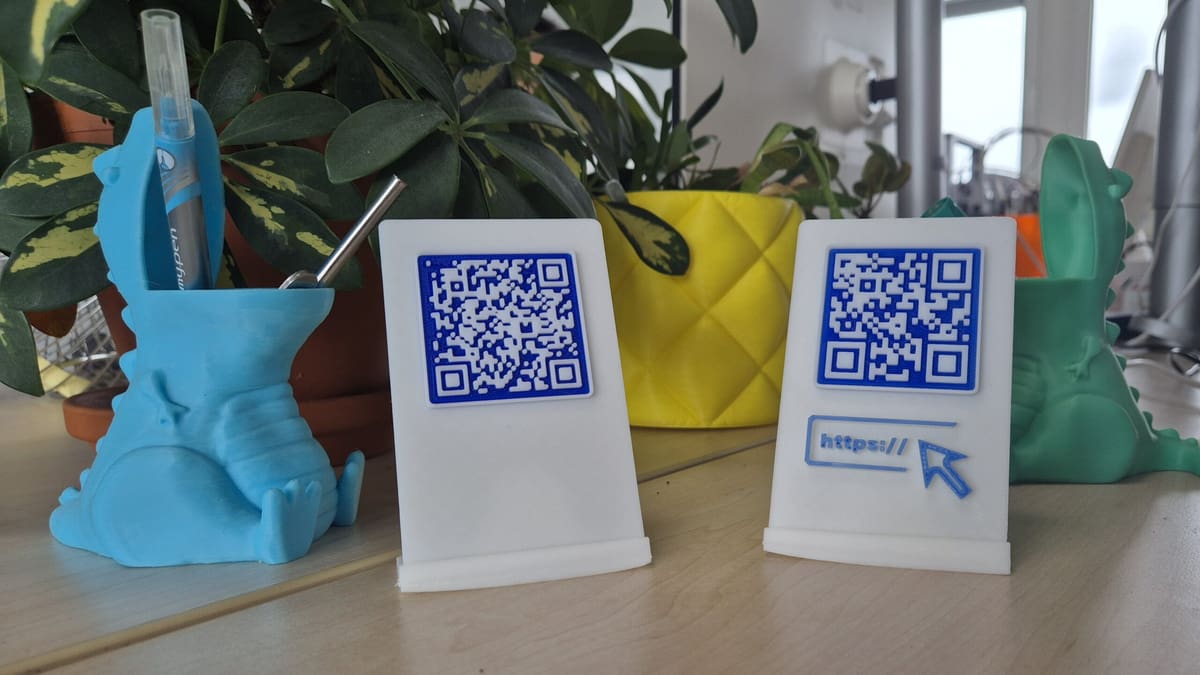
We can keep going, but we won’t because we’re pretty sure you’ve got the picture now. As do we, thanks to the 3D printed custom QR code that, as its name points out, is easy and customizable. The best part? The designer has shared 11 versions, with a variety of symbols for different uses: Wi-Fi, website, menu, and more, plus, a blank slab in case you want to add your own text or logo.
3D Printing Tips
This model has three basic steps when it comes to creating it: generating the QR code, putting the parts together, and 3D printing it. To make matters as easy as can be, the designer includes their own recommendations on websites that can help you generate a QR code in either SVG or STL formats. Once this is done, you can simply use Tinkercad.
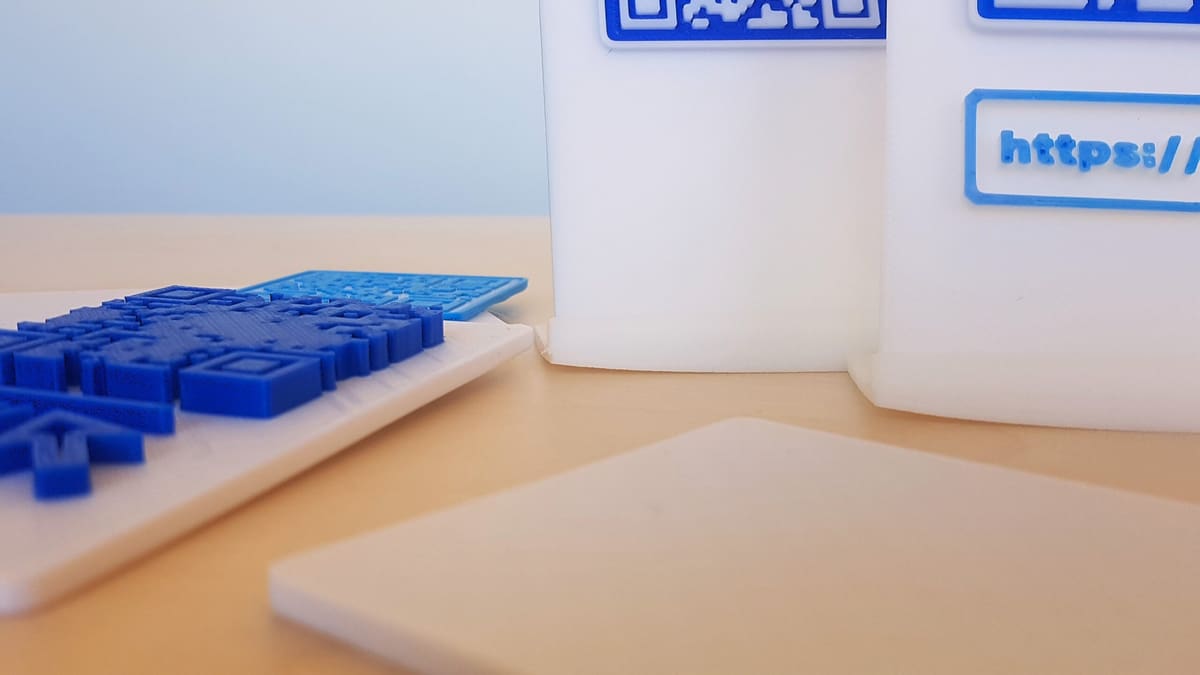
And here’s where I’ll level with you. Not everything was as easy breezy as I’d hoped it’d be. To make a frustrating story short, I ran into problems when generating and placing the QR code into the slab. After some fails, I opted to load the QR code’s STL (instead of working with the SVG) directly in Bambu Studio. I added the blank slate and merged them, then sliced and printed, opting for the AMS. With one successful print, I did the same with another link.
A couple of notes: If you opt for a not mega matte white for the slate, you’ll want to add a few more top layers. Otherwise, you’ll see the infill (and might even come across a bit of pillowing). And in the image above, you might notice the warping of the base. I opted for high-speed PLA because it was the one at hand and didn’t adjust the settings. Take this Thing of the Week as a cautionary tale. You can also tell by the difference in the color of the website logo and the QR code that one was printed correctly, and for the other, I only set one layer.
As mentioned, there are different ways to get the QR code to stand out against the slab. If you don’t have a multicolor setup, you can either pause at layer height or simply paint the code after it’s printed. And while you’ll want to aim for high contrast between the code and the base, you can definitely get creative with more colorful combinations. If you need more guidance or want to do a deeper dive, we’ve got a dedicated article on 3D printing a QR code – that’s how much we like them!
Who’s the Creator?
Maker Wyqid has almost 30 models, which are in line with what they’ve shared on Thingiverse and Printables, with many aiming to make the 3D printing experience as easy as possible. Plus, a few fun models.
They don’t have a Patreon page from our digging around, although you can buy them a coffee and check out their website! There, you’ll find plenty of useful information, not just on what inspired Wyqid on their designs, but also on 3D printing topics.
Where Can I Download It?
At Thingiverse and Printables.
If you like what you see and cannot print it yourself, check out Craftcloud or other 3D printing services.
Do you want to be reminded of the next Thing of the Week? Sign up for our newsletter.
More cool things to print:
License: The text of "QR Codes Are Here to Simplify Your Life" by All3DP is licensed under a Creative Commons Attribution 4.0 International License.