Universal Gcode Sender: The Basics Simply Explained

Universal Gcode Sender is one of the most popular CNC controller options. Read on to learn all about this software and get started!
Universal Gcode Sender, more commonly known as UGS, is free CNC controller software. It uses the term “Universal” because it’s compatible with several different firmware options like GRBL, TinyG, Smoothieware, and G2core.
Control software is the communication between the CNC machine and the computer. Controlling the CNC machining process directly from your computer has advantages like more oversight of the machine and a real-time view of the toolpath. It eliminates the need to export information to an external drive and then load it into the machine, allowing you to see immediate results when changing settings.
Some machines have integrated control software, but it’s common for CNC machine users to choose from other software options, with UGS being a popular choice.
In this article we’ll explore the main characteristics of UGS, including installation, pricing, user interface, main features, company and community support, and user experience.

System Requirements & Installation
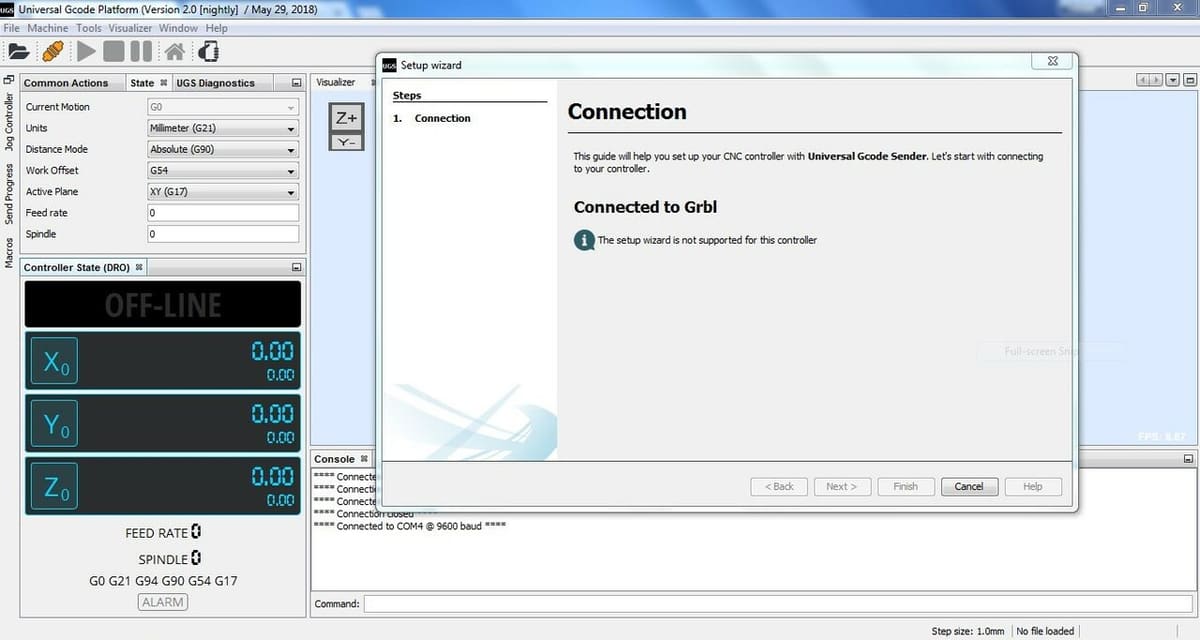
There are two versions of UGS: Classic and Platform; the latter is newer and comes in different builds. According to users, Platform is the better choice because it offers advanced features without sacrificing quality, so it seems to be the preferred option between the two. As such, we’ll be focusing on UGS Platform throughout this article.
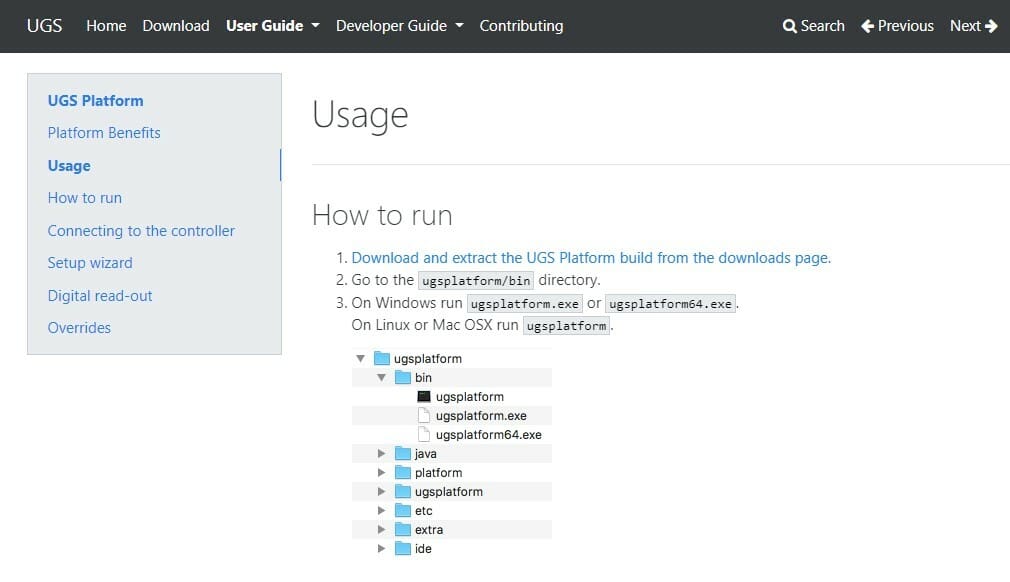
To download UGS, go to the UGS GitHub page and select the version and your preferred OS. Windows, Linux, and MacOS are supported. This will download a .zip file. Unzip it and open the executable file from the folder.
The following operating systems are compatible with both Classic and Platform:
- Windows: The Windows 64-bit version is available with bundled Java. A version for non-64-bit Windows is also listed.
- MacOS: The MacOSX version is available with bundled Java.
- Linux: The Linux version is also available with bundled Java. There’s a separate installation file for Linux ARM, which can be used with Raspberry Pi.
- There’s an additional installation file for any platform, as well as a generic package without Java that needs to be installed separately for either Platform or Classic.
Now that you’ve got UGS Platform up and running, it’s time to get started on some control software. Let’s get to it!
UI & Layout
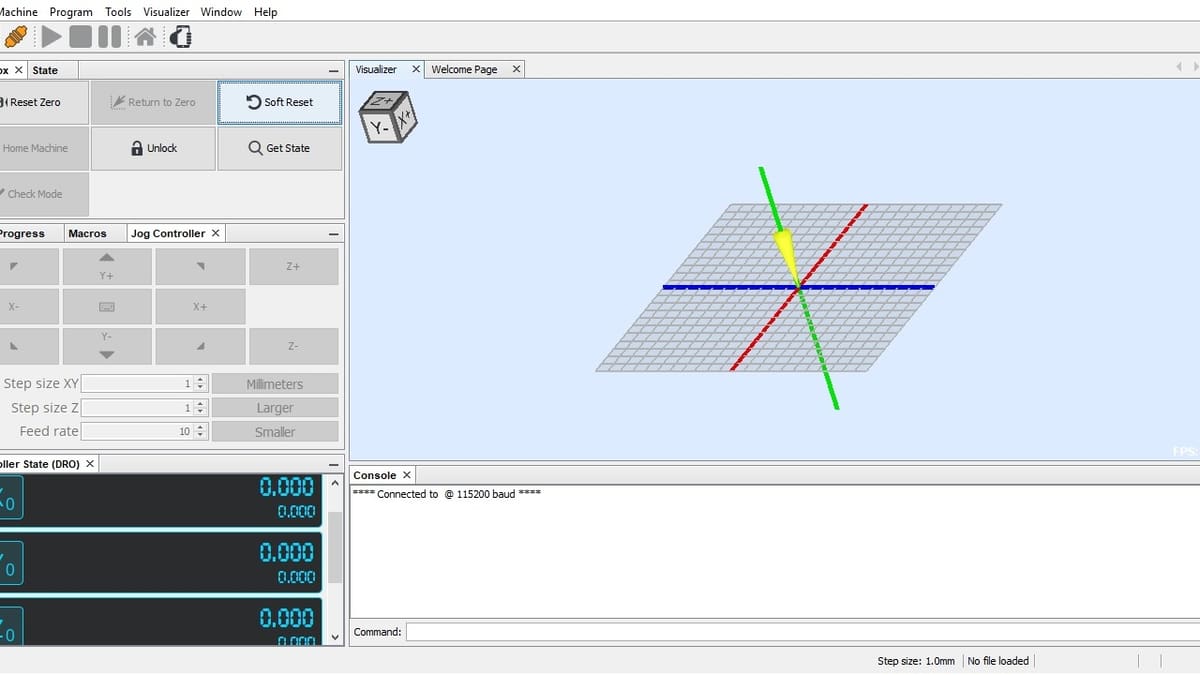
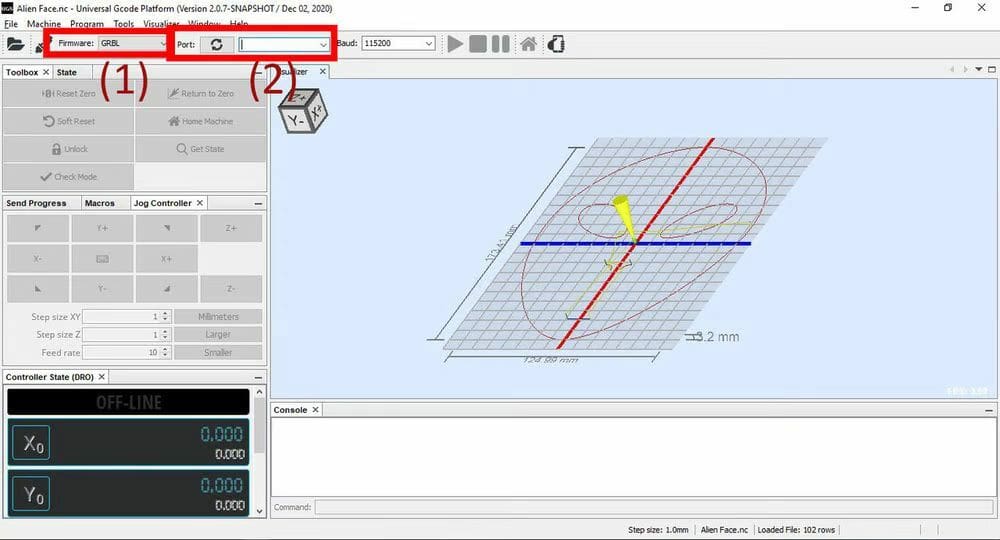
In UGS Platform, there are five main windows used to control your machine: Visualizer, Toolbox and State, Jog Controller, Controller State, and Console.
1. Visualizer
The Visualizer window is the main space where you can see your model and toolpath. Here, you can rotate the view of your model by holding the left click and moving the mouse around. You can also monitor the cutting process by following the yellow cone, which represents the tool.
2. Toolbox and State
The Toolbox and State window is divided into two tabs. Toolbox was previously known as Common Actions, and we’ll explain more about it in the Features section. The State window shows the current operation during the cutting process.
3. Jog Controller
The Jog Controller’s job is to manually change the position of your router. To do this, set a step size and click (one at a time) in the direction you want. This will direct the tool to move according to your inputs.
4. Controller State
The Controller State, also known as the Digital Read Out (DRO) window, shows you the real-time location of your tool bit in relation to your machine’s home coordinates, as well as to the zero coordinates you have set up in UGS.
This means that you can have two kinds of zero coordinates. In UGS, you can move the toolpath around and indicate the position that will be the new zero (this will be further explained in the Features section). At the same time, it will still display the machine’s physical origin below this new zero.
5. Console
The Console displays your machine’s current firmware settings with a Command box (6) at the bottom. In it, you can manually change firmware settings, which we only advise doing if you’re really experienced. Otherwise, it’s better to leave them as they are.
Workflow
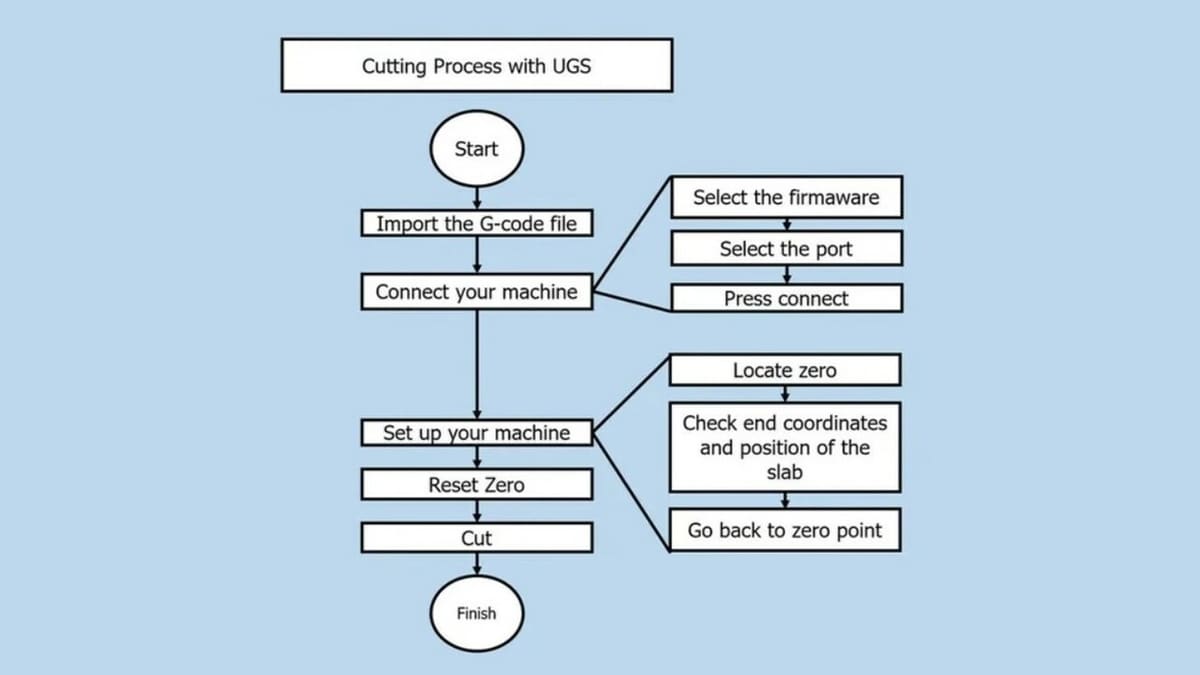
Before explaining the features and functions, it’s a good idea to understand their purpose. To do CNC using UGS, there are a series of general steps to follow each time. These steps help you achieve the desired outcome and avoid mistakes.
- Import the G-code file of the part to be machined. You should see the model loaded on the Visualizer. Note that since you’re importing G-code, it is understood that the CAM process has been done, the file is ready to be cut, and it shouldn’t require additional preparation.
- Plug in your machine, select the firmware and port, and click on the plug-in button. With the machine plug-in, all the following control options become available.
- Find the zero coordinates of the model and check its outer bounds.
- Move your machine to where you want your physical starting point to be.
- Move it to the opposite extremes of the X- and Y-axes of your material to check that the coordinates are correct.
- You should also confirm that the physical position of your material matches your G-code. This can be checked in the Controller State box options.
- Move the machine back to your physical zero and select “Reset Zero”. (Instead of the previous coordinates of your machine, UGS will mark this point as zero, making it your new origin point.)
- With your machine connected and your zero point set, all that’s left to do is cut! Simply press the play button, and the cutting process will start.
- You can follow along in real-time to make sure everything goes according to plan.
Features & Functions
Now that you understand what needs to be done, let’s see how UGS does it.
To open control software, you generally need to plug your CNC machine into your computer, and in UGS this is also the case.
1. Machine Setup
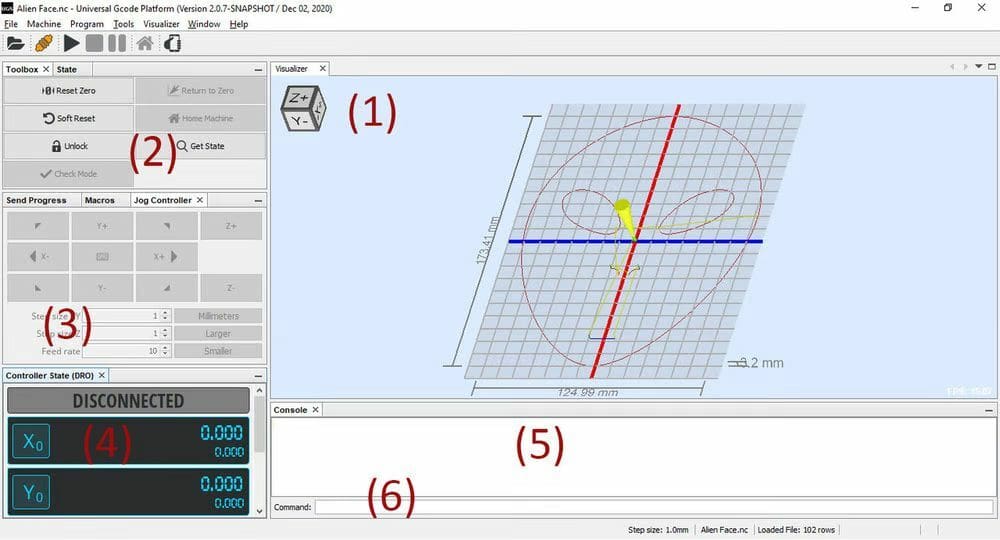
With the machine plugged in, open UGS and select the firmware and port of your machine. In the toolbar below the menu, you’ll find the Firmware (1) and Port (2) boxes. Press the “Connect” icon, which looks like an unplugged plug.
2. G-Code Importation
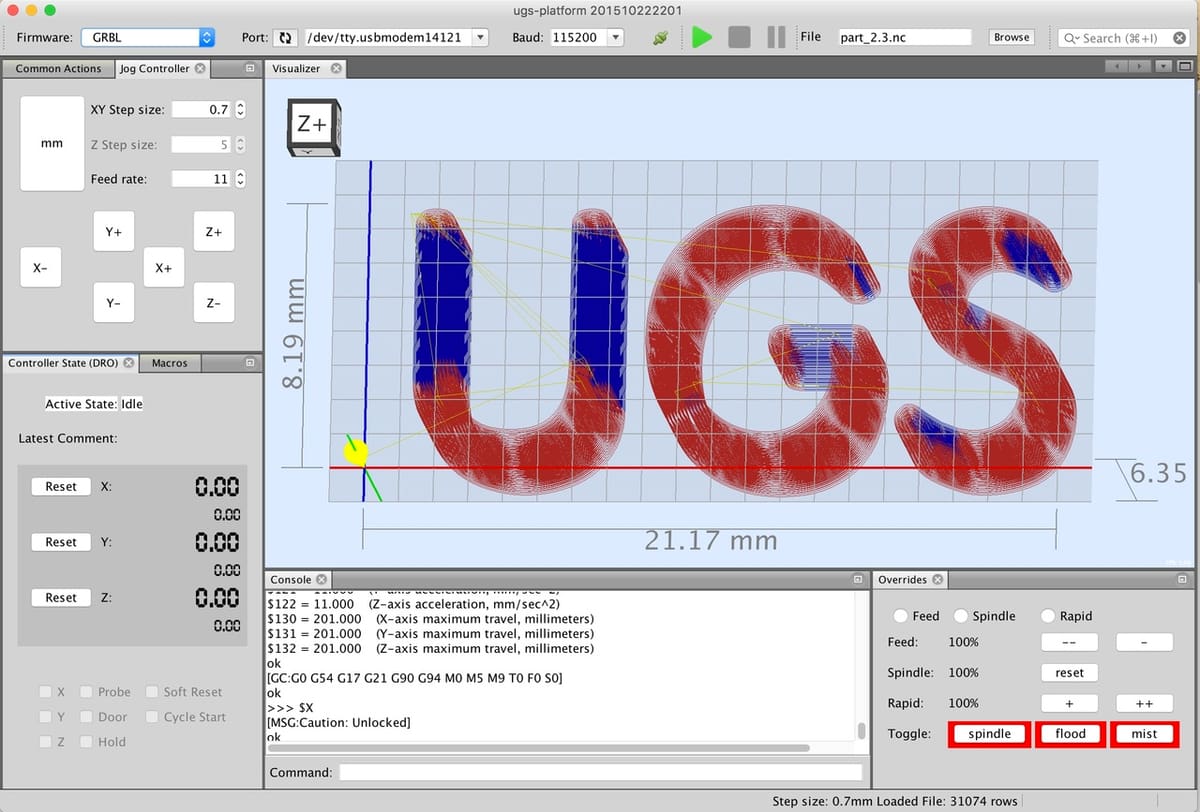
To import a G-code file, simply go to the top menu and choose “File > Open Gcode file”. The toolpath will appear on the Visualizer, and by clicking and holding on the left mouse button, you can rotate the view.
3. Manual Movement of the Machine
You can use the Controller State box to manually move your machine without needing to run the imported G-code. Common actions in the Controller State box include Reset Zero, Return to Zero, Soft Reset, Home Machine, and Unlock. With the model loaded, the next step would be to check that your machine is set to its zero coordinates, so you can use the Controller State to move your machine around and reset zero once the coordinates are all set.
Note that Reset Zero makes the current coordinates the new zero coordinates. Meanwhile, Return to Zero takes it to a previously established zero point. Home Machine moves the spindle to the physical zero set by the electronic components. With your zero point set and all cutting parameters verified, you can press the start icon on the top bar to get cutting!
4. CNC Monitoring
In contrast to a 3D printer, in a CNC machine once the G-code starts running, you shouldn’t leave it unsupervised. Instead, stay to make sure that the process goes as planned. On the positive side, CNC machining is a much faster process than 3D printing. To monitor the CNC process, you can use UGS’s Console.
The Console displays the current settings of your firmware, so you can use it to monitor the machining process. If these settings don’t show by default, you can access them by typing “$$” into the command box. If they’ve been changed, you can reset them to the default values by typing “$RST=$”. The exact meaning of the information showing in the Console depends on the firmware you’re using. It should be explained directly in the firmware’s documentation.
User Experience
It’s hard to get a detailed read on users’ opinions because there aren’t many UGS-specific online communities. However, the overall sentiment seems to be that Platform is more popular than Classic. Additionally, users sometimes report encountering issues when initially setting things up. For example, the port of the machine isn’t automatically detected, so the user must indicate it manually.
However, it’s not a super common problem, and once the setup issues are resolved, the program seems to run adequately and perform all other functions without issue. Additionally, UGS has a very simple UI, where everything you need is right where you can see it, so the learning curve is almost non-existent. The hardest part of the process is perhaps knowing the philosophy of CNC machining, not so much using the program.
Support
UGS’s support resources are limited but efficient. Here’s a look at some different resources:
Official
UGS’s GitHub page, the same one used for the installation, also has documentation and installation support sections. Here, the authors detail the entire process, from connecting UGS to your router to how to start cutting.
Community
YouTube is a great resource for UGS information, with tutorials covering how to get started and CNC basics, including UGS and general knowledge.
Finally, many forums also provide a community of knowledgeable users to get new ideas and ask questions. Some good ones include Inventables, as well as the CNC and HobbyCNC subreddits.
Alternatives
If you’re still not convinced after reading this article and you’d like to see what else is out there, here are some alternatives to Universal Gcode Sender.
Candle
Free and open source, Candle is available for installation on GitHub. However, it’s limited to GRBL machines only. Since many popular desktop CNC machines like the 3018 PRO use GRBL, it’s still a very useful tool. The UI is more modern than that of UGS, and it draws on-screen, in real-time, what the machine is doing.
CNCjs
Also completely free, this option has one great advantage that not even UGS has: It’s compatible with Marlin firmware. Marlin is free, open-source 3D printer and CNC firmware. You can download and customize it to build your own CNC machines, so CNCjs is a crucial part in controlling machines that use it.
LightBurn
LightBurn is perhaps the alternative with the best performance and versatility on this list, and it can also be used for laser engraving. However, there’s a catch: LightBurn isn’t free. It has a 30-day trial period, after which you can buy a perpetual license for ∼$150.
License: The text of "Universal Gcode Sender: The Basics Simply Explained" by All3DP is licensed under a Creative Commons Attribution 4.0 International License.