![Featured image of [Project] LED-Powered Majora’s Mask Replica From Legend of Zelda](https://i.stageall3dp.com/workers/images/fit=scale-down,w=1200,h=675,quality=79,gravity=0.5x0.5,format=auto/wp-content/uploads/2019/01/23205152/majoras-mask-life-size-quilate-thingiverse-190123.jpg)
[Project] LED-Powered Majora’s Mask Replica From Legend of Zelda

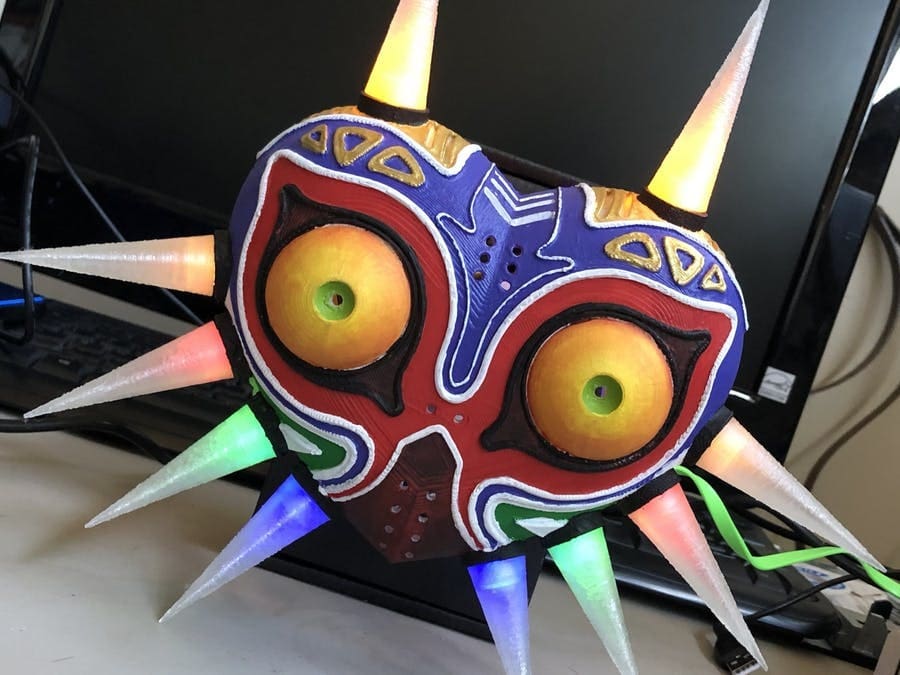
Are you a fan of the Zelda video game series? Learn how to build a 3D printed replica of Majora's Mask replica that uses LEDs and a microcontroller to radiates some wicked light.
Majora's Mask
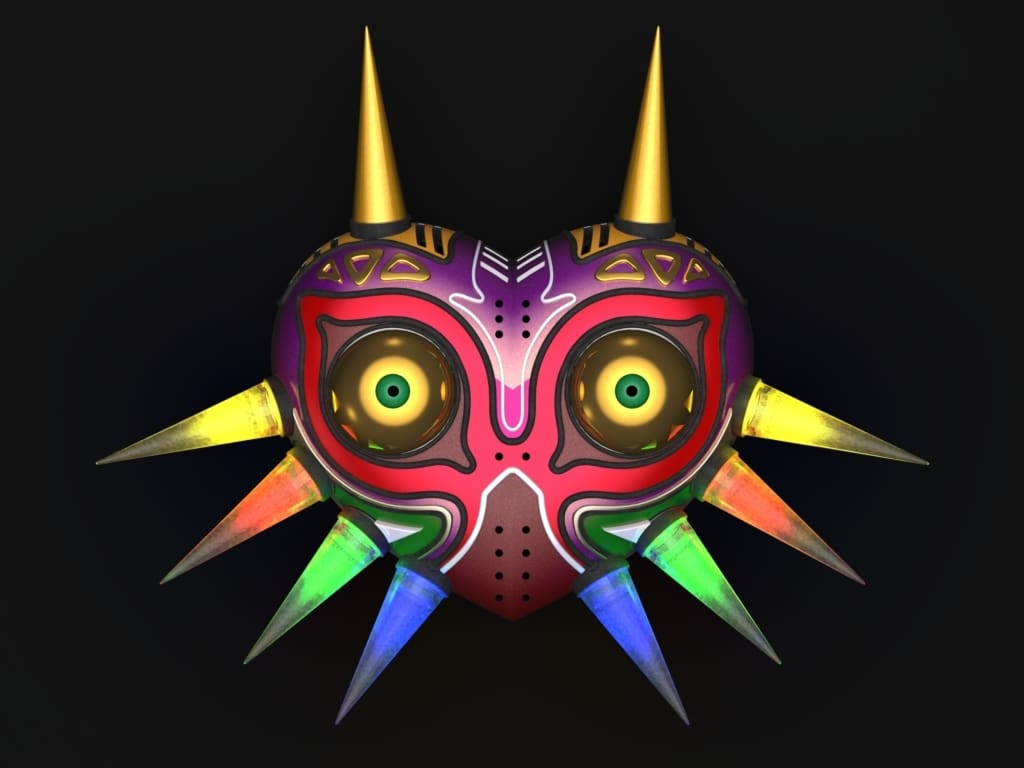
For today’s Weekend Project, we’ll take a look at a 3D printed replica of the Majora’s Mask that Instructables user mportatoes thought up after stumbling upon this model by Lucidhack on Thingiverse. Widely regarded as one of the most iconic antagonists from the Legend of Zelda series, this mask is used by Skull Kid to create chaos throughout Termina with dark magic.
Even though the original designer openly states that the project is still a work in progress that presents a fair challenge, Mportatoes was undeterred and ended up with a mini-sized Mask of Majora equipped with ten LEDs and an ESP8266 board.
Do you want to harness the dark magic of Majora’s Mask? You can do so with your 3D printer, a soldering iron, and some inexpensive components.
Let’s take a look at how you can build your own!
Majora’s Mask: What You Need
Here’s what you need to build your own replica of Majora’s Mask:
Components
- White PLA filament
- Transparent ABS
- Acrylic Paint
- Electrical Wires
- ESP8266 (NodeMCU) + Breadboard + Breadboard Jumper Wires (Mportatoes picked ESP8266 because it’s a personal favorite – Lucidhack, on the other hand, went for Adafruit Pro Trinket)
- USB Mini Cable
- 10 LEDs: 4 Yellow (top horn and side horns), 2 Blue (side horn), 2 Red (side horn), 2 Green (side horn)
Tools
- Soldering Iron
- Solder
- 3D Printer
Mportatoes chose not to light the eyebrow, eyes, mouth, and nose, but you can get extra LEDs for those parts. Additionally, you have the option to purchase or 3D print a wall-mount/desk-mount stands if you want.
Majora’s Mask: Printing and Painting
First, you’ll need to download Lucidhack’s files from Thingiverse. The mask can be printed as one piece, or you can print the left and right side separately – the halves will be joined using 3D printed pins.
Mportatoes used the following print settings for the model:
Mask settings
- Supports: Yes
- Opaque PLA filament (+/- .05 accuracy)
- 5% infill
Horns/Connectors settings
- Supports: Yes
- Clear PLA/ABS (+/- .05 accuracy). You have to use clear or translucent filament if you want glowing horns
- 5% infill
According to Lucidhack, most of the mask should print well without supports, although there are certain areas that would benefit from having them. Whether you are printing the two pieces of the mask vertically or one piece horizontally, Lucidhack recommends that the overhang threshold is set to 15 degrees to support the primary trouble areas. This will prevent you from generating unnecessary support while keeping the troubled areas supported.
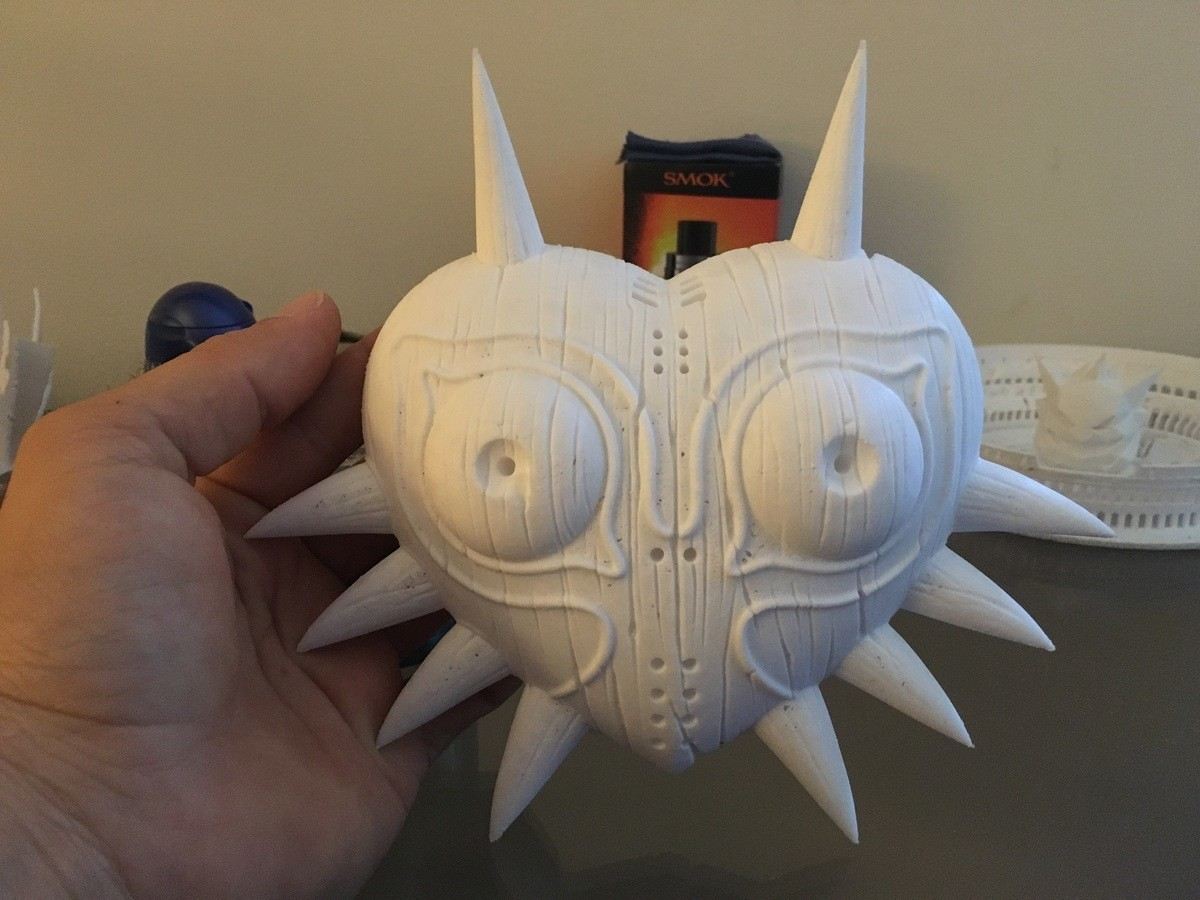
After printing the mask, Mportatoes recommends filling in any blemishes with spackling paste before sanding. Vapor polishing the printed parts is also an option if you want to reduce the amount of sanding required. But sanding will help remove major imperfections, especially when you use a 220 grit (or higher) sandpaper.
You may also need to touch up the holes of the mask using a 1/8” drill bit.
Post-Processing
- Apply 2-3 light coats of clear adhesion promoter primer to help bond the primer coat
- Apply 2-3 light coats of ‘filler’ primer to help fill any ridges between the print layers or to fill any minor imperfections on your prints. If you choose to do this, you have to let the primer dry for 4-12 hours before sanding; then after sanding, you can finish with steel wool
- Apply sheetrock spackling compound to fill any remaining imperfections or cracks
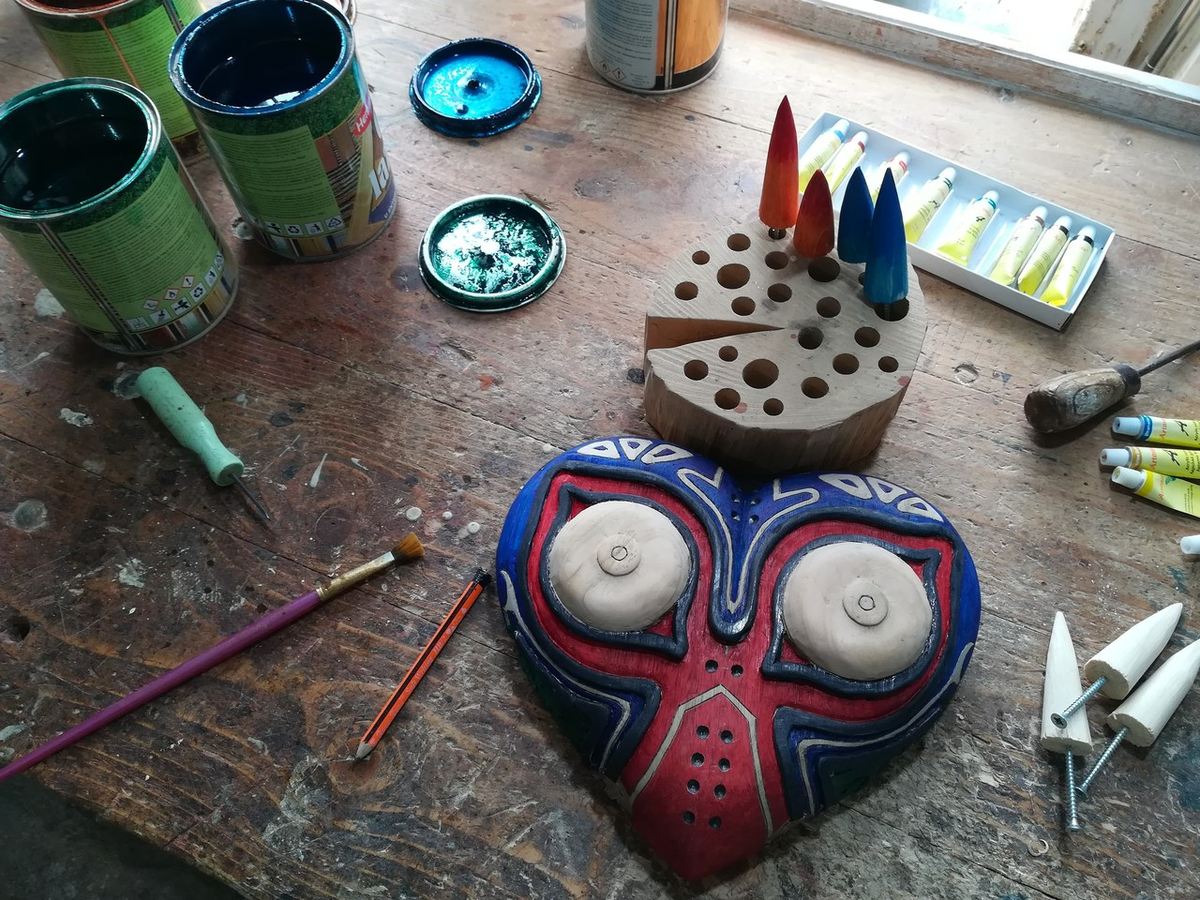
Painting
- Apply 2-3 light coats of clear adhesion promoter primer (though this is optional). The adhesion should help bond the base coat
- Apply 2-3 light coats of your base coat (white is preferable since other colors can easily go over it)
- Apply hobby paint then add a protective top coat (matte or gloss)
Mportatoes used acrylic paint without any primers or coats. So, painting is open for experimentation
Majora’s Mask: Wiring and Coding
Before inserting and supergluing the LEDs into the spikes, everything needs to be tested, soldered, and wired. The code and pin-out for this project are available on the Instructables post by Mportatoes.
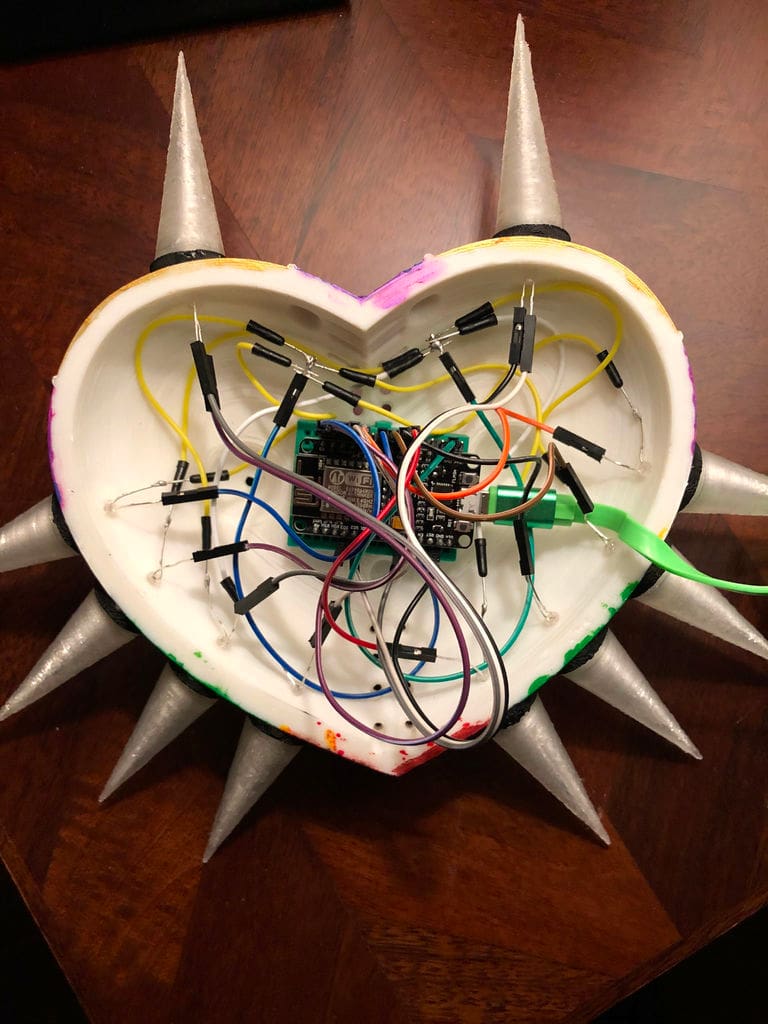
For the most part, outside of the multiple GND connections, the wiring should be a breeze.
In Mportatoes project, the designer solders eight GND wires to two pins (four wires on each pin). The top horn LEDs each have their GND pins. Four wires will go into a single GND pin because the board needs ten GND outlets, but only has four.
Tips for Wiring
- The breadboard should keep components organized. It has a sticky pad that should help in securing the ESP8266. The breadboard is like the central point for wire connections
- Don’t have long cables. Cut them to the recommended lengths to make the wiring process easier
Uploading Code
Connect the ESP8266 board to a computer via a USB cable. Open the Arduino IDE (you can get it here). You must have the right libraries in the Arduino IDE if you want to flash the ESP8266.
Here is an Instructables guide on how to quick start the ESP8266.
Once everything is set, load the .ino file (available on Instructables) and paste the code into the editor. Picking the correct Serial Port and the board is crucial before you can run the code.
Majora’s Mask: Assembly
Once you’ve got everything 3D printed and wired up, it’s time to put the mask together.
Assembly
- Use the guide pins to hold the mask together temporarily (if you have printed two halves). The pins should allow the mask halves to be separated with ease and they should go into their designated holes without forcing. Remember, you will need to separate and re-attach the halves when applying glue.
- Once you have an alignment, apply glue along the seam and press the mask halves together before clamping.
- Gather and identify all the LEDs.
- Superglue the LED lights into the holes at the base of the horns and let them dry overnight. Make sure you know where each color goes and feel free to substitute the colors.
- The clear connectors go into the horn sockets before you can insert the horns. You have to push down the horns until you get a snug fit. Ensure you have picked the right horn because they have different lengths. Only glue the horns if the connection is weak.
- Finally, bring the Majora’s Mask to life by plugging it to a power source.
And, lastly, be careful not to fall under the dark influence of Majora’s Mask. Who knows, the kingdom of Hyrule could be depending on you!
License: The text of " LED-Powered Majora’s Mask Replica From Legend of Zelda" by All3DP is licensed under a Creative Commons Attribution 4.0 International License.