Beat the Summer Sun: Build a Robot!
It’s a sizzling August across many parts of the planet, so what better excuse to spend some time inside than to build a LEGO Rover, complete with 3D printed components such as the motor housings and motor axles.
The rover consists of 3D printed mounts, LEGO bricks and Adafruit’s CRICKIT robotics platform which is compatible with Arduino, MakeCode and CircuitPython. The programming part of the robot is actually quite easy thanks to Microsoft’s MakeCode drag and drop programming language which you don’t have to download – it runs in your web browser!
This project uses relatively inexpensive electronic components which is great because if you were to use LEGO’s Mindstorms robotics parts, that would be much more expensive. Since this project uses non-LEGO electronics, 3D printing comes in handy to produce housings and base plates for mounting the Adafruit hardware and original LEGO bricks on the rover itself.
Prepare some LEGO bricks and wheels, turn on your 3D printer and build this awesome Lego Rover as a weekend project!
Lego Rover by Adafruit: What You Need

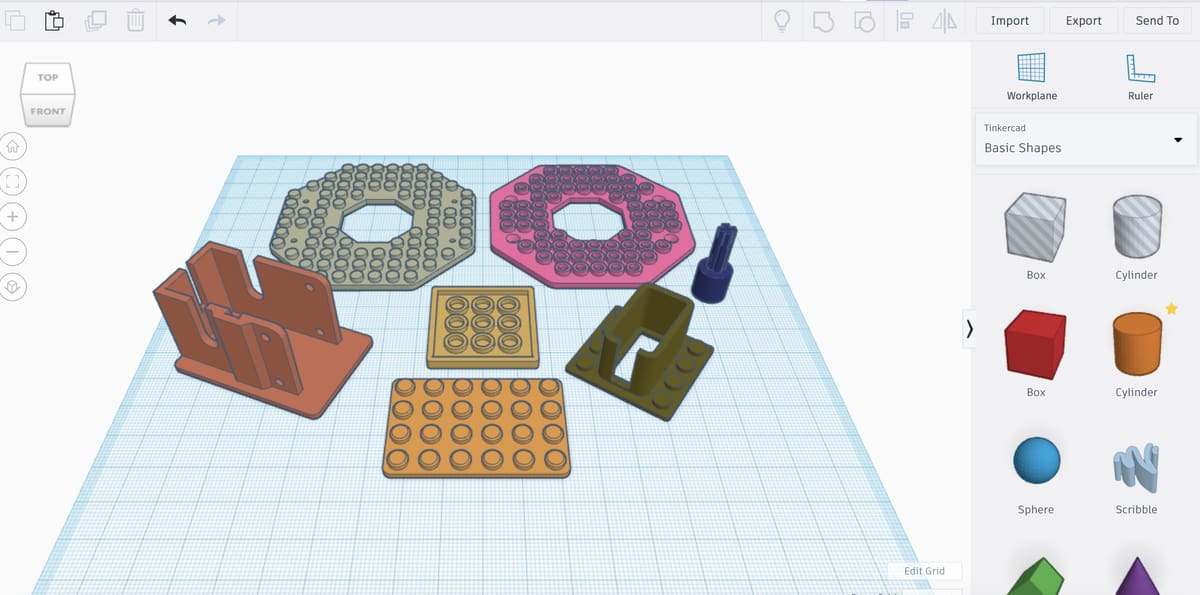
The first step to building this LEGO Rover is to 3D print the motor mounts, base plates and axles. You can find the needed STL files on Thingiverse, kindly provided by Adafruit. Please note that the provided STL files are designed to be printed with PLA on a well tuned FDM 3D printer without support material.
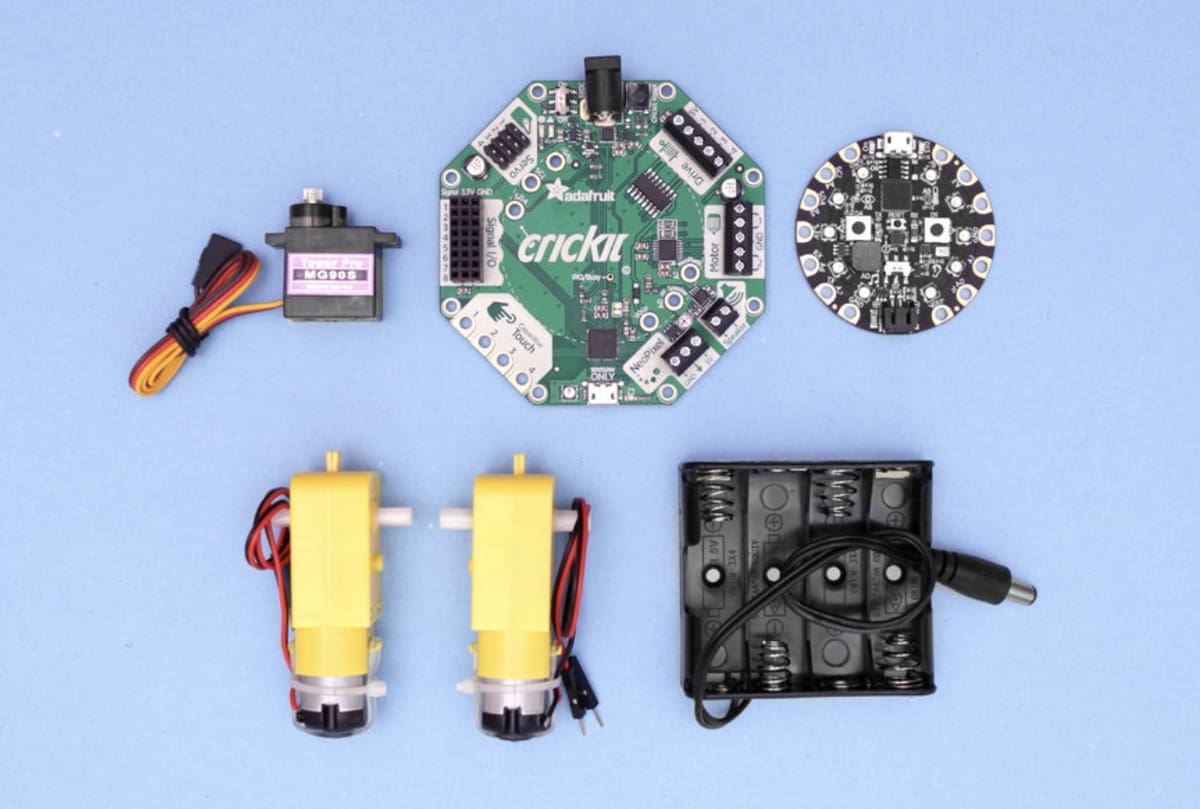
After printing the required parts, you will need to buy the following electronics to bring your Lego rover to life.
Here’s a list of electronics you’ll need to build this rover:
You’ll also need some screws, nuts and hex standoffs:
- First and foremost, you’ll need 6 x M3 12mm brass hexagonal standoffs. These come included with the CRICKIT for Circuit Playground.
In addition to the screws, nuts, standoffs and electronics parts, you’ll need a battery holder and batteries to power up the rover. We recommend you to use NiMH rechargeable batteries because they are more eco-friendly than disposable alkalines and are generally thought to perform better than alkalines.
Please note that apart from the components we mentioned and linked above, you’ll need two LEGO Technic wheels and tires, plus additional Lego bricks if you want to further personalize the rover. You’ll also need a bit of glue and we recommend you to use superglue since it works well with 3D printed parts.
LEGO Rover by Adafruit: How to Build It

This particular project is a pretty involved build, with steps covering the assembly of the base plate, motor assembly, installation of the battery and then servo assembly. Not to mention giving the CRICKIT its smarts using MakeCode.
With that said, it shouldn’t give beginners any trouble with no advanced electronics know-how required, and the programming handled using the simple drag-and-drop MakeCode website.
As ever the Ruiz Brothers and Adafruit provide exceptionally clear instruction, making it a cinch for your weekend to go from robot-less humdrum to LEGO ‘bot filled fun.
Head on over to Adafruit for the full build instructions, illustrated nicely with imagery and gifs.
Have fun building the LEGO Rover!
License: The text of " Lego Rover" by All3DP is licensed under a Creative Commons Attribution 4.0 International License.