Time-Saving (and Keeping) Minimalism
Since the invention of the desktop 3D printer, makers have been justifying their existence by virtue of their fantastic ability to create custom gearwork and prototypes. From that reasoning comes the obvious logic of creating a 3D printable, analog clock.
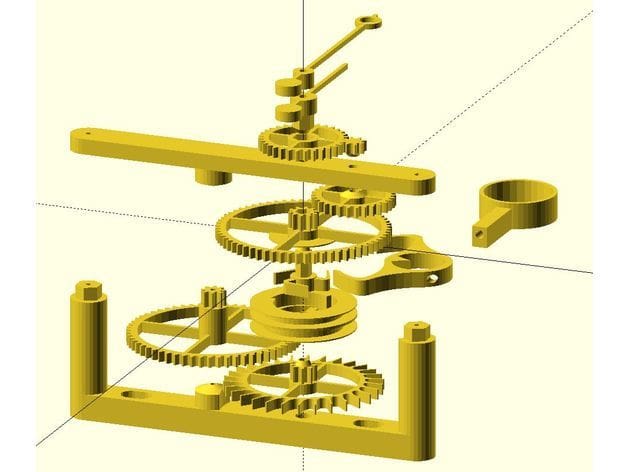
Of course, it couldn’t just end there. Ed B. (A26) came up with a way to fit all of the required parts for such a timepiece into a single 180 mm by 180 mm build plate. He states in the description of his Thingiverse post that “It was a fun exercise in minimalism and a test of my printer’s fine detail capabilities.” Such minimalism and ingenuity is something that many makers could learn from, saving materials and time while still resulting in the same mechanical functions.
But enough with the history, we want to build this thing! Makers, get out your favorite filament and preheat those printers, there’s some printing to be done!
Materials and Parts
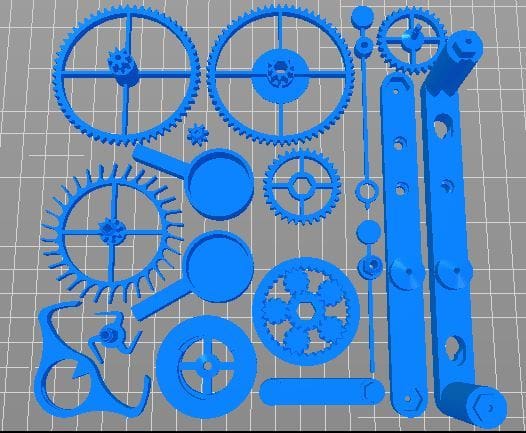
So, the first thing to do is print out the parts for the clock! The file(s) can be found on the Thingiverse post for this project.
If you have a bed larger than 180 mm by 180 mm, the only file you need is “oneplateclockv2.stl“. The whole print should take about 6 hours (depending on your printer and settings), and since all the pieces print in one go, there’s no need to keep track of what needs printing! If you have a smaller build plate, the pieces can be printed individually as well.
The maker suggests using 30% infill, while supports will definitely come in handy, especially for those trying to print the clock in one piece.
There are, of course, some non-printable parts you’ll have to acquire to get this clock ticking. Some can be purchased online, but your local hardware store should also have the following components in stock:
- 1 x 200mm 3mm diameter shaft
- 1 x ~75mm 3mm diameter shaft
- 1 x ~45mm 2mm diameter shaft
- 3 x RC Helicopter bearings 6x3x3 (or 6×2.5×3)
- 1 x 450g weight
- 8x quarters or similar coins
- string
- 2 x nails (for mounting to wall)
Cleanup and Assembly
Once your finished 3D printing the clock (or parts), the first thing to do is clean up the printed parts. Using a knife, carefully remove any elephant’s foot around parts, cut off any strings, and do a once-over to ensure the parts are smooth and free of external artifacts.
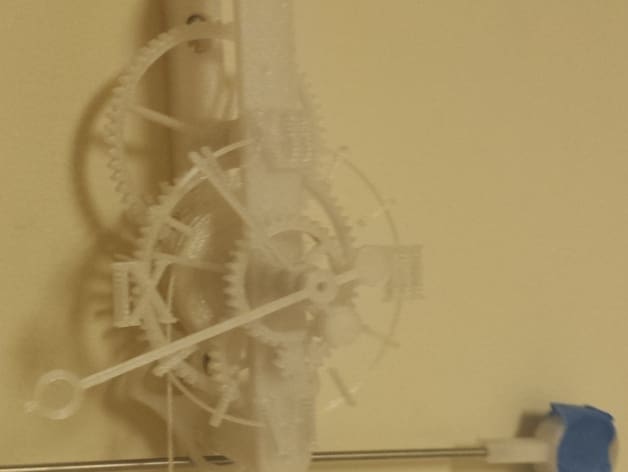
The assembly of this clock is fairly simple: Fit each gear in place on it’s designated shaft, fit the coins into the pendulum, add the string and weight, then it’ll be ready to start ticking! A26 notes in his description that adjusting the balance of the pendulum and the mass of the weight will help balance the clock, allowing it to run more accurately and for longer.
As an additional extra, you can print out and attach a clock face. Other than that, the only thing left to do is mount your clock to the wall, and away it goes!
You can view the entire original project by A26 here.
License: The text of " Tick-Tock with this Single-Print Mechanical Clock" by All3DP is licensed under a Creative Commons Attribution 4.0 International License.