
10 Reasons to Use Tinkercad

What are the pros of using Tinkercad?, you ask. Check out 10 reasons to bring your design ideas to life in Tinkercad!
It’s safe to say that one of Tinkercad’s value propositions is the ease with which computer-aided design (CAD) newbies can easily create and share 3D models. The free web app helps you translate your ideas into prototypes, be it through 3D design, circuitry, or codeblocks.
A standout among CAD programs for kids because of its gentle learning curve, Tinkercad also has plenty to offer even those who aren’t especially engineering saavy. All you need is creativity.
Tinkercad was first released in 2011 by software engineers Kai Backman and Mikko Mononen, with the goal of creating an accessible 3D design tool. In 2013, the site was acquired by Autodesk, also responsible for other major CAD programs such as Fusion, AutoCAD, and Maya, to name a few. Under Autodesk’s ownership, the software has slowly expanded its following from young students to hobbyists and designers.
In this article, we’ll go over 10 reasons you should try Tinkercad. From its straightforward layout to its supportive resource center, you’ll find a great design tool for your setup, whatever it might look like.
Let’s get right to it!

Beginner-Friendly
Tinkercad is built to introduce the art of making things. It gives you the ability to design on the spot, the “ability to start tinkering”.
As part of Tinkercad’s beginner-friendliness, there are plenty of free lessons. After you’ve gotten your bearings, you can try one of the free hands-on projects or start tweaking and remixing models. This experience is quite exciting for newbies, especially those who are learning the ropes of 3D modeling.
To wrap it up, there are also free lesson plans cutting across art, computer science, design, electronics, social studies, and more. These feature well-detailed processes, with materials to easily teach beginners.
Easy-to-Use Interface

The role played by the user interface (UI) of a program can’t be understated, especially when it comes to aiding a smooth user or learning experience. This is the case with Tinkercad: Every environment is easy to navigate and to locate features in. Its three main environments include 3D Design, Circuits, and Codeblocks.
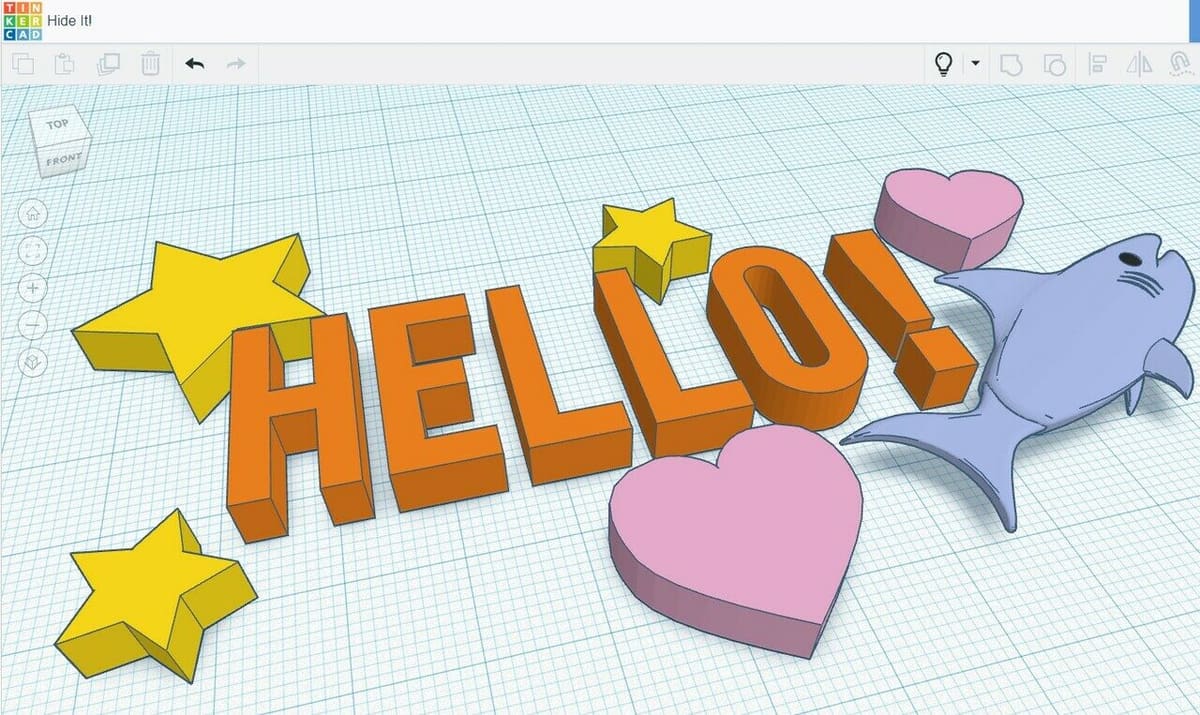
Within the 3D Design environment, you will see the workspace plus a panel to the right with 3D tools, featuring basic 3D shapes and predetermined designs. There are also some functionalities (hide, add or remove) on a top toolbar.
The Circuits environment includes the workspace and a detailed category of components, from basic components to Arduino and circuit assemblies. Unlike the other two environments, there isn’t a workspace by default – you have to click and drag a component to the workspace and get to work there directly.
Codeblocks is the third environment (see above) and includes the 3D Viewer (yellow), as well as the features, settings, and options that can be selected (red). The possibilities change as you select a different one (pink). You can organize the Codeblocks in the Blocks Editor (green).
Tinkercad has a list of easy-to-recall shortcuts, further simplifying the navigation.
Available from Everywhere
If you’re following the trend of programs migrating to cloud-based solutions, you should definitely appreciate Tinkercad.
The program is fully online and can be accessed via a web browser on Mac, Windows, or any device capable of opening a browser-based app. No high-end computer hardware or memory are required; all you need is an active internet connection.
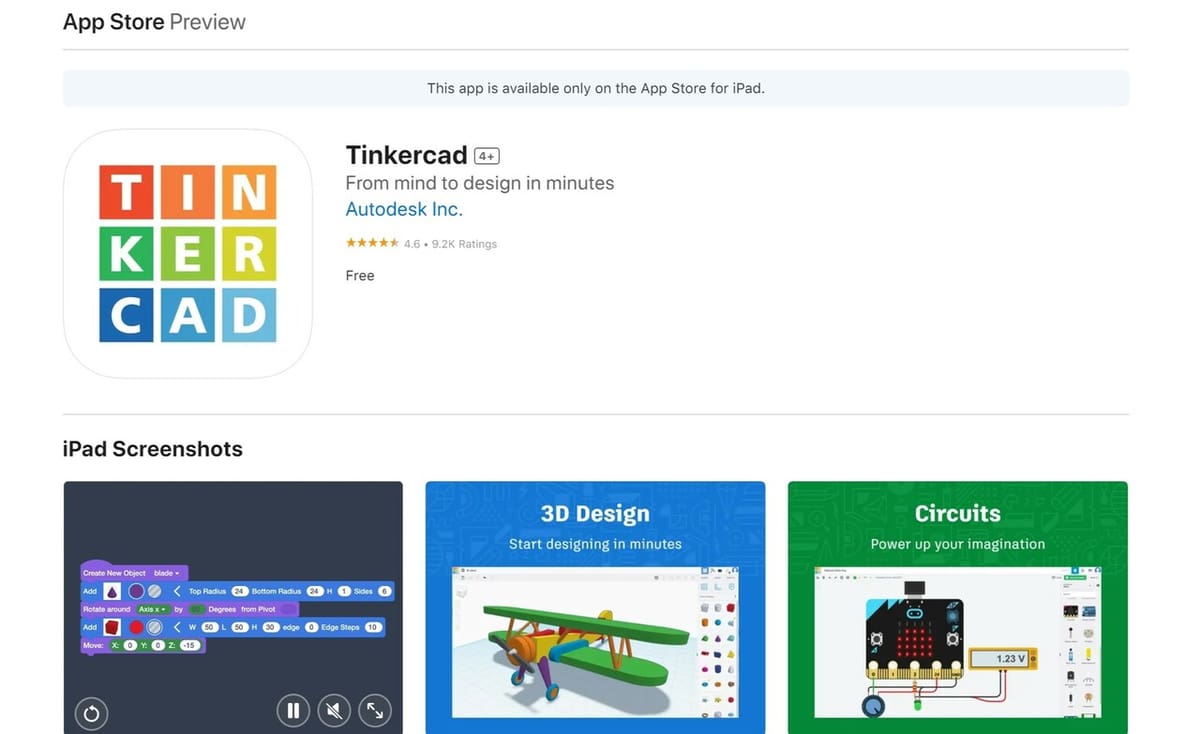
Alternatively, you can download and use the app versions for iOS (iPad) and Android.
Also, since your designs are always available, there’s room for seamless collaboration. Tinkercad has a dedicated icon for designers to initiate collaboration through a shared link.
Models

It’s common to find basic shapes and models in design software that aid you create. Think of these as presets or primitives, and Tinkercad is no exception. Because the goal is to help convey ideas easily and swiftly without worrying over complexity, you’ll find models such as basic geometries (cylinder, triangle), living things (plant, animals), everyday objects (phone, football), and engineering design components (PCB assemblies, gears) to name a few.
Tinkercad offers an extensive Shapes Panel, with almost anything you can think of to include in your design. This is split into 11 different categories, including Basic Shapes, Design Starters, Creatures & Characters, and more!
All these make customizing and personalizing your projects a breeze. Without having to create shapes from scratch, the library is a convenient and inspirational tool for beginners.
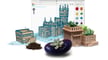
And if you’re curious about what others are working on, you can always check out the Community gallery for inspiration – you can even copy a model and make any changes you want to it!
Modeling Tools
In Tinkercad, as mentioned, there are basic shapes. While your ability to modify them is dependent on the nature of the shape, the outcome will depend on how you manipulated the object.
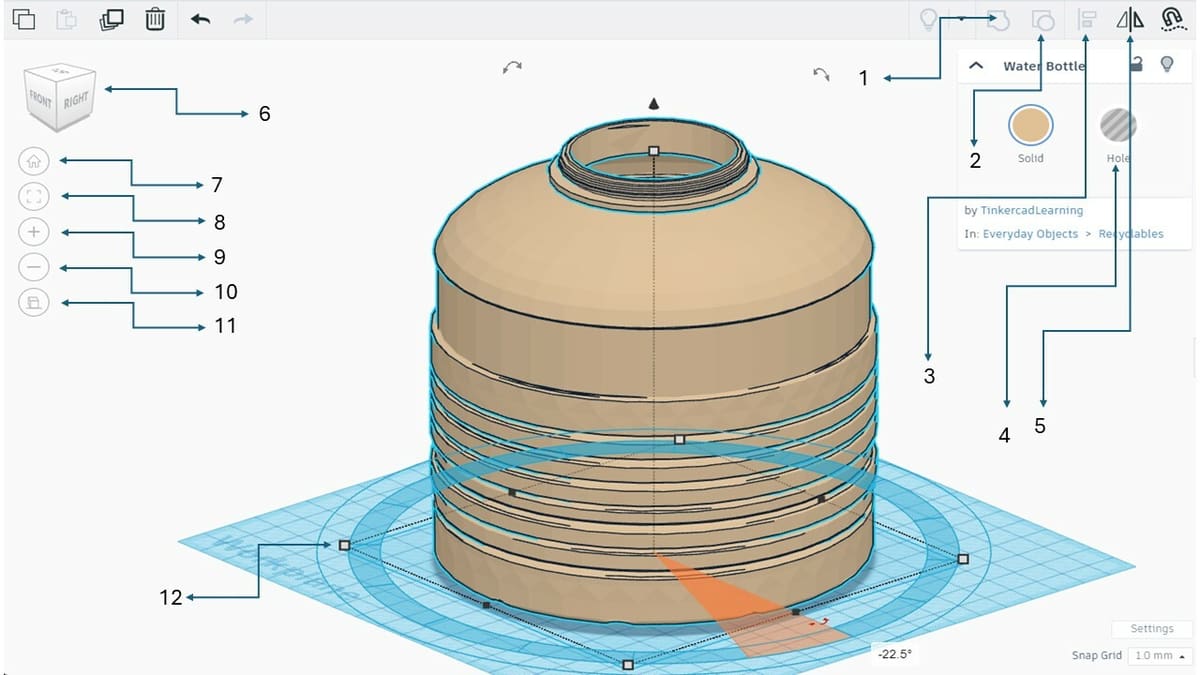
Within the 3D Design environment, shape modification follows a regular and basic approach to 3D modeling. The tools include the following:
- (1) Ungroup: Separates shapes into multiple objects.
- (2) Group: Combines separate shapes into a single object.
- (3) Align: Brings two or more shapes in line with each other across a variety of axes.
- (4) Hole: Turns a shape into an empty element that is subtracted from other solid shapes when grouped together.
- (5) Mirror: Creates a mirror image of a shape.
- (12) Scaling nodes: Allows for changing the dimensions of the shape and can easily be done by gripping the nodes that appear on the selected object.
There are also environment manipulation and measurement features:
- (6) ViewCube: Changes points of view on the work plane either through left-click dragging on the cube or clicking on its surfaces.
- (7) Home view: Returns to a central, front-facing view of the workspace.
- (8) Fit all in view: Focuses the view on a shape of choice.
- (9) Zoom in: Makes the object appear larger or closer, such that tiny details on the model can be picked.
- (10) Zoom out: Makes the object appear farther, allowing for a holistic view of the model.
- (11) Orthographic and perspective view: Orthographic view shows the object in a 2D projection, while the perspective view simulates how the object would be if the user stood at a determined distance (i.e., parallel edges of the model will converge as they become distant).
In addition to the viewing tools, you can easily measure any side of a shape using the ruler, with which you can measure endpoints, midpoints, and even relative distances to fully understand the positioning of your model.
File Compatibility

Wish you could modify a 3D model you found online? This is something Tinkercad can help out with! You can simply drag and drop (import) a 2D or 3D file in either STL, OBJ, or SVG format. These file types are ideal for 3D printing and CNC machining. Objects in these formats can sometimes be challenging to modify in more advanced CAD software, but in Tinkercad, the model is treated as a normal shape when it’s successfully loaded.
When you’re ready to download your modified file, you can export it as an STL, OBJ, or GLTF (.glb) for 3D printing (which we’ll look at closer further below) or SVG for laser cutting. The only limitation of the import and export tools is that the size of the file itself can’t exceed 25 MB.
Project Sharing Capability

Another convenience of browser-based CAD software such as Tinkercad is that you can easily share your 3D model and circuit projects with others, even if they don’t have an account of their own. Project files can be shared either publicly or privately with the option to switch whenever needed.
The sharing tool (“Send To”) acts as a shortcut for uploading your model directly to products like Autodesk Fusion, 3D printing community services like Thingiverse and Printables, including non-CAD sites like Google Classroom, to name a few.
The share tool allows you take a clean snapshot of your design when you click on “Download locally” (under “Picture of your design”).
Possibility to Get it 3D Printed Right Away

When exporting the model for 3D printing, you have a couple of options. You could download the file (e.g. STL) and save it locally to your PC. Alternatively, Tinkercad has a dedicated “3D Print” tab under the “Export” tool.
This allows you to directly send your model for printing over the cloud – if you’ve got a 3D printer that is already connected or if you’ve got a remote control setup that includes an app like AstroPrint. Alternatively, there are 3D printing services that can also be selected, such as i.Materialise, so that others take care of the 3D printing for you.
With Tinkercad, you’re minutes away from printing you innovative designs.
Additional Tools

Another reason to use Tinkercad is the basic yet excellent nature of problem-solving or testing allowed for.
Circuits & Programming
Circuits is a powerful feature where you can practice building circuits and programming. The supported microcontrollers are the Arduino Uno and Micro:Bit, so you can code in block-based or text-based formats interchangeably. If you’d like to practice both, Tinkercad can even translate one format to another, allowing you to toggle between both views.
In addition to a library of example projects, over 100 components are available, from a simple LED to a DC motor. This fully integrated and unique feature easily makes Tinkercad your one-stop shop for simple electromechanical prototyping.
Codeblocks
This environment allows for object templating, conditional statements, and programming. With Codeblocks, you’ll be implementing a Scratch-based “block coding”, which results in a dynamic, parametric, and adaptive 3D design.
Sim Lab
The Sim Lab (simulation lab) is one of the coolest offerings from Tinkercad, as it allows you to set your models in motion. This is a physics workspace that enables makers to easily assess how a model will interact with the environment or other objects. This implies a simulated effect of collision and gravitational forces, using realistic materials.
Popular in the Community

The final reason you should use Tinkercad is that there are lots of people using it too, so you’ll always have someone to talk to if you run into challenges trying to perform a task.
To start with, it’s not every day that you get to learn how to use program in nine minutes, yet this is the nature of what you come across in the YouTube community of Tinkercad users.
Tinkercad’s simplicity, availability, and ease of use, has encouraged many to “make things”. Apart from the official community gallery, which has a extensive list of people’s work, you can also see lots of cool works on the Tinkercad subreddit. This Reddit group is also a great place to learn about the new features added to Tinkercad.
License: The text of "10 Reasons to Use Tinkercad" by All3DP is licensed under a Creative Commons Attribution 4.0 International License.