PrusaSlicer: Z Hop – Simply Explained

Unlocking the Z-lift technique (Z Hop) in PrusaSlicer: Learn how to change the game on the extruder traveling movements!
Z Hop is a technique to circumvent printer failures, namely in fused deposition modeling (FDM) printers. It’s set as a slicer parameter and changes the extruder movement in a travel path when it’s moving from one point to another without extruding material. It has different names in different slicer software. While in Cura it’s known as Z Hop, in PrusaSlicer it’s actually named “Travel lift” and, more colloquially, “Z lift”.
When 3D printing, there are a variety of settings that can affect, to varying degrees, the model and its quality once reproduced. From retraction to organic supports, including infill and wall thickness, and, of course, having the right temperature for the model, three are many settings to look into. Depending on these and the model and its intended use, Z Hop is another setting that can either save or ruin your printing.
In this article, we’ll look at the Z Hop setting in PrusaSlicer, how to set it up, when to opt for it and when to avoid it, and the best way of maximizing the benefits of this tool. Note that we’ll be looking at PrusaSlicer version 2.7.4, the latest stable release at time of writing.
Z Hop & Z Hop Ramping
The impenetrability physics law states that two bodies can’t occupy the same space at the same time. That’s why Z Hop exists.
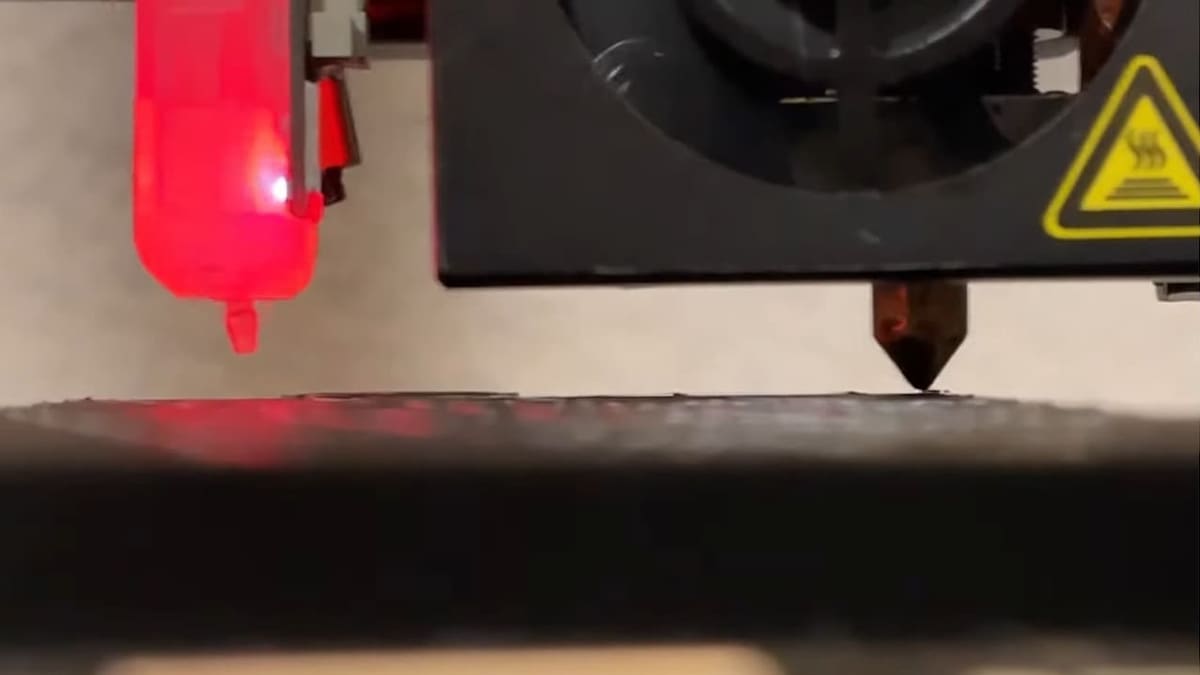
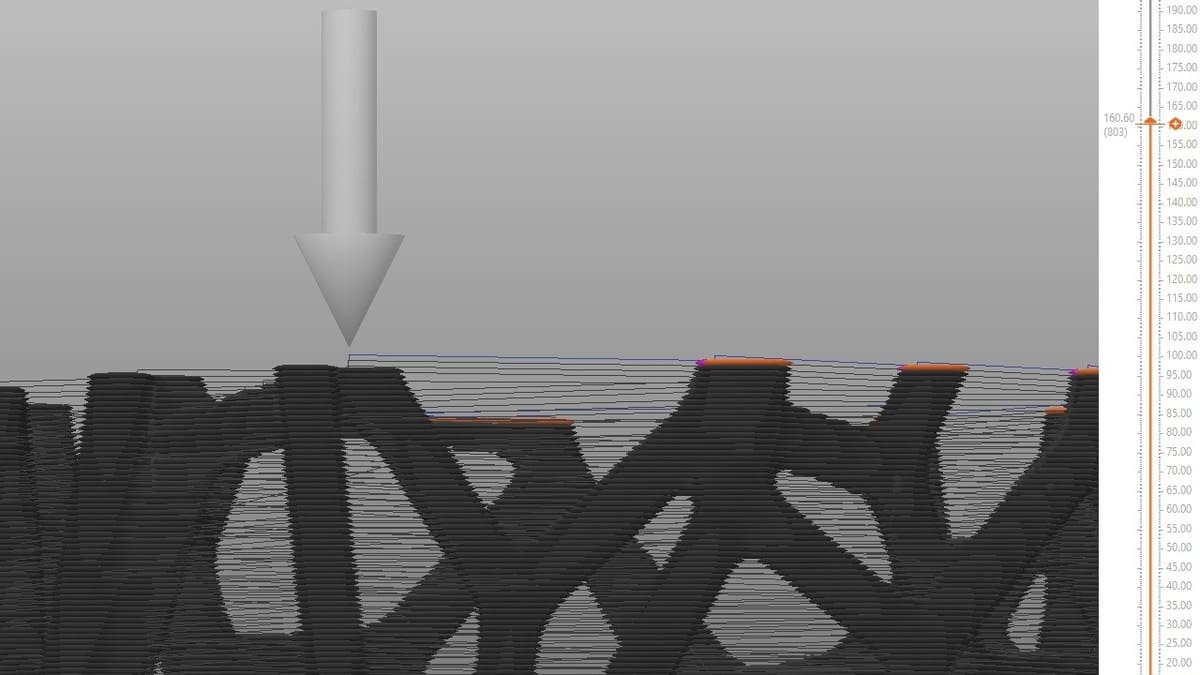
When configured in the slicer, it prevents the extruder from bumping into supports or previously printed parts that are at the same altitude as the current printed layer or above it when traveling from one point to another without extruding material.
That is to say, in every retraction movement, the extruder will lift a distance from the just extruded layer, travel to the next point, and then lower to the working height.
This manipulation of extruder movement prevents it from knocking over previously printed parts or supports, as well as from leaving a scar under top surfaces due to the nozzle traveling. On the other hand, enabling Z Hop may also increase stringing.
To overcome or minimize this latter issue as much as possible, an upgrade on Z Hop was made with ramping. Instead of lifting the extruder vertically, it goes upwards in an inclined trajectory, translates near to the next point, and goes downwards vertically. The direction change prevents oozing.
Configuring Z Lift in PrusaSlicer
As already mentioned, in PrusaSlicer, Z Hop is known as “Z lift” or “Travel lift”. All Z lift settings can be reached in the “Printer Settings” tab, under “Extruder 1”, and placed in the “Travel lift” block.
Currently, there are five Z-lift parameters, two from standard Z lift and three for ramping lift (plus the option to enable ramping lift). Among them, there are Simple, Advanced, and Expert parameters, so make sure to enable the latter to show all of them.
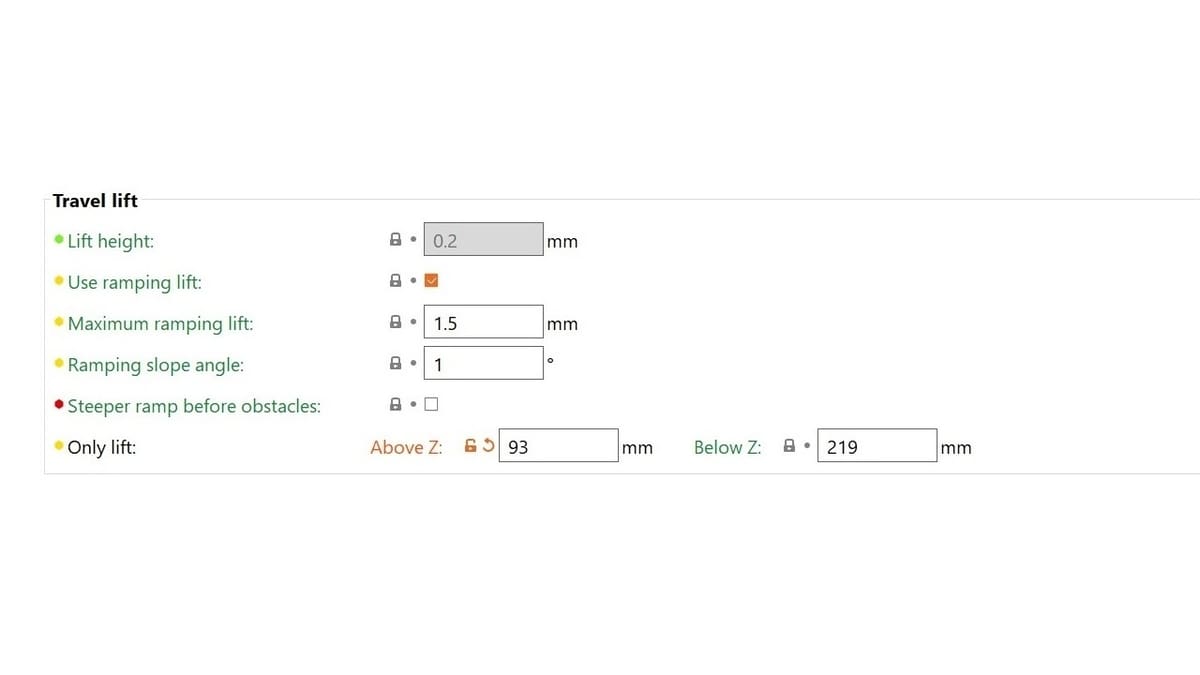
- Lift height: This is the height above which the extruder will be raised. It’s common to set it at 0.3 or 0.4 mm. Another popular approach is to set this value as a multiple of the layer height, usually double. As will be seen in Pros & Cons further below, Z Hop can increase printing time, therefore it will be good to maintain it at as low a value as possible.
- Only lift (Above Z and Below Z): With these, a range of a printing height can be determined to start and finish applying Z Hop at. As some drawbacks can result from Z Hop, it’s valuable to control its activation just in the printing regions more prone to occurring defects related to collision. This setting is locked by default and is unlocked only if a value for Lift height is specified.
Ramping
The other three settings are related to Z Hop ramping. They are locked by default and are only available if “Use ramping lift” is enabled.
- Maximum ramping lift: This is the maximum height the extruder will lift before it completes the inclination movement. If the distance between the two points is very close, this maximum height won’t be reached, depending on the ramping slope value configured. Normally, it’s set high (higher than the layer height), because the slope angle is more important, the lift height being its consequence.
- Ramping slope angle: As its name indicates, it’s the angle at which the extruder will make an inclined trajectory. It’s normally set from 1 to 10 degrees.
- Steeper ramp before obstacles: This can be enabled to make the printer detect obstacles immediately before the extruder starts lifting, and, if it does, the slope angle will increase sharply.
Pros & Cons
Z Hop, unlike many other FDM printing parameters, can be as beneficial as it can be prejudicial, helping to increase printing quality from one point of view and decrease it from another perspective. Let’s check out the main advantages and disadvantages.
Pros
The main reason to enable Z Hop is to improve the quality of the print, preventing the formation of scars, and even reducing blobs on the surfaces. That’s due to Z Hop minimizing the contact time between the nozzle and every other part of the model.
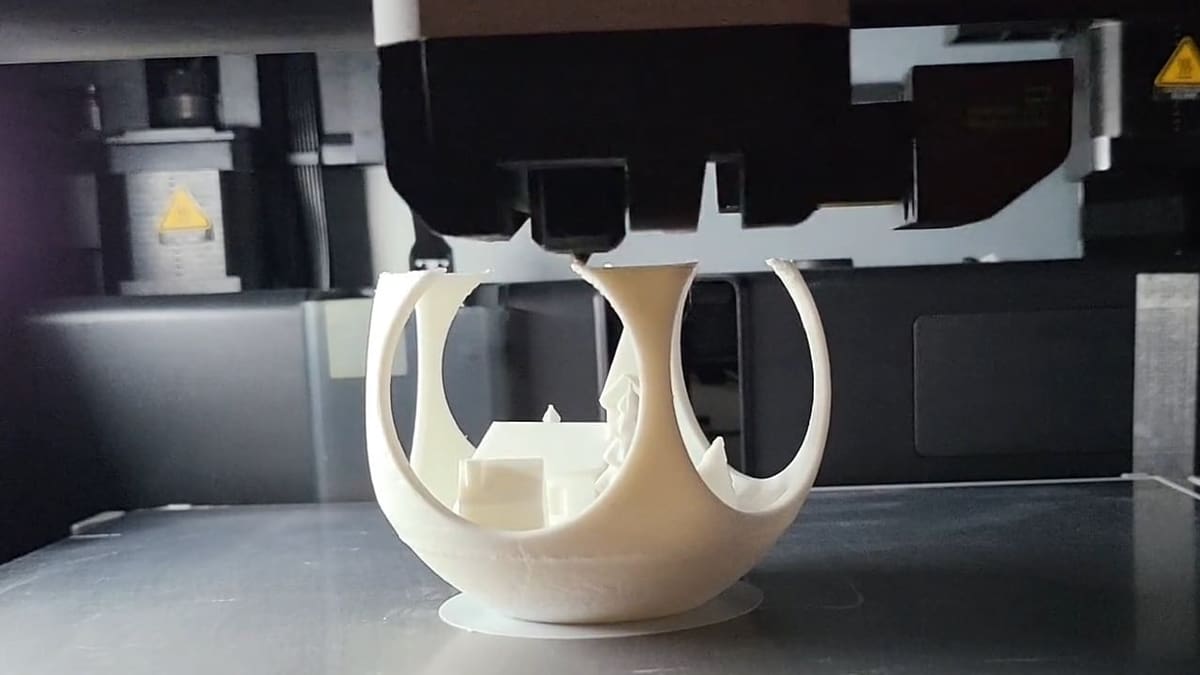
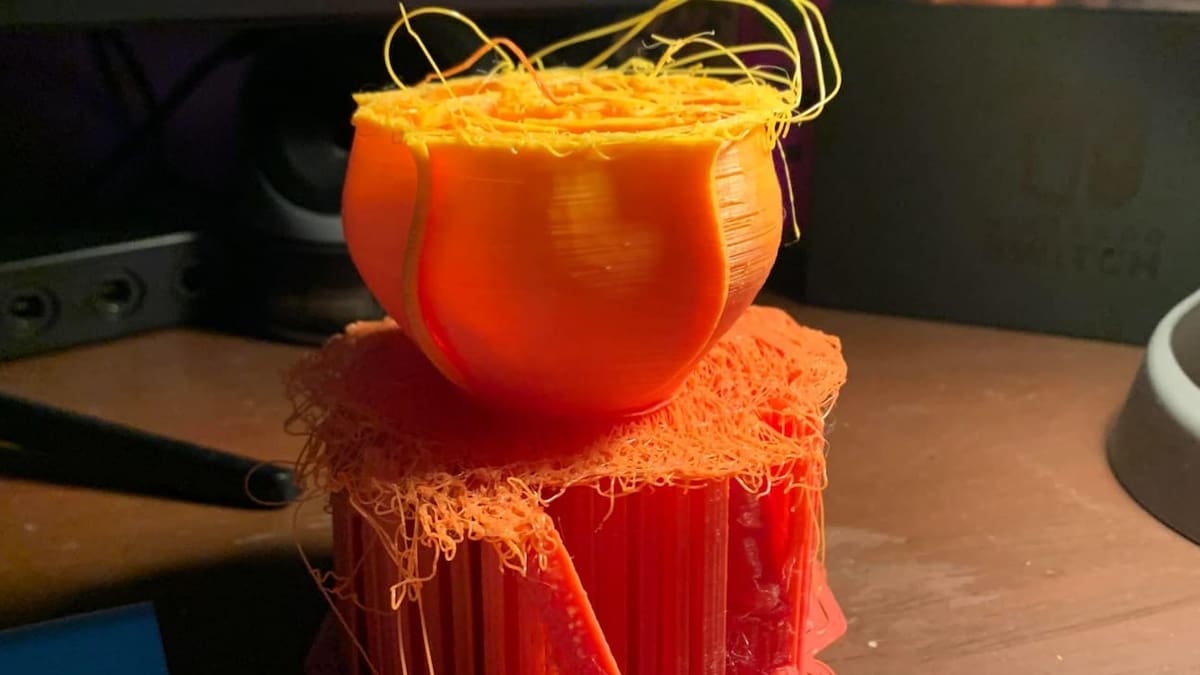
When a design has many overhanging geometries, such as in Voronoi vases, for example, the protruding features will tend to warp, creating a clog in the surface. When the nozzle passes above it without the Z Hop configuration, the nozzle itself can knock over the clog and detach the printing from the bed. The same can happen with supports: If the nozzle detaches it, the printing will be ruined due to a lack of support.
Cons
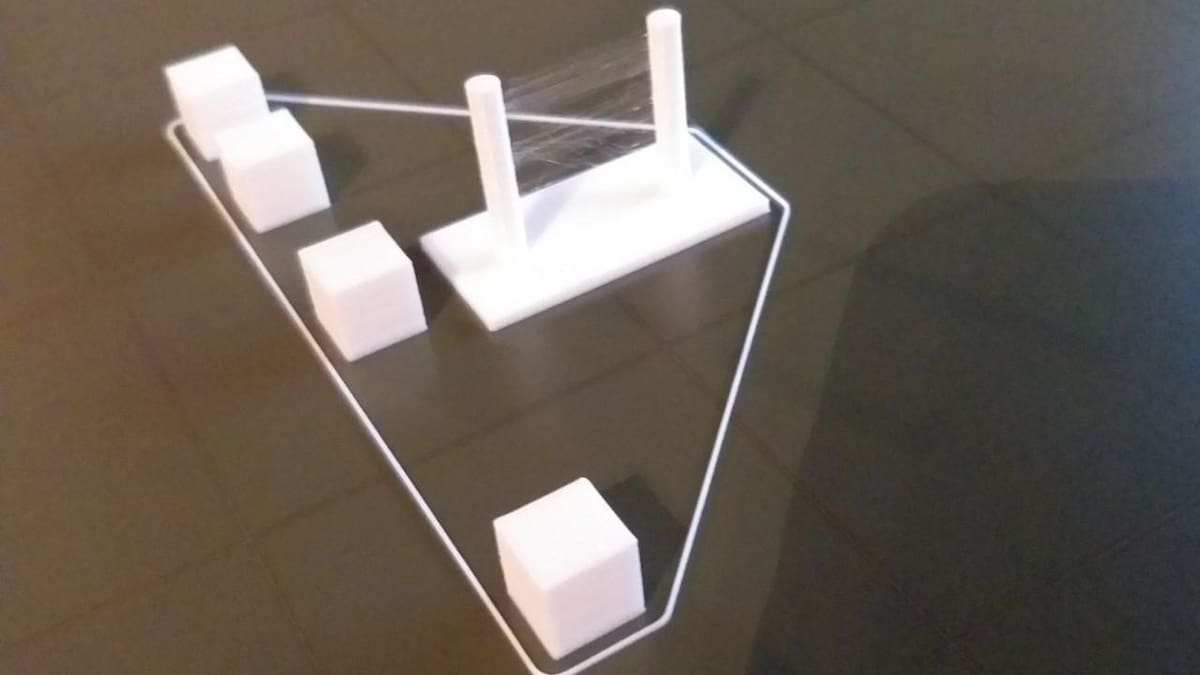
The main inconvenience of using Z Hop is its tendency to cause stringing. This happens because Z Hop stops the extrusion process for a greater time than if it were disabled.
Depending on the retraction settings, it can cause stringing because it will ooze more frequently. The lower the distance from one point to another, the more likely it is to have stringing, because there isn’t enough time for the pressure to stabilize. The retraction parameters, that is retraction and de-retraction lengths, speeds, and extrusion temperature, should be carefully set along with the Z Hop parameters.
Additionally, the higher number of retractions, the more the printing time will increase. If the retractions are less frequent, the increase in printing time will be minimal; otherwise, the extruder lifting time will be multiplied by the number of retractions, leading to more time being required for the print to finish.
Printing quality problems can also stem from a lifting system with poor rigidity and a lack of precision. Leadscrew machines, for example, can make Z wobbles. This can add more defects in each layer and retraction. This is why it’s important (whether to enable Z Hop or just in general) to keep your printer well-calibrated.
Inlay 3D Printing
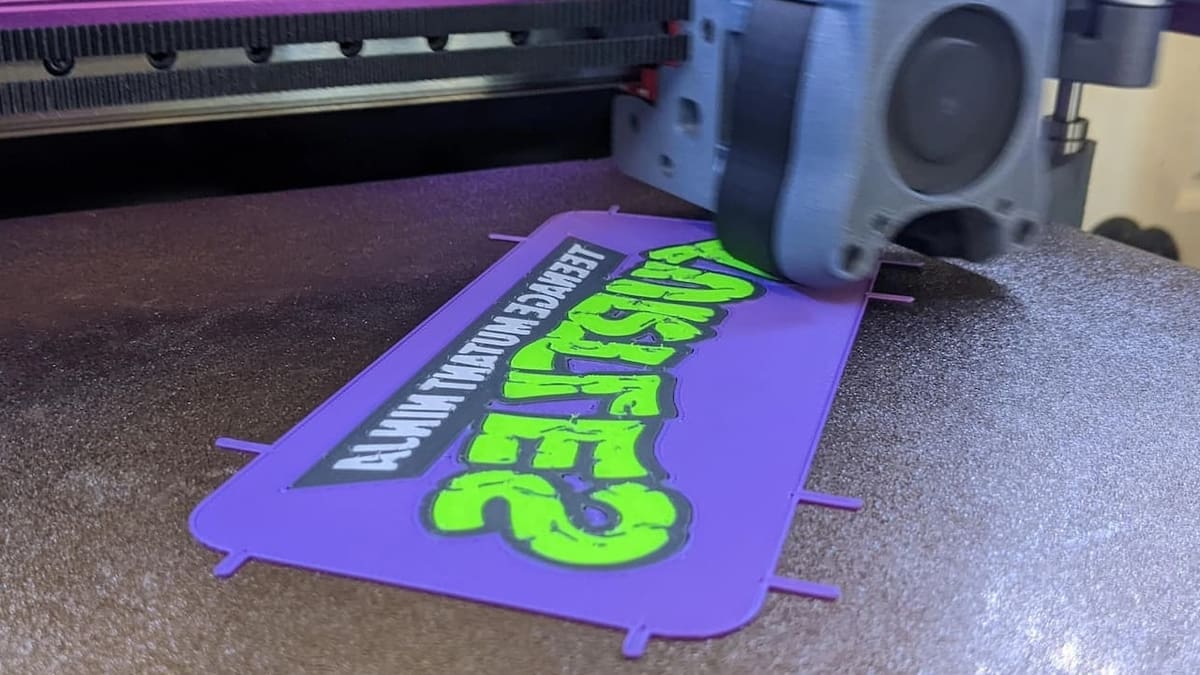
A new application of Z Hop is falls far outside the realm of troubleshooting techniques. It’s now possible to use Z Hop to print a multicolor layer, even if you don’t have a multiple-extruder printer or a muli-material system, such as the AMS from Bambu Lab or the Multi-Material Unit from Prusa.
The technique consists of splitting the STL file among the regions with different colors. Start printing only one color without a skirt (the Z Hop can be switched off here). Then, change the STL file, making sure that it’s aligned in the bed with the previously printed one. Finally, adjust the Z Hop considering that it has to pass over the already printed layer. Repeat the process until you obtain your completed colorful layer.
You can look more into this in Chep’s useful YouTube video.
License: The text of "PrusaSlicer: Z Hop – Simply Explained" by All3DP is licensed under a Creative Commons Attribution 4.0 International License.