Build a 3D Printed Crystal Radio Receiver from Household Items

A Texas-based 3D printing enthusiast created a 3D printed crystal radio receiver which doesn’t require a battery or plug. Now, you can too by downloading the 3D files and step-by-step instructions.
If you’re looking for a new fun project, you might be interested in creating your own working 3D printed radio. Sage Hansen created this project and shows that it’s possible to build an AM radio with some common household items and absolutely no soldering.
Hansen is a 3D printing and electronic hobbyist based in Texas and is now sharing this project with the world. He was inspired by DIY crystal and foxhole radios of the early 1900’s, powered by radio signals.
However, his radio is also a simple design so that even inexperienced makers can have a go. The radio doesn’t even require an electric cord or batteries. It’s called a crystal radio receiver – named after its crystal detector or diode. You may also know it by the name of a “cat’s whisker receiver”.
“AM radio was one of the first ways of transmitting audio to a very broad audience in the early 1900s, but it is still very popular today… It starts with the radio station converting their audio sound waves into electromagnetic waves, which can travel great distances. Each radio station uses a specific frequency that is constant, but the sound waves are mixed so they amplify and modulate the base radio wave,” Hansen explains.
Create your Own Crystal Radio Receiver
Hansen is sharing his work with the public so you can download his 3D files as well as step-by-step instructions. Not ready to undertake the 3D print but interested in finding out more? Check out his YouTube video above.
The recorded video is instructional and uses 3D animations to help you create or understand the crystal radio receiver. Hansen adds: “I hope that people will find this entertaining, educational — and have fun using this radio.”
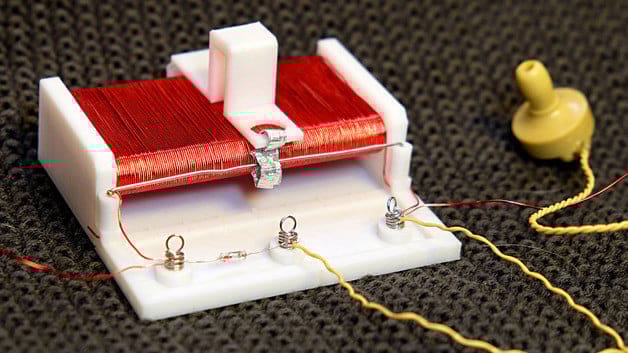
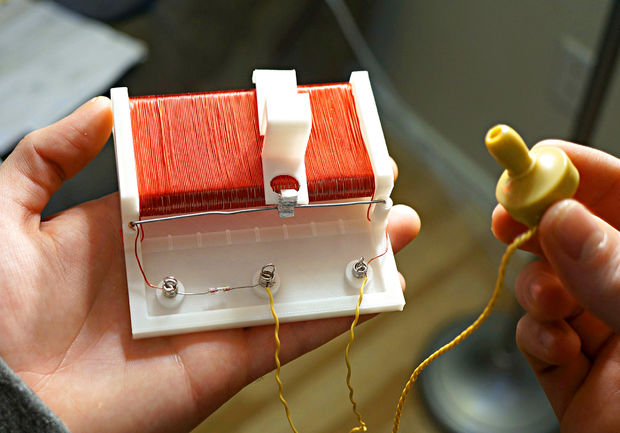
To create the receiver, all you need is a few simple components, including: a Piezo Earphone, a coil of 24 AWG magnet wire (aka Enamel Wire), a 1N34A germanium diode, a small piece of aluminum foil, a paper clip and a package of Hildie & Jo 45 Cord Ends (5x10mm Springs). Hansen adds that these components are easy to find online.
The simple circuit and the fact you can build the radio from household items is what makes the project so exciting. Hansen adds: “What I wanted to do was use my 3D modeling software to design a simple form that presents the components in such a straightforward way that it’s easy for the viewer to follow the circuit and understand how this is working. The radio waves received by the antenna pass through the coil of wire, which is acting as an inductor that determines the frequency. Then the diode will convert the receiving alternating current into direct current, which will vibrate the piezo speaker creating sound waves.”
Download the 3D files and the step-by-step instructions and fire up your 3D printer!
Source: Digital Trends
License: The text of "Build a 3D Printed Crystal Radio Receiver from Household Items" by All3DP is licensed under a Creative Commons Attribution 4.0 International License.