3D Print your DIY MIDI Controller

Want to let your virtual instruments or DJ console shine? Build your DIY MIDI controller with faders, an Arduino, and a 3D printed case.
Virtual instruments and computer-based DJ-systems are indispensable today. But you don’t want to use them with a mouse. That‘s why MIDI controllers became increasingly popular since the first VST’s and iPad instruments came out.
Sure, you can buy a Novation Launch Control, Doepfer’s Pocket Fader or – god forbid – get an old M-Audio Oxygen keyboard. But making things is way more fun, right?
One guy who also likes to make things is Evan Kale. Kale is part musician, part maker. So far, he showed how to MIDIfy a cheap old keyboard, built touchless MIDI controller, added sound latch switches to instruments – and built 3D printed Arduino MIDI controller (below).

What You’ll Need for Your DIY MIDI Controller
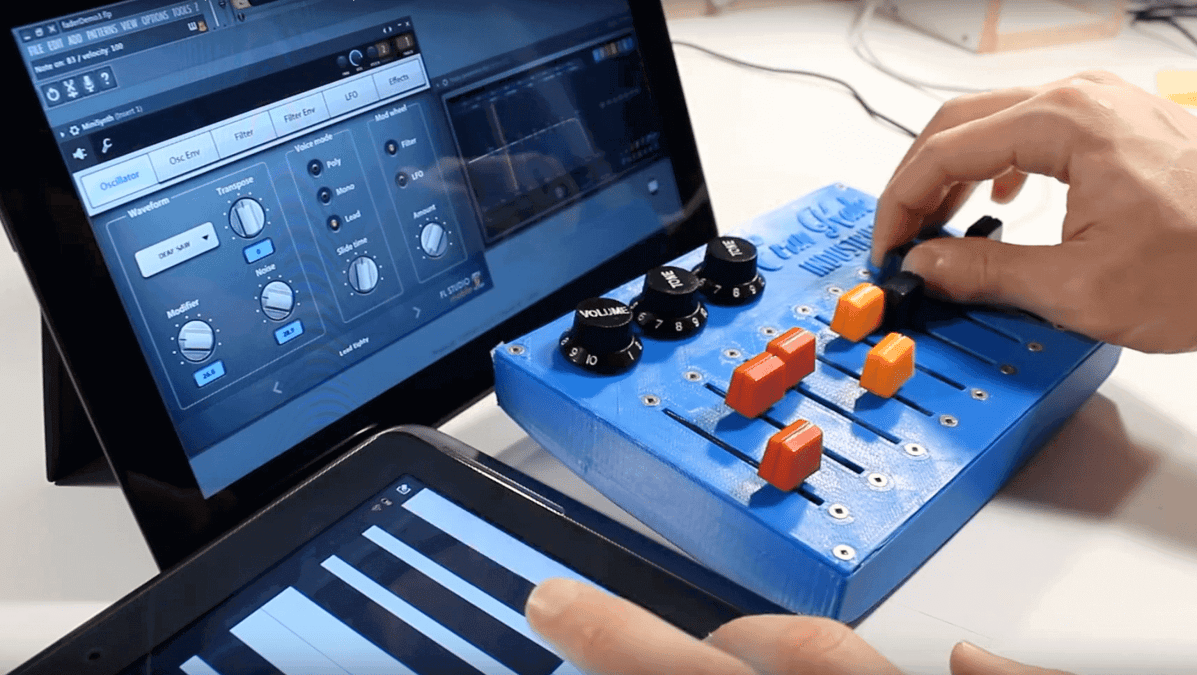
As shown in the video below, Evan ripped apart an old mixer to get to the faders; also, he took the knobs from his guitar (who needs that treble control, anyway?). He designed the case in Autodesk 3ds Max and printed in his local library (with some terrible warping, unfortunately.) You can find the digital blueprints for the case at Thingiverse.
Most of the things you’d need to build this beauty are easy to come by. Most of them you can even order at Amazon. Here’s the “shopping list”:
- 45 mm Slide Potentiometers
- Rotary Potentiometers
- Arduino Pro Micro or Arduino Micro
- 74HC4051 8-Channel Analog Multiplexer
- Perfboard
- Male pin headers
- Female pin headers
- USB-B Ports
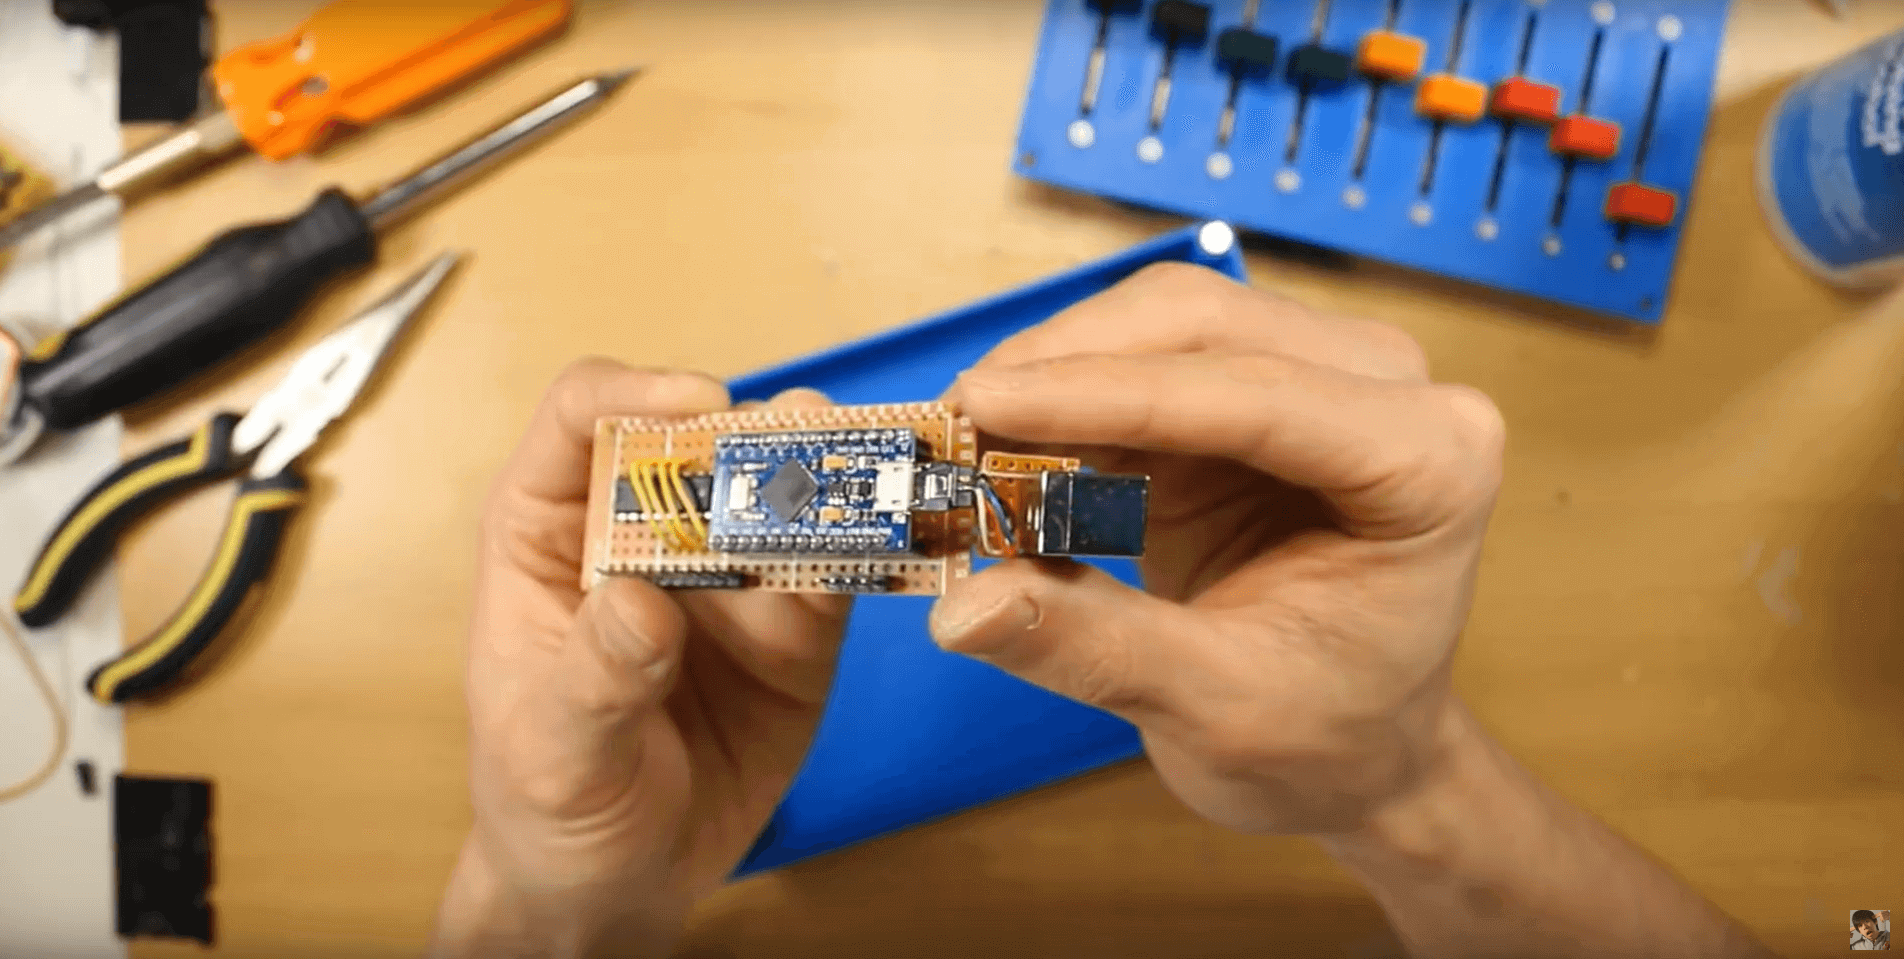
3D Printed DIY MIDI Controller: Some Soldering and Programming Required
As the faders (a.k.a. potentiometers) will give you linear voltage control, you’ll have to add an Arduino Pro Micro or Micro to change that linear to exponential behavior. It’s no rocket science and well documented by Evan.
Here are the schematics for the Arduino and the programming instructions on GitHub.
https://www.youtube.com/watch?v=4sopfrr1830
License: The text of "3D Print your DIY MIDI Controller" by All3DP is licensed under a Creative Commons Attribution 4.0 International License.