A Closer Look at OpenPnP: A Software for Desktop Pick and Place Machines

OpenPnP is an open-source software for pick-and-place machines you can use to populate PCBs at home.
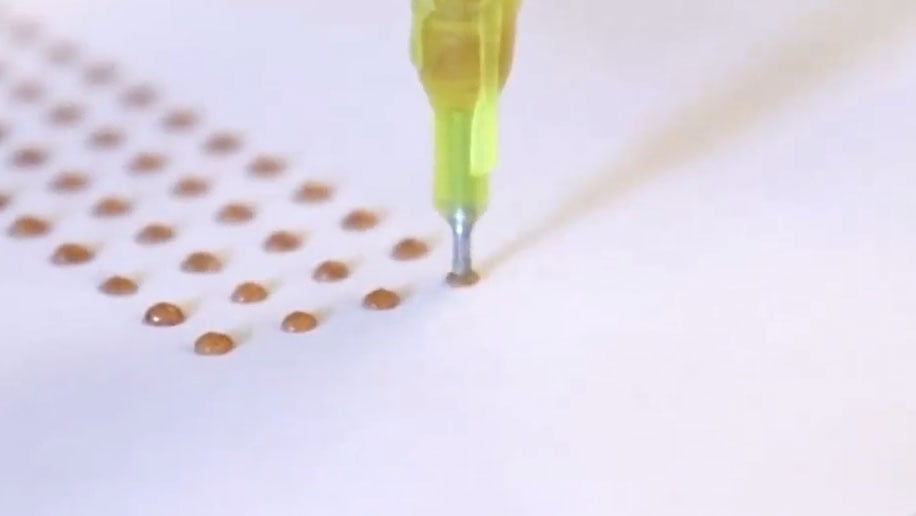
Many electronic devices today contain SMT (surface mount technology) components that are soldered to the PCBs inside. During the manufacturing process, these tiny components are placed with eye-watering accuracy by large, expensive industrial machinery, before passing through a reflow oven that melts underlying solder paste.
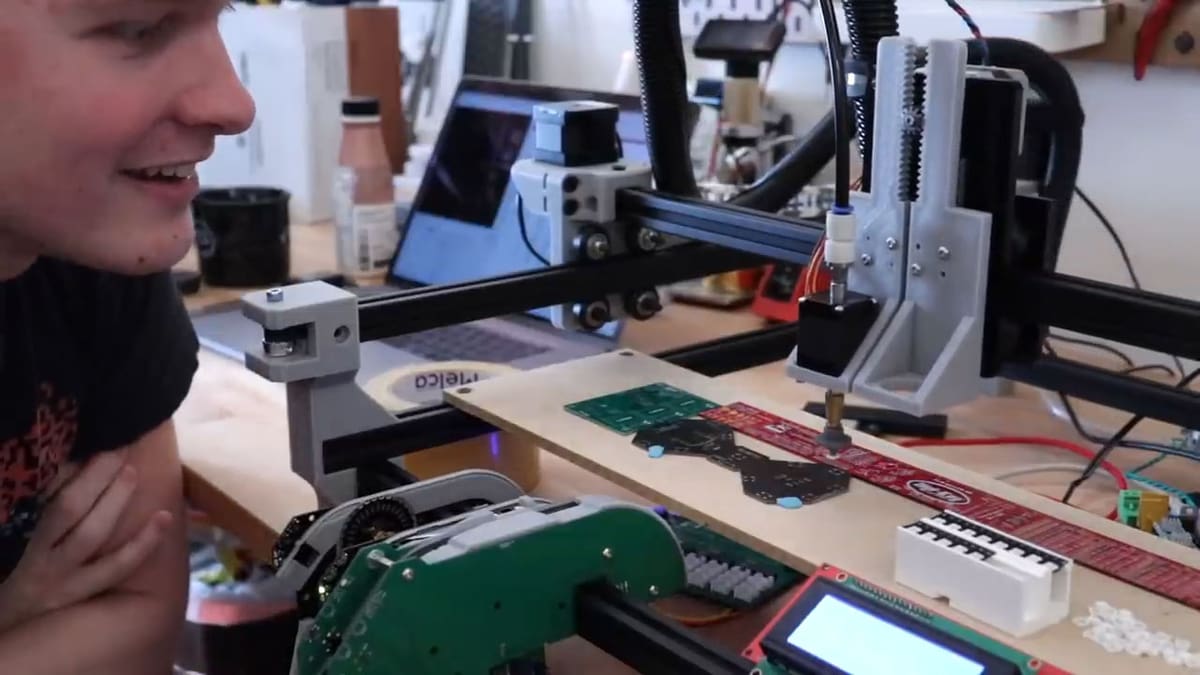
Now, we’re not saying you’re going to get super-industrial accuracy from a DIY project, but if you’re doing small-scale manufacturing or short production runs, a desktop PnP machine is able to bring this process in-house. OpenPnP is usually used to drive these open-source projects, and their website lists several DIY PnP builds, including a reference build based on OpenBuilds linear motion hardware and 3D printed parts.
What’s PnP machines got to do with 3D printing? Well, besides having a bunch of 3D printed parts, the system runs on G-code and uses similar kinematics to a 3D printer – or a CNC machine, which it essentially is. Instead of a hot end or a spindle fixed to a motion system, a PnP machine uses a suction pickup to manipulate parts and place them in a specific area of a flat surface. However, don’t be completely fooled by their similarities — the design of a PnP diverges significantly from a 3D printer or CNC machine in places. For example, PnP machines have no cutting forces, allowing for lighter-duty components. They can operate much faster as they don’t have to consider chip load on cutters, cutting forces, etc.
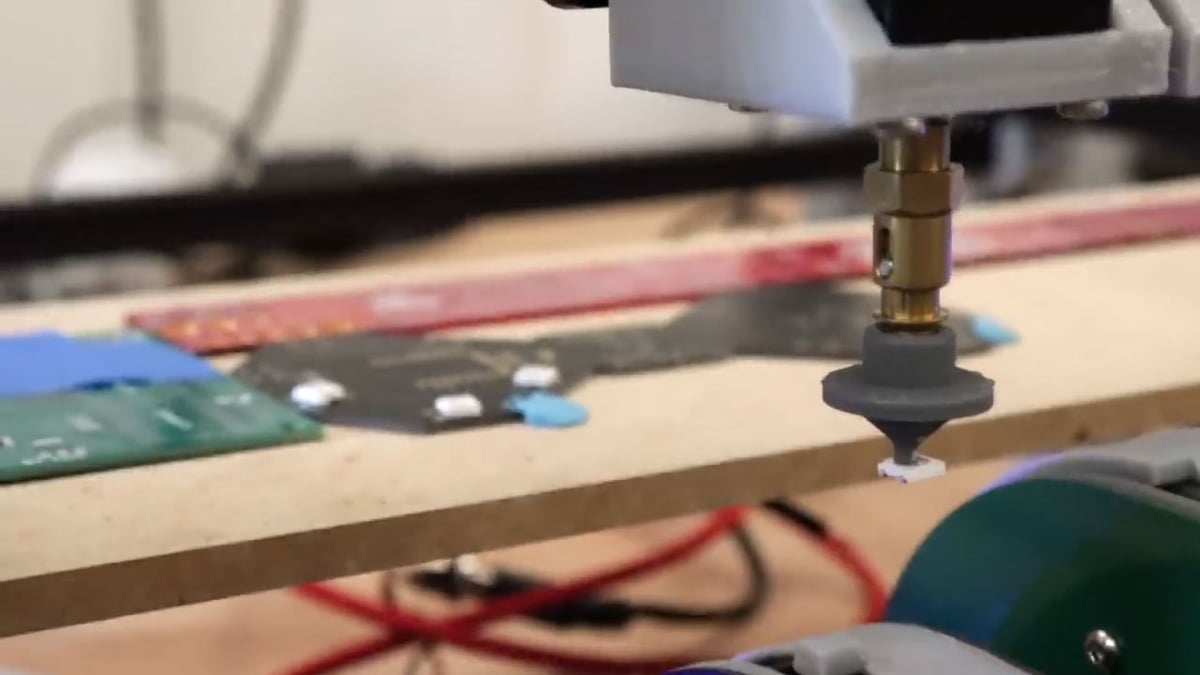
In terms of your setup, you can use a single tool head, or you can configure a shared Z-axis, which can be cam driven or negated. This kind of setup allows you to use a paste extruder in combination with a suction pickup, so you can lay down solder paste before placing a component.
LumenPnP has been taken in interesting directions with new features like an integrated camera for “dead reckoning”, plus passive feeders and strip feeders. Want to learn more? You can find all the relevant info on the OpenPnP GitHub.
You’ve read that; now read these:
Lead image source: Stephen Hawes via YouTube
License: The text of "A Closer Look at OpenPnP: A Software for Desktop Pick and Place Machines" by All3DP is licensed under a Creative Commons Attribution 4.0 International License.