Give Your 3D Printer Wi-Fi for Less Than $30

There are plenty of ways to get your machine online and hands-off these days. Peopoly offshoot Fiberpunk offers one such solution in Node, an ESP32-based Wi-Fi upgrade for Creality, Voxelab, and Original Prusa i3 3D printers.
The Fiberpunk Node is a device that can give select desktop 3D printers Wi-Fi connectivity, allowing you to monitor and control the printer from your web browser.
The Node comes in multiple flavors that allow for compatibility with a handful of the most popular filament-printing machines currently on the market, including the Creality Ender series and Elegoo Neptune. There are also standard and Pro versions of the Node for the Original Prusa i3 MK3S+. Fiberpunk was kind enough to send us a Node to play with, so we dusted off an Ender 3 and fired it up to see what’s what.
Punching Above its Byte-Size
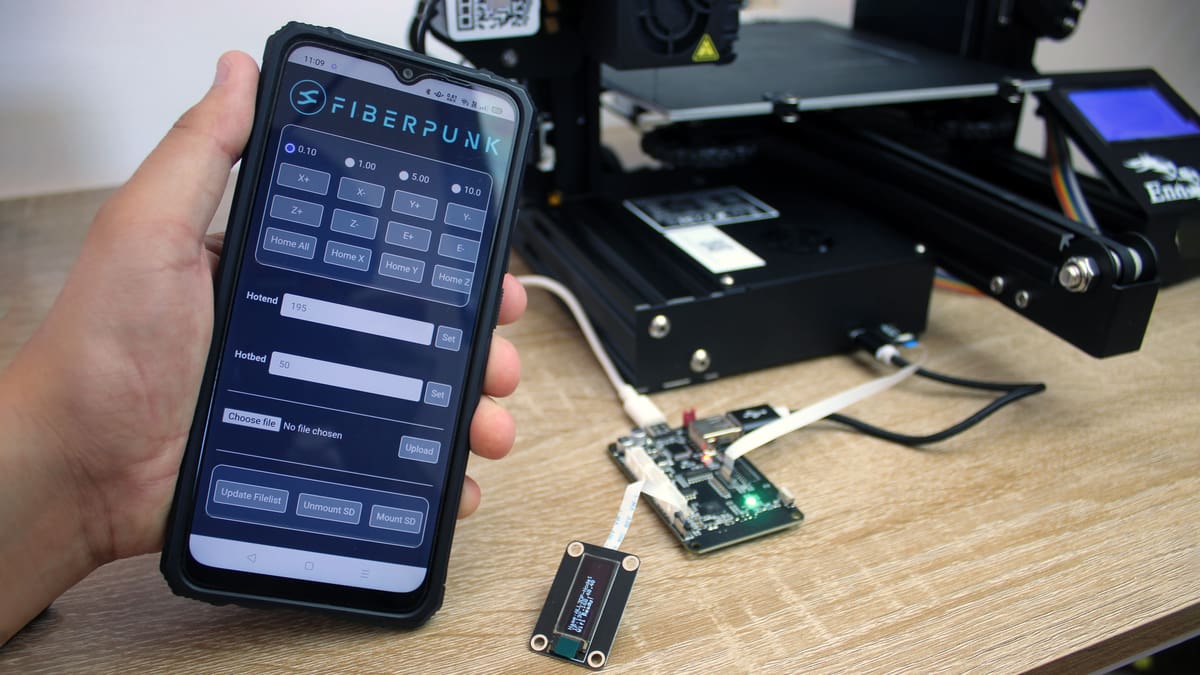
With browser-based printing on the rise, the Node presents an affordable and straightforward option that skips out on any intrusive tinkering and firmware flashing. You get a clean and uncluttered interface to monitor and control your printer from your laptop or phone, with the interface displaying the expected details such as temperature readings, position, and print job.
The Node offers a high amount of expandability with the ability to add hardware add-ons like Sentry – an AI-driven camera to watch over your prints. Other add-ons are also in the works, including a filament runout sensor.
Another unique feature of this board is its SD card bridge, which aims to minimize data corruption during a print. It’s a welcome feature that can avoid frustrating failures mid-way through your projects.
At ~$29.90, the Node offers a high bang-for-buck ratio which appears mainly to stem from its use of an ESP32-based board – a cheap but powerful microcontroller with built-in Wi-Fi capabilities. This contrasts with other offerings that usually require expensive extras, such as a Raspberry Pi. The value of the approach taken with the Node is even starker today with shortages and ballooning prices for Raspberry Pi hardware.
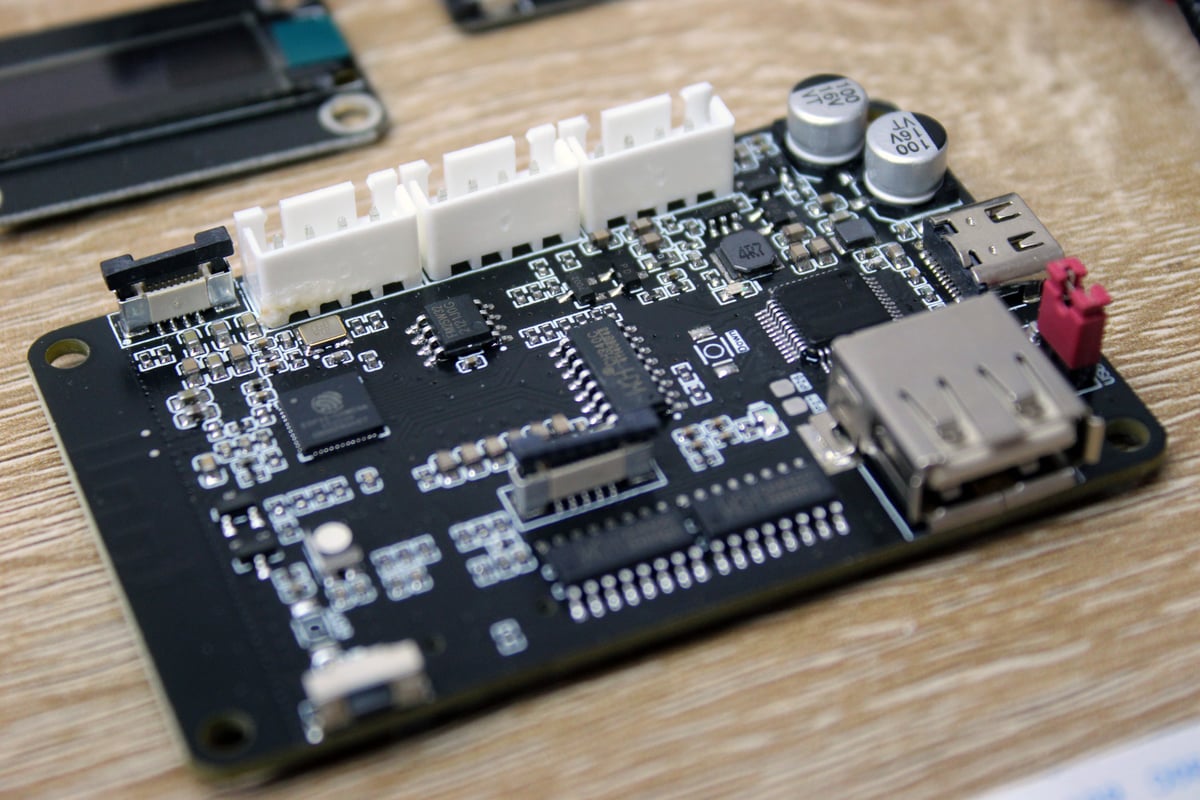
The Node board measures just 72 x 45 mm, putting it at about two-thirds of the size of a Raspberry Pi 4 single-board computer.
Set Up and Operation
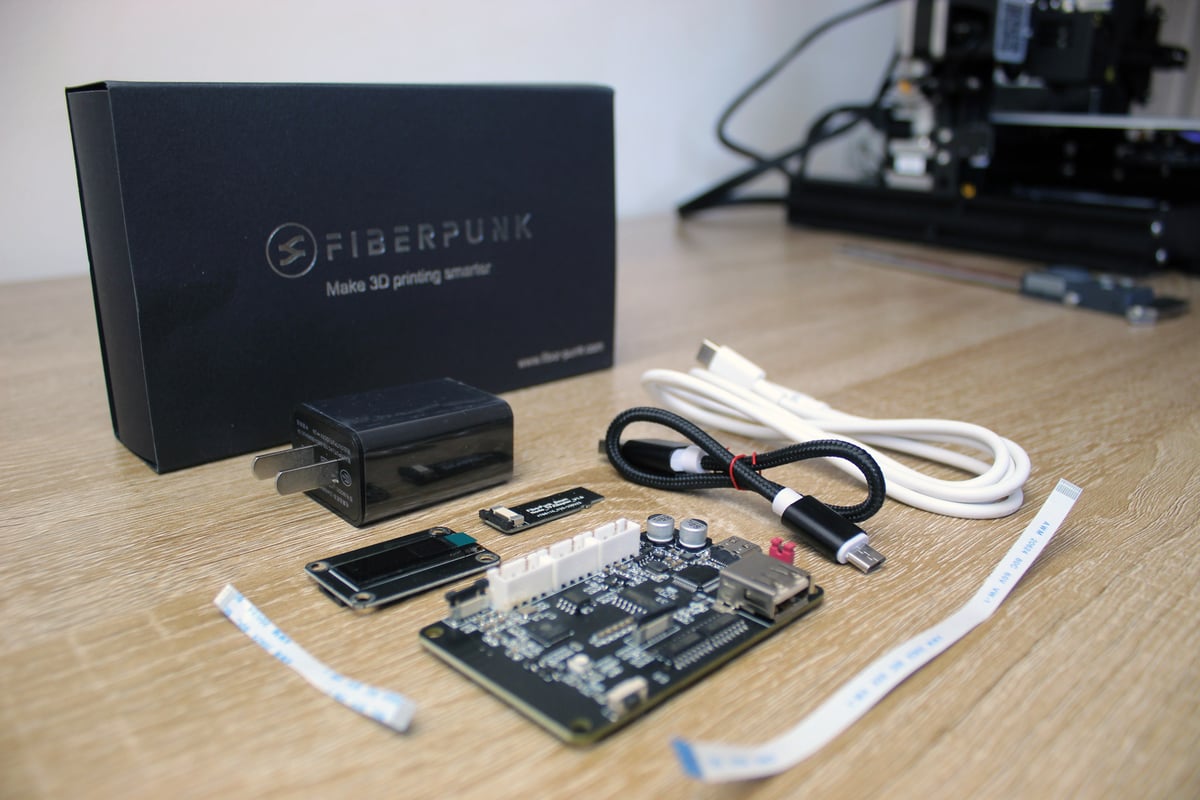
The standard Node does not come with a plastic case as the Pro version does, but Fiberpunk provides files on GitHub for you to 3D print a case later.
Set up is a breeze and consists of two simple steps: connecting the cables and setting up the Wi-Fi. Fiberpunk provides an in-depth guide to help you be up and running in minutes. It is worth noting that the setup requires a microSD card (not included) when you purchase the Node. Handily, the printers you can use the Node with typically come with a microSD card (or full-size SD in the case of the MK3S+). Fiberpunk recommends using a name-brand card from SanDisk, Kingston, or Samsung.
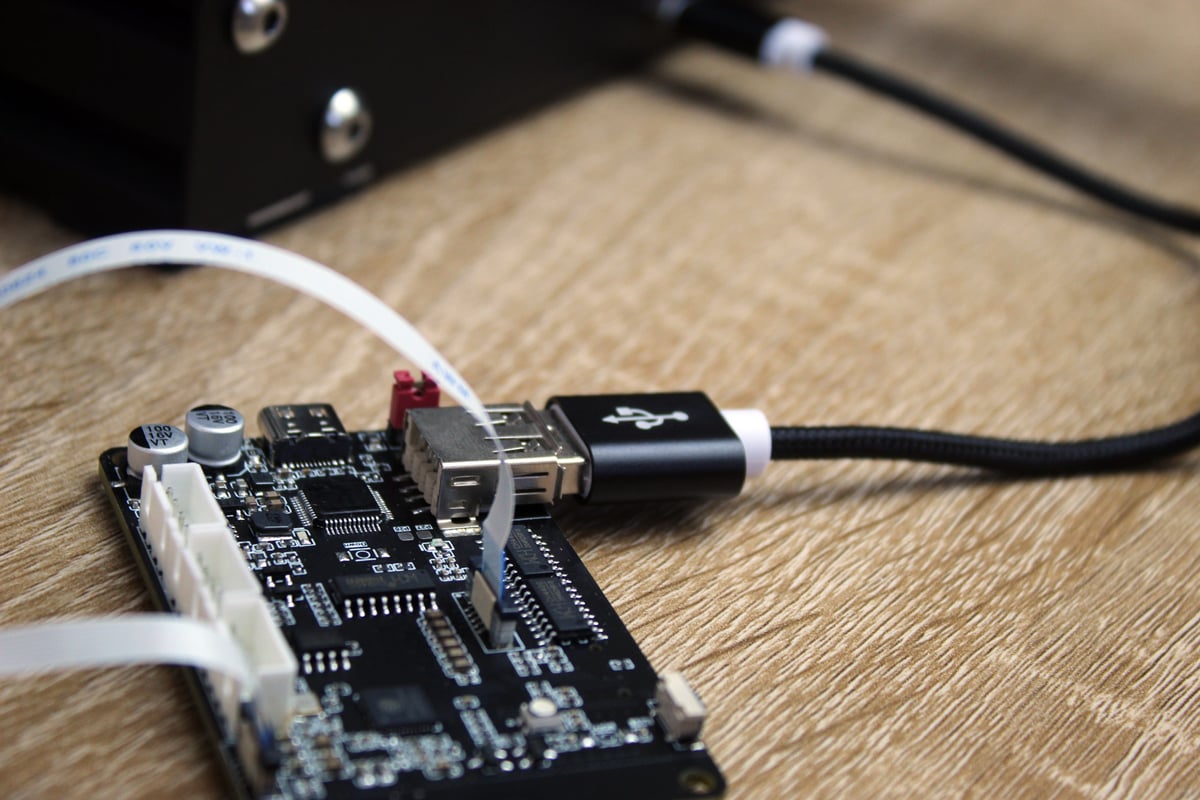
After connecting the Micro-USB to the Ender 3’s port, you insert the microSD card cable into the microSD card slot on the front of the 3D printer, and that’s all there is to it. The setup is virtually foolproof.
Next up is the Wi-Fi configuration. To do this, download the config file template from Fiberpunk’s quick start guide and fill in the relevant network details such as router name and password, and assign it a name of your choice.
There’s another line at the bottom that allows you to set whether a filament sensor is used – since we don’t have one of these, we left this at 0.
With the wiring set up and Wi-Fi settings saved to the config file, you plug the USB-C cable in and will be greeted by the Fiberpunk logo and lights on the board. Within a minute the device had connected to the router, reading off the network details on its small OLED display.
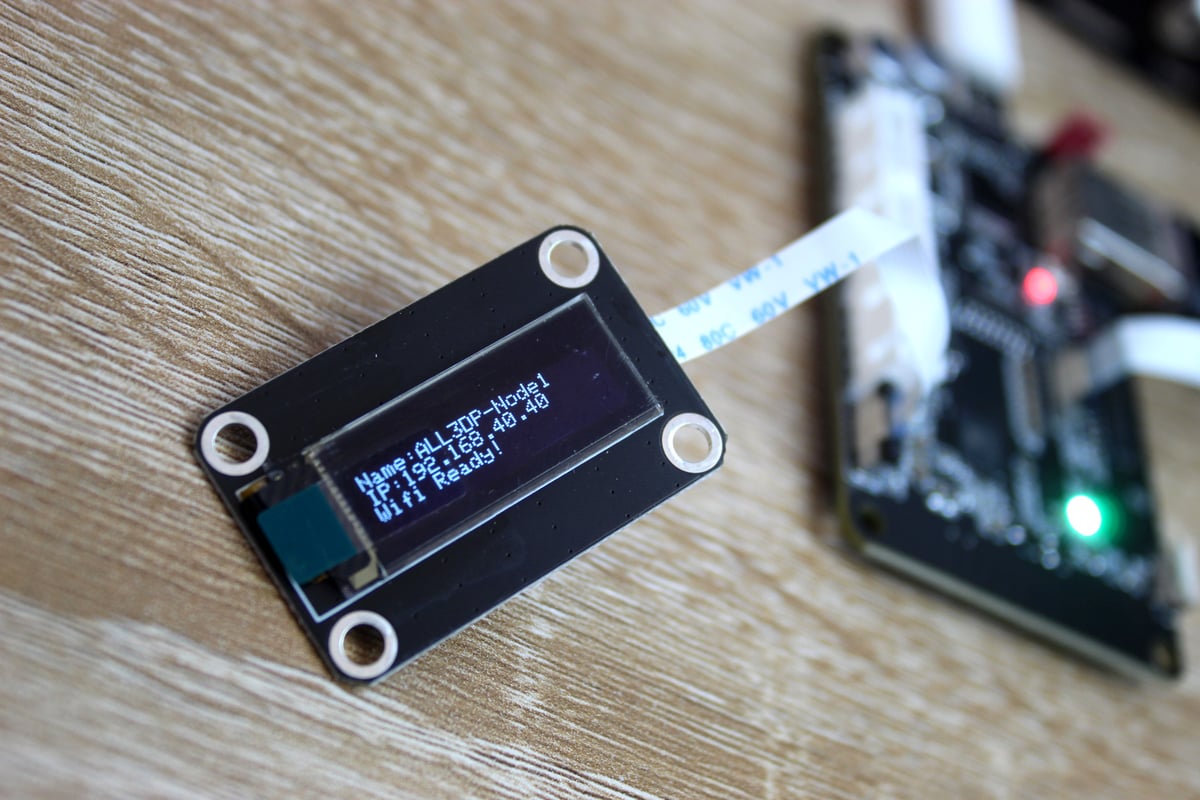
Testing to see if the Node is working was really simple and straightfoward. Using a smartphone to connect to the same router as the Node, open a browser and navigate to the displayed IP address, followed by “:88/version“. You should end up with an address that looks similar to this: “192.168.40.40:88/version”. This takes you to a webpage that displays the version of the Node’s firmware.
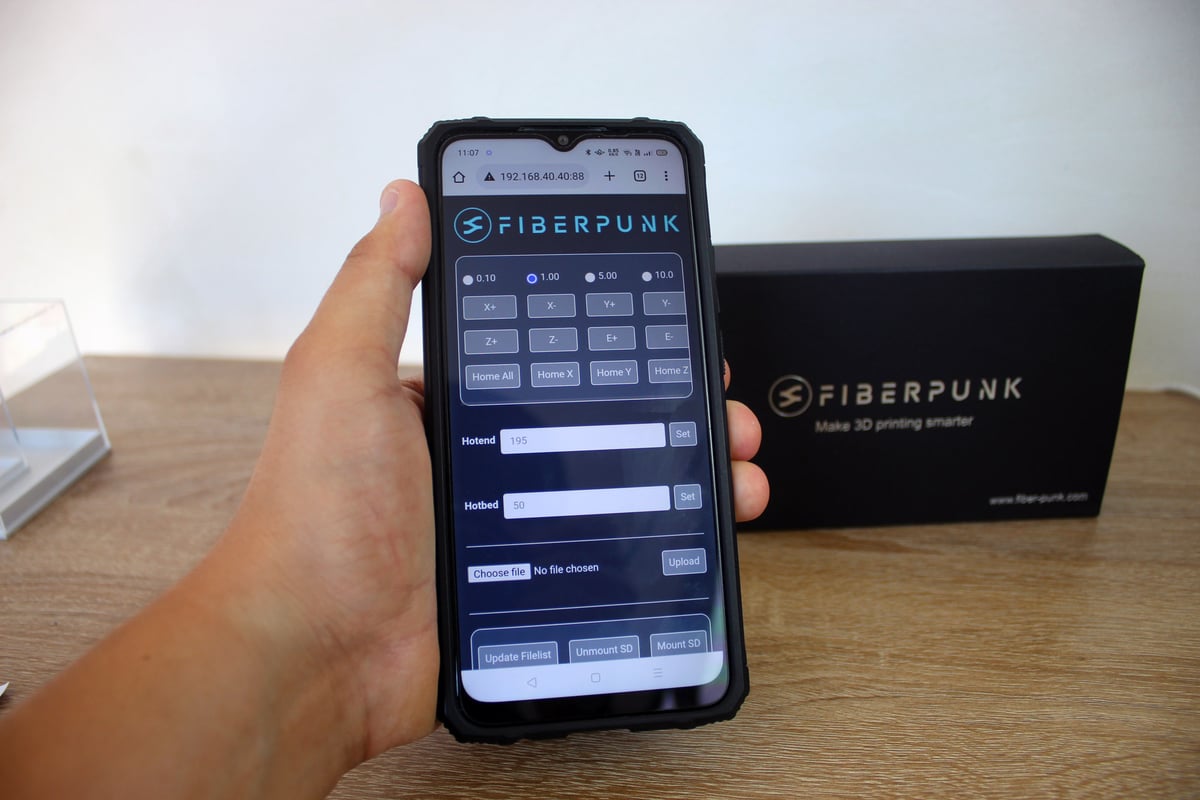
Accessing the Node’s interface by phone was also a breeze. Jabbing in the IP address displayed will take you to the Node’s dashboard, where you can control the printer directly and upload G-code for printing. From here, you also get a readout of messages and status alerts that the printer would display on its own screen.
Nice To Node You
Overall, the Fiberpunk Node provides a very cheap way to upgrade your printer with remote control capabilities that are not dissimilar to other, more expensive, involved solutions on the market, including Duet and OctoPrint. The ability to expand the module with the add-ons that suit you and your printer will be a powerful feature once more add-ons become available.
Set up and installation are quick, taking only 15 minutes or so from start to finish. The set-up procedure is not dissimilar to that of a wireless dongle. Input basic network information, and you’re set.
For a near-effortless installation, the Node gives exceptional value. We expect further functionality to come to the device’s web interface as new add-ons are released.
License: The text of "Give Your 3D Printer Wi-Fi for Less Than $30" by All3DP is licensed under a Creative Commons Attribution 4.0 International License.