Autodesk 123D Tutorial: How to Make a Little Elf Hat

In this short workshop, you will learn how to use Autodesk 123D to create a cute little elf hat.
Autodesk is one of the best known and experienced developers in the field of CAD software. With Autodesk 123D, you are able to create designs with an easy interface which you have the option of downloading the software for either a PC, Mac or iPad. The software is a free, powerful, yet simple 3D creation and editing tool which supports many new 3D printers.
Step 1: Install Autodesk 123D
- To download the software, go to Autodesk’s 123D website and follow the instructions.
- After downloading the file, install the software on your system. When running Windows: Right-click the installer and select Run as Administrator.
Step 2: Sketch a hat
- Start a New Project.
- At the top of the page you will find a toolbar – hover over this and choose Sketch.
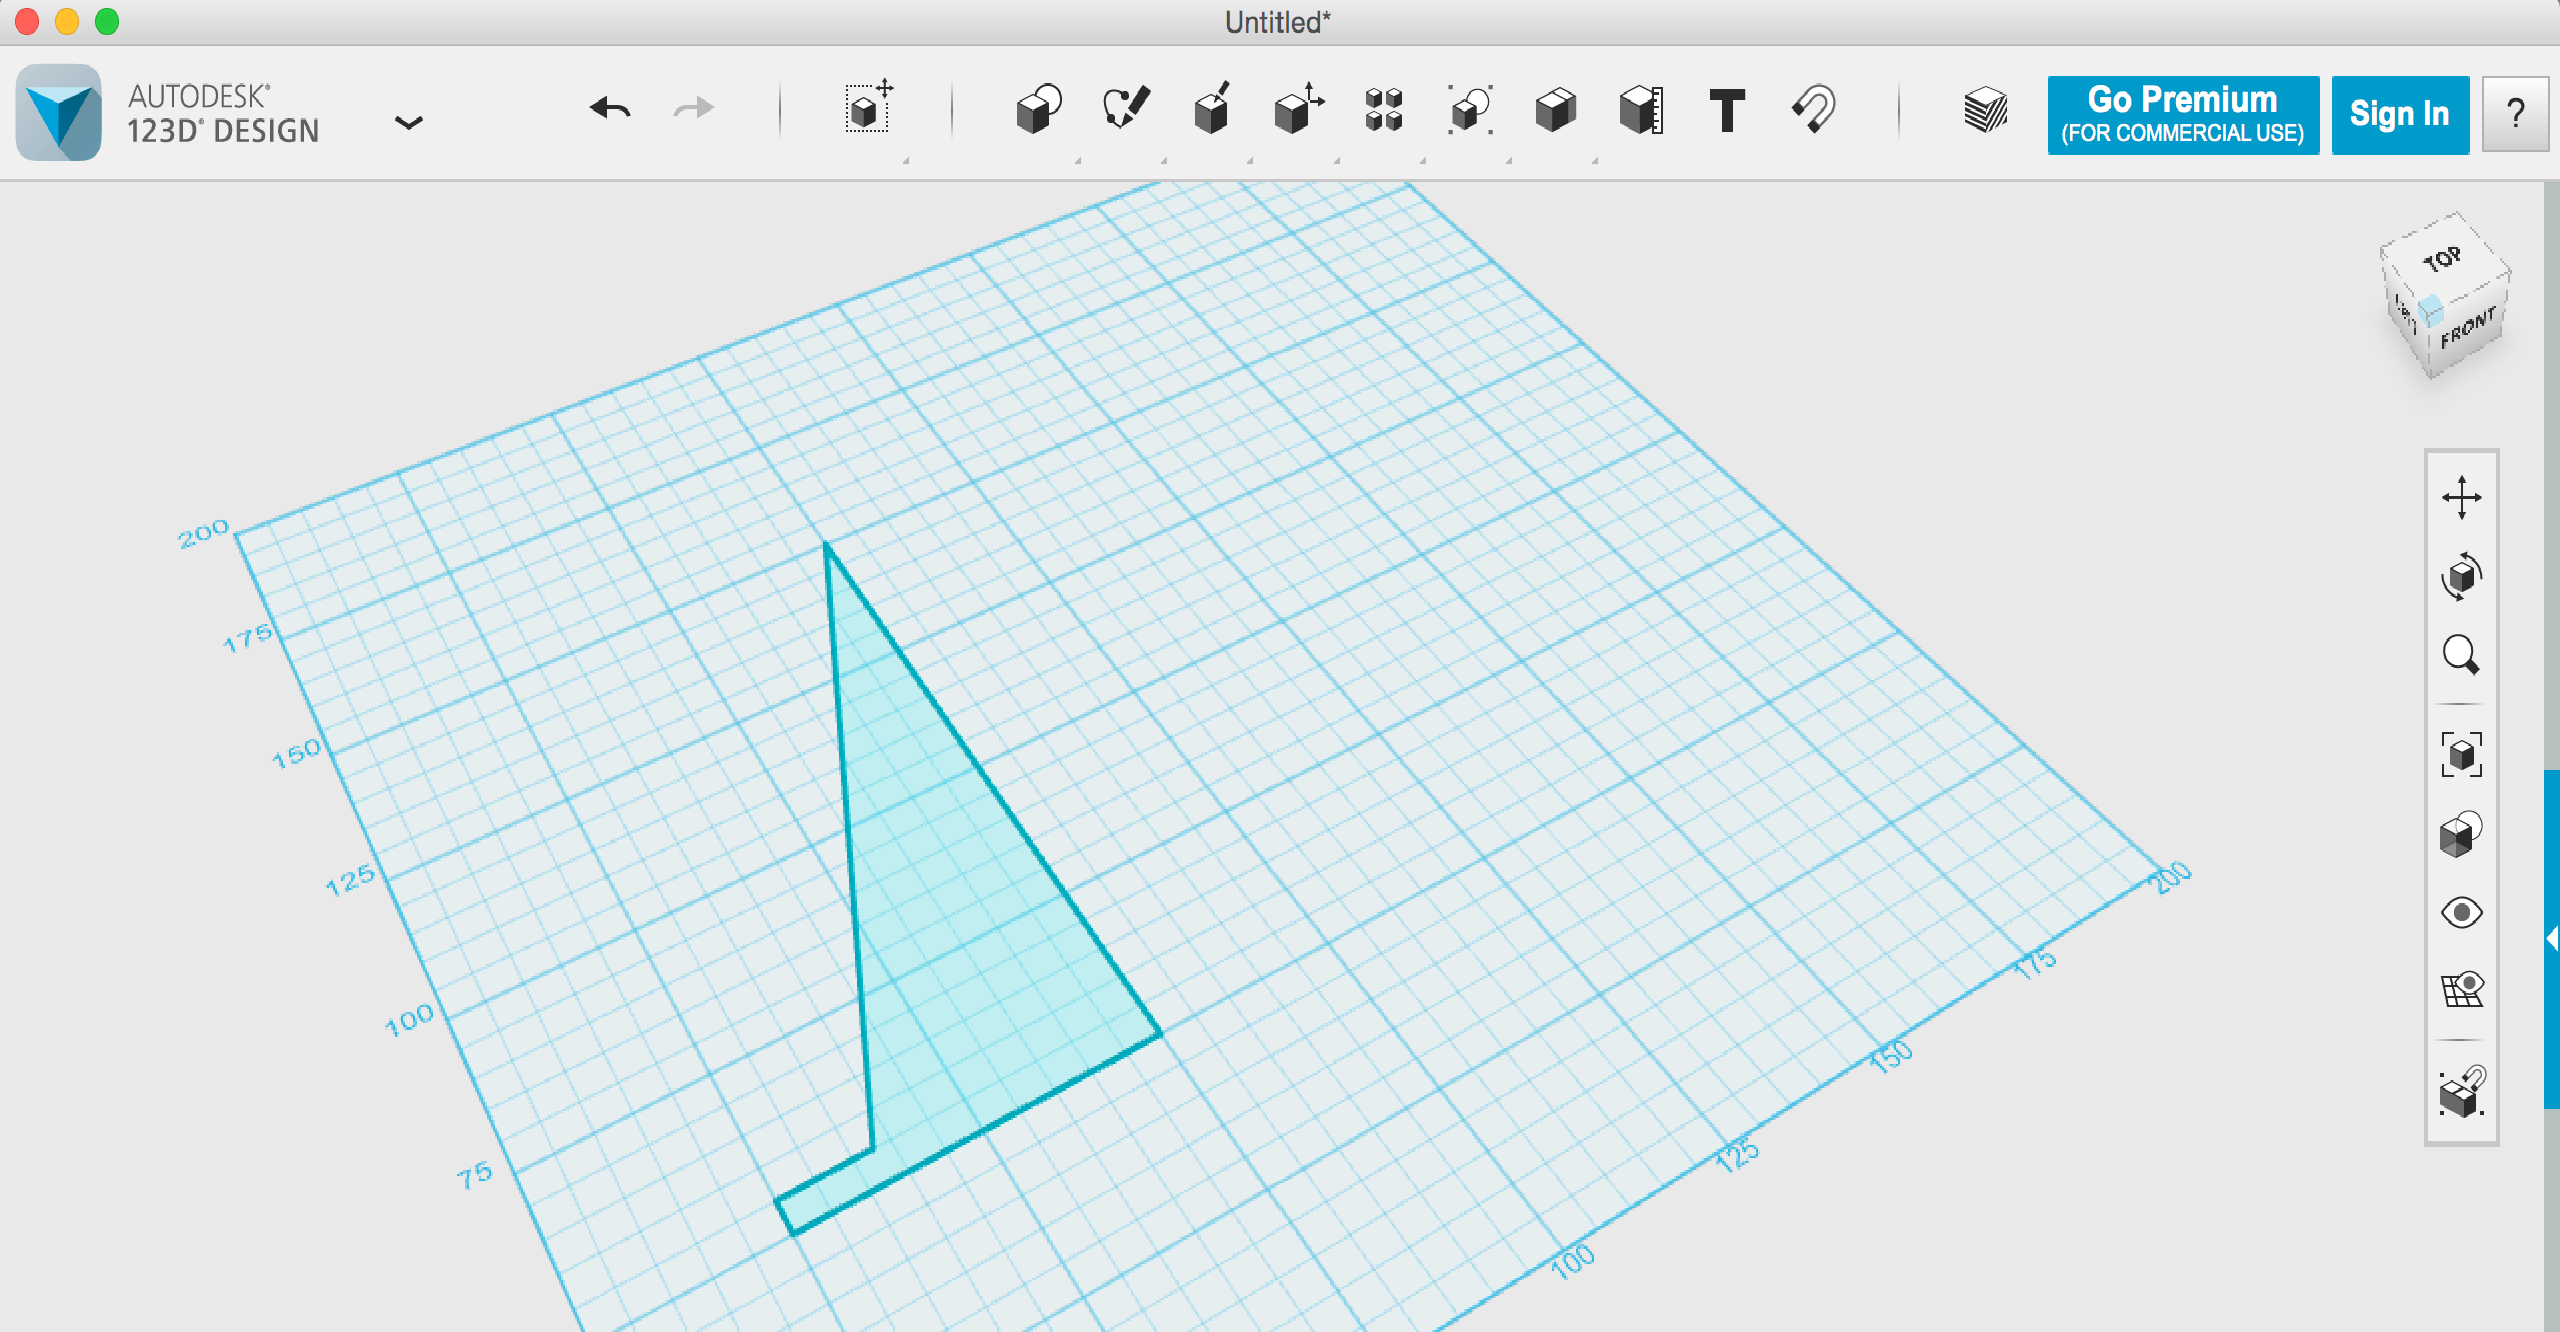
- From here you should choose the Poly Line option.
- Draw out a basic wizard hat shape by clicking where you would like to begin and moving from here. You can also create curves with this tool.
Step 3: Turn your 2D sketch into a 3D hat
- In order to turn your sketch into a 3D print, you need to add height: Hover your mouse cursor over Construct on the toolbar.
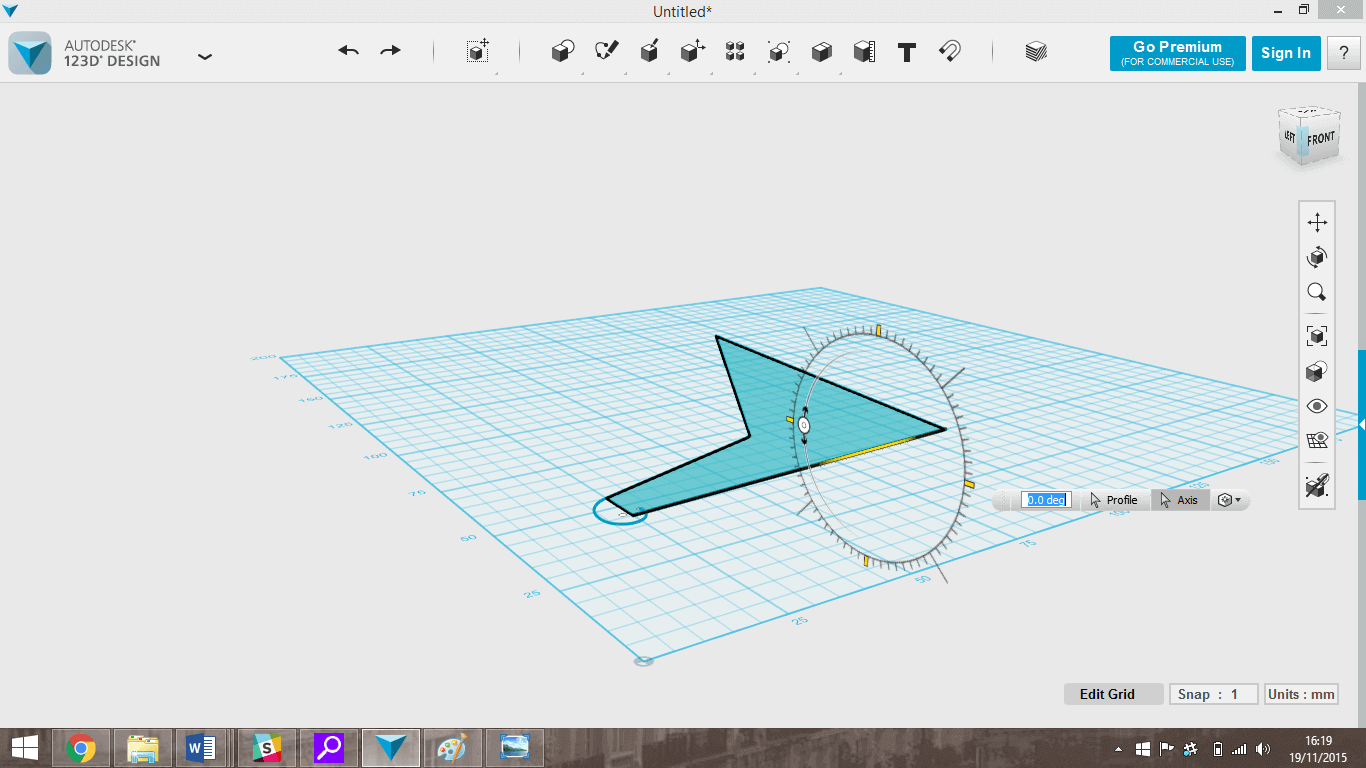
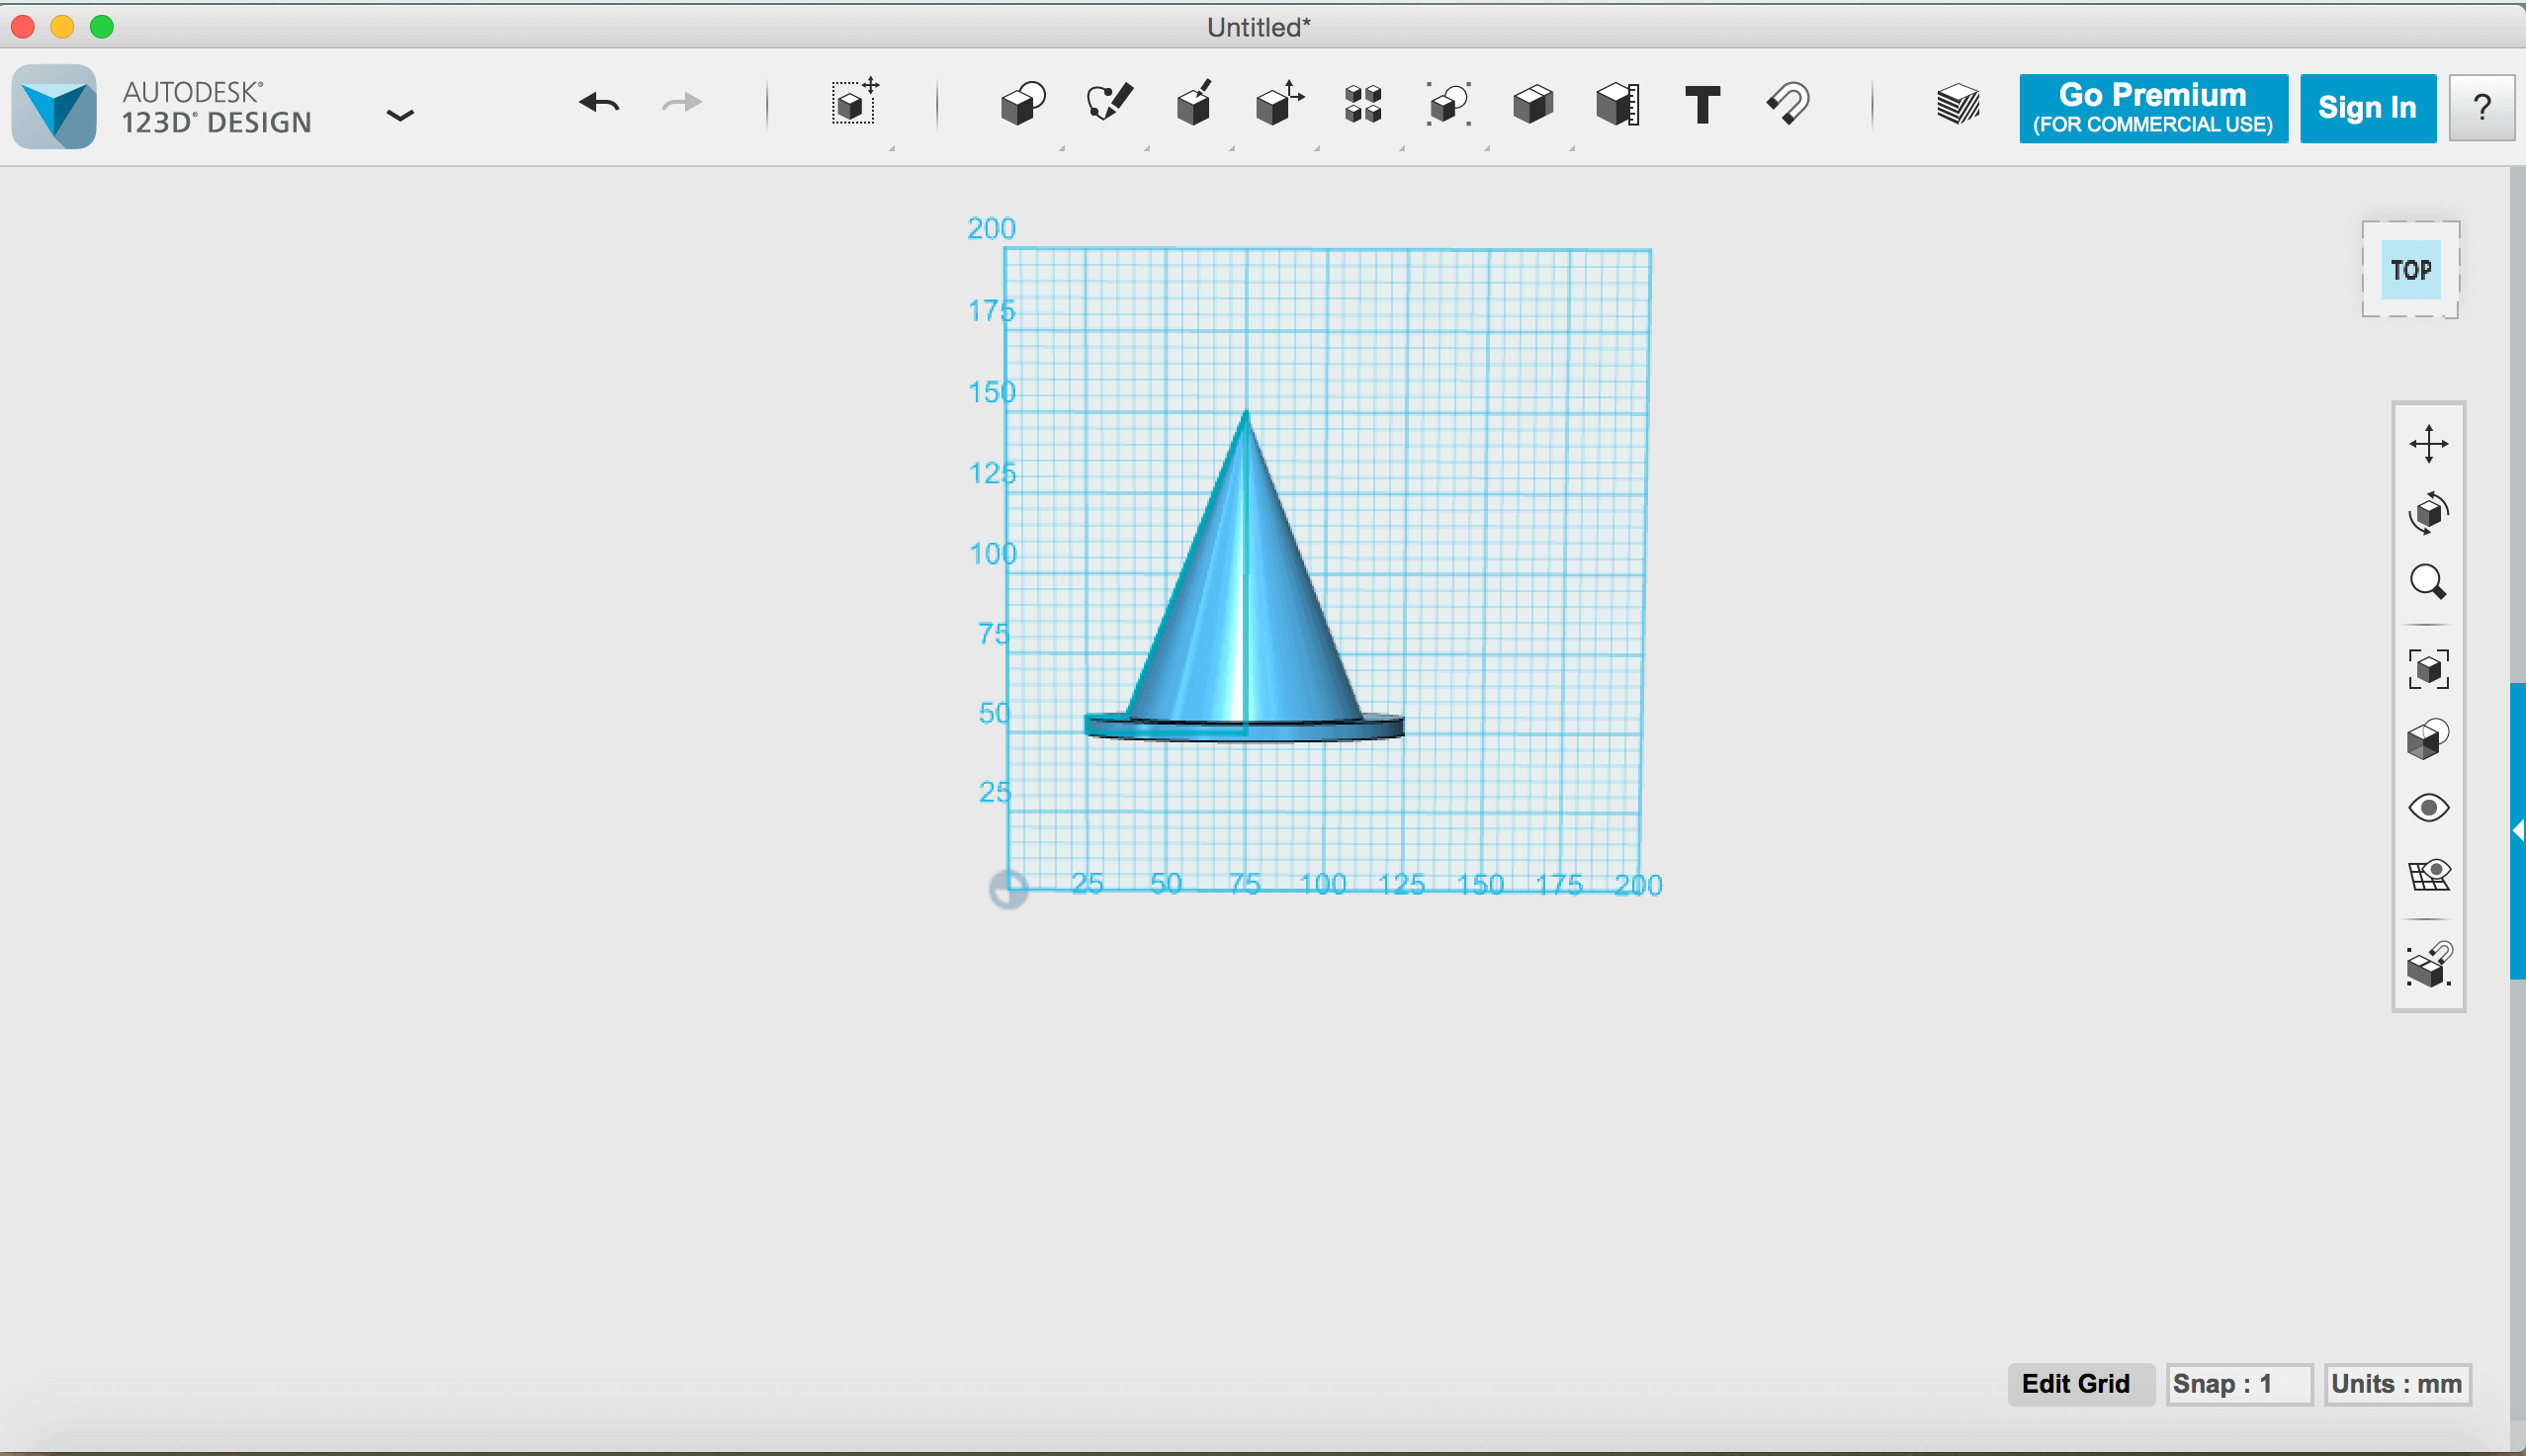
- Select the Revolve option.
- To revolve your shape select Axis and click on the bottom edge. This will then show you a toolbar in which you can choose the degrees, you could also use the mouse to drag your shape into a solid. Otherwise type 360 in the mm box.
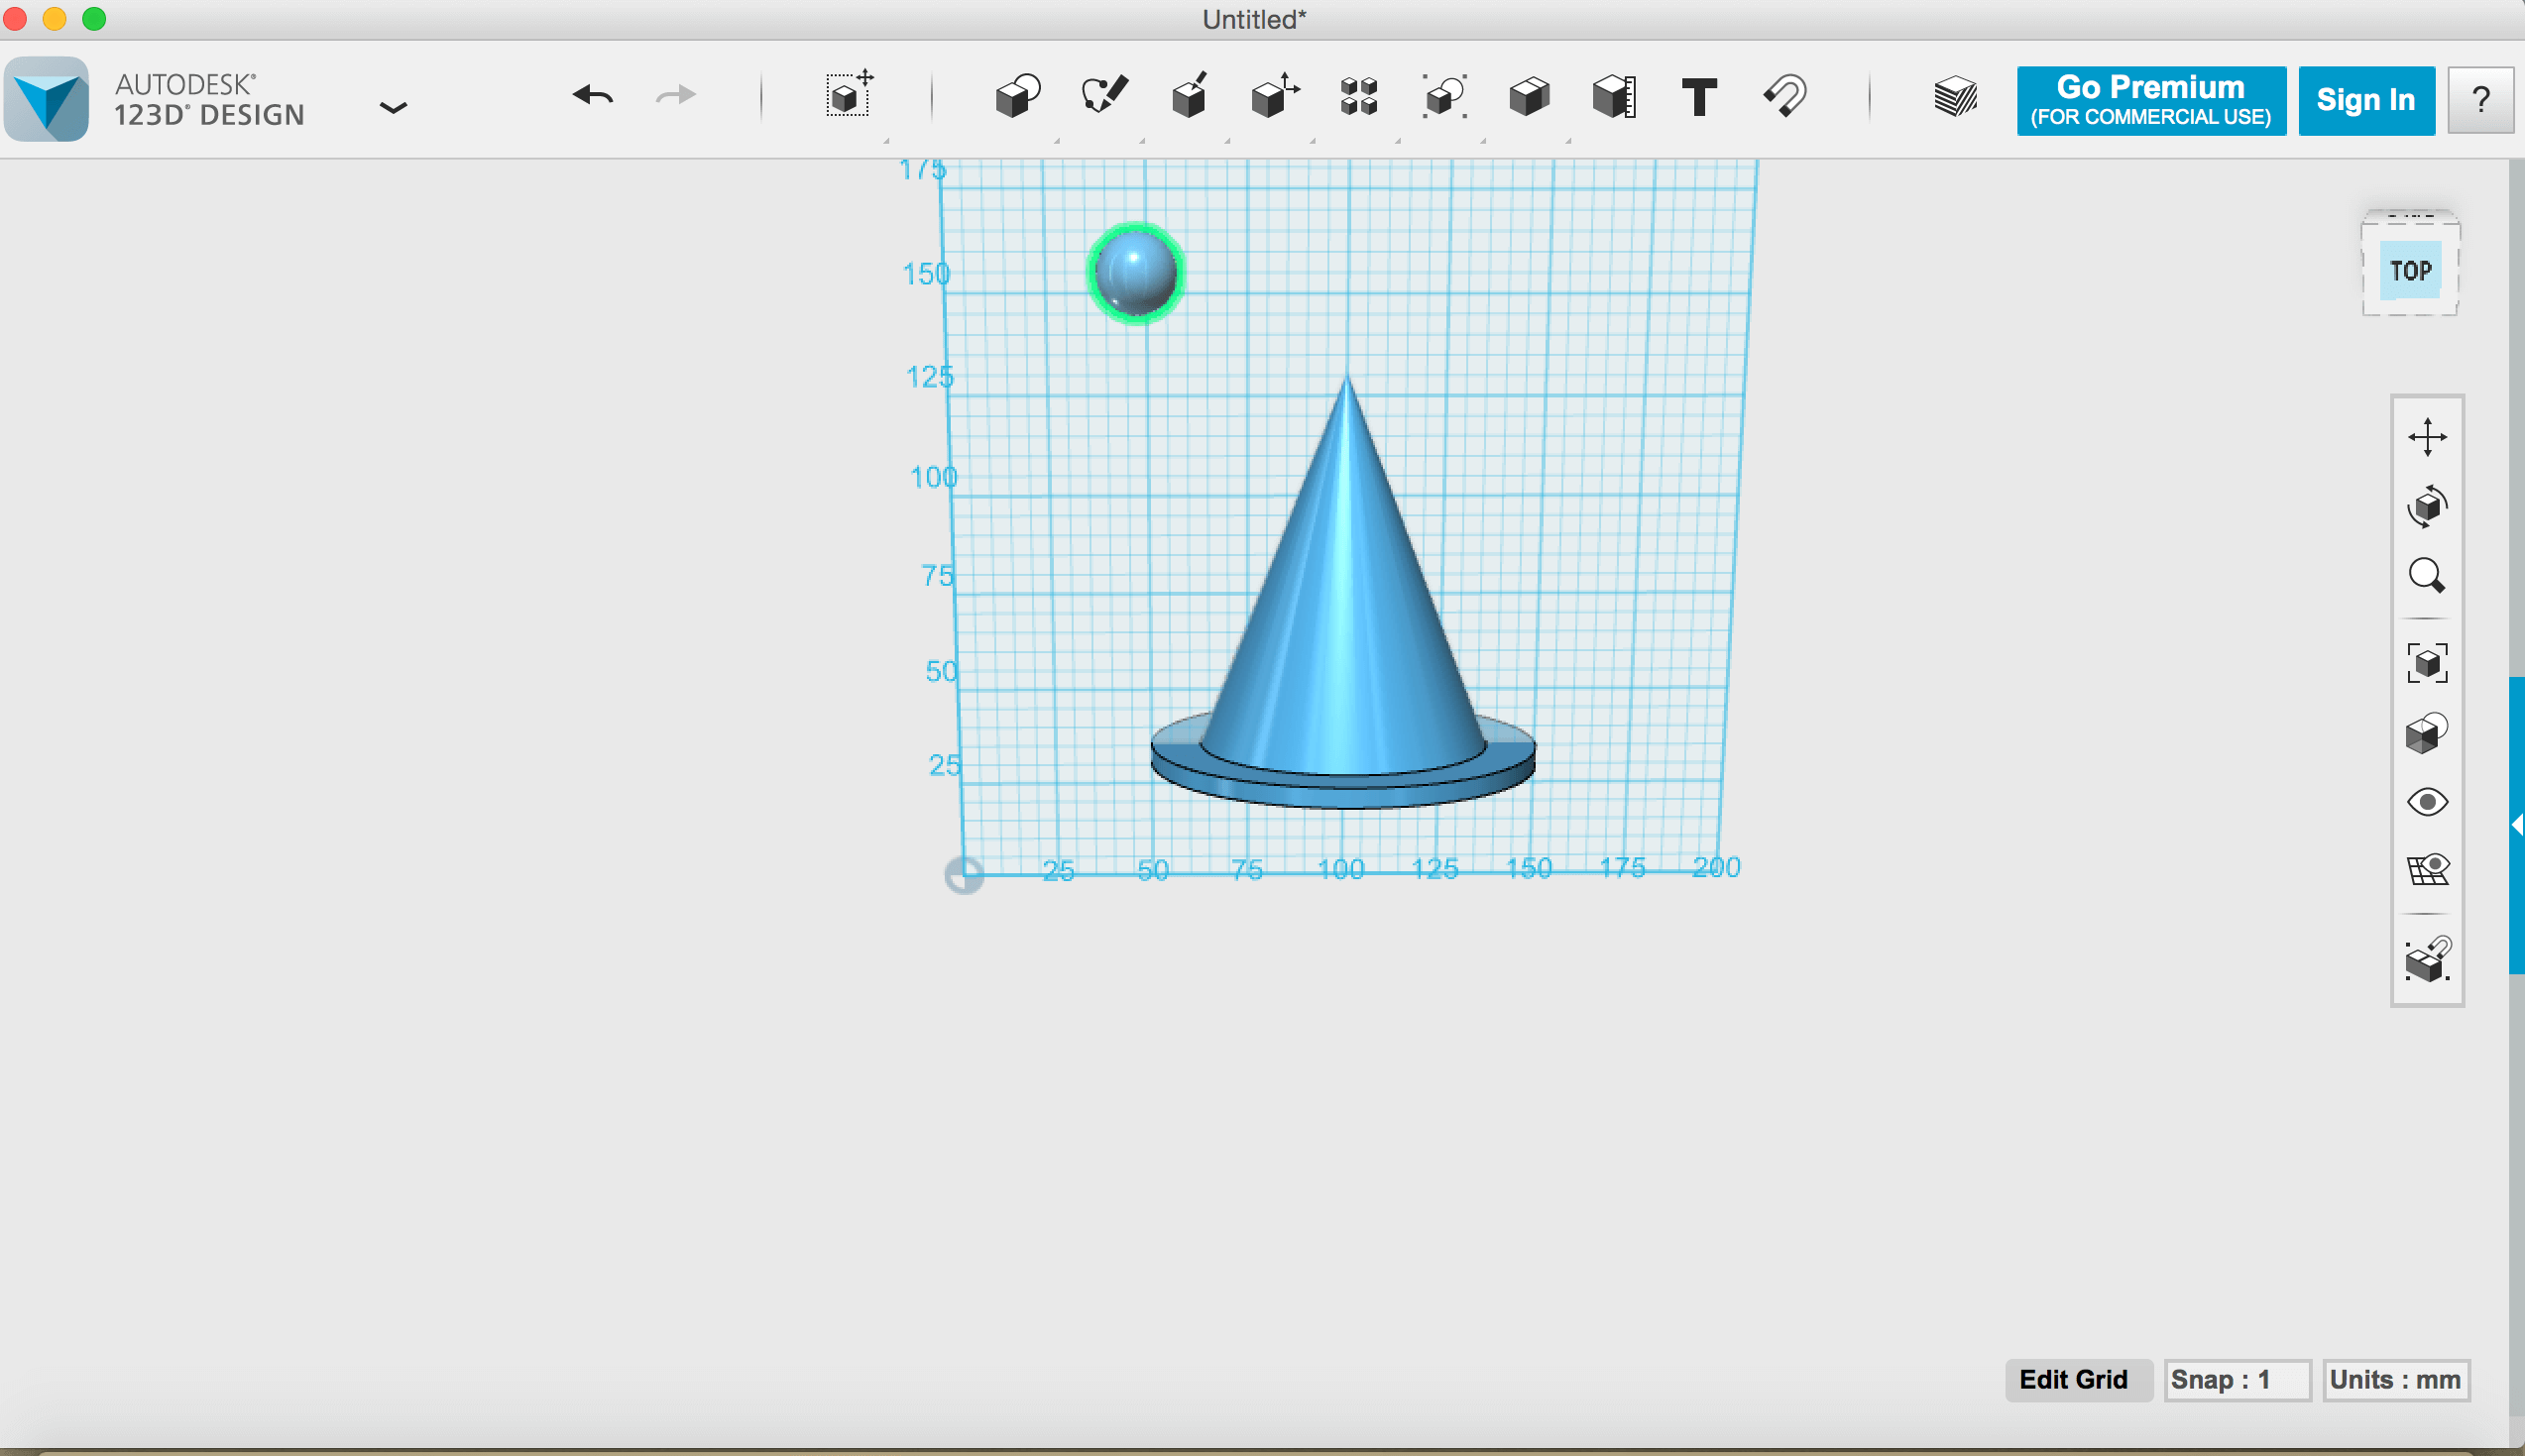
Step 4: Add a bobble to your hat
- At the top of the window select a sphere from the Primitives section on the toolbar.
- Position this on the page as close to the hat as you can manage.
- It is important to keep switching views when you are moving your primitive into position otherwise it get confusing and you may lose the field of depth. One of the most useful features of 123D is that you can move your position on the page easily by clicking on the small cube in the right hand top corner of the design page.
- Drag the manipulators to scale your object or edit the dimensions by clicking on them or you can enter specific values for any of the dimensions by entering a height.
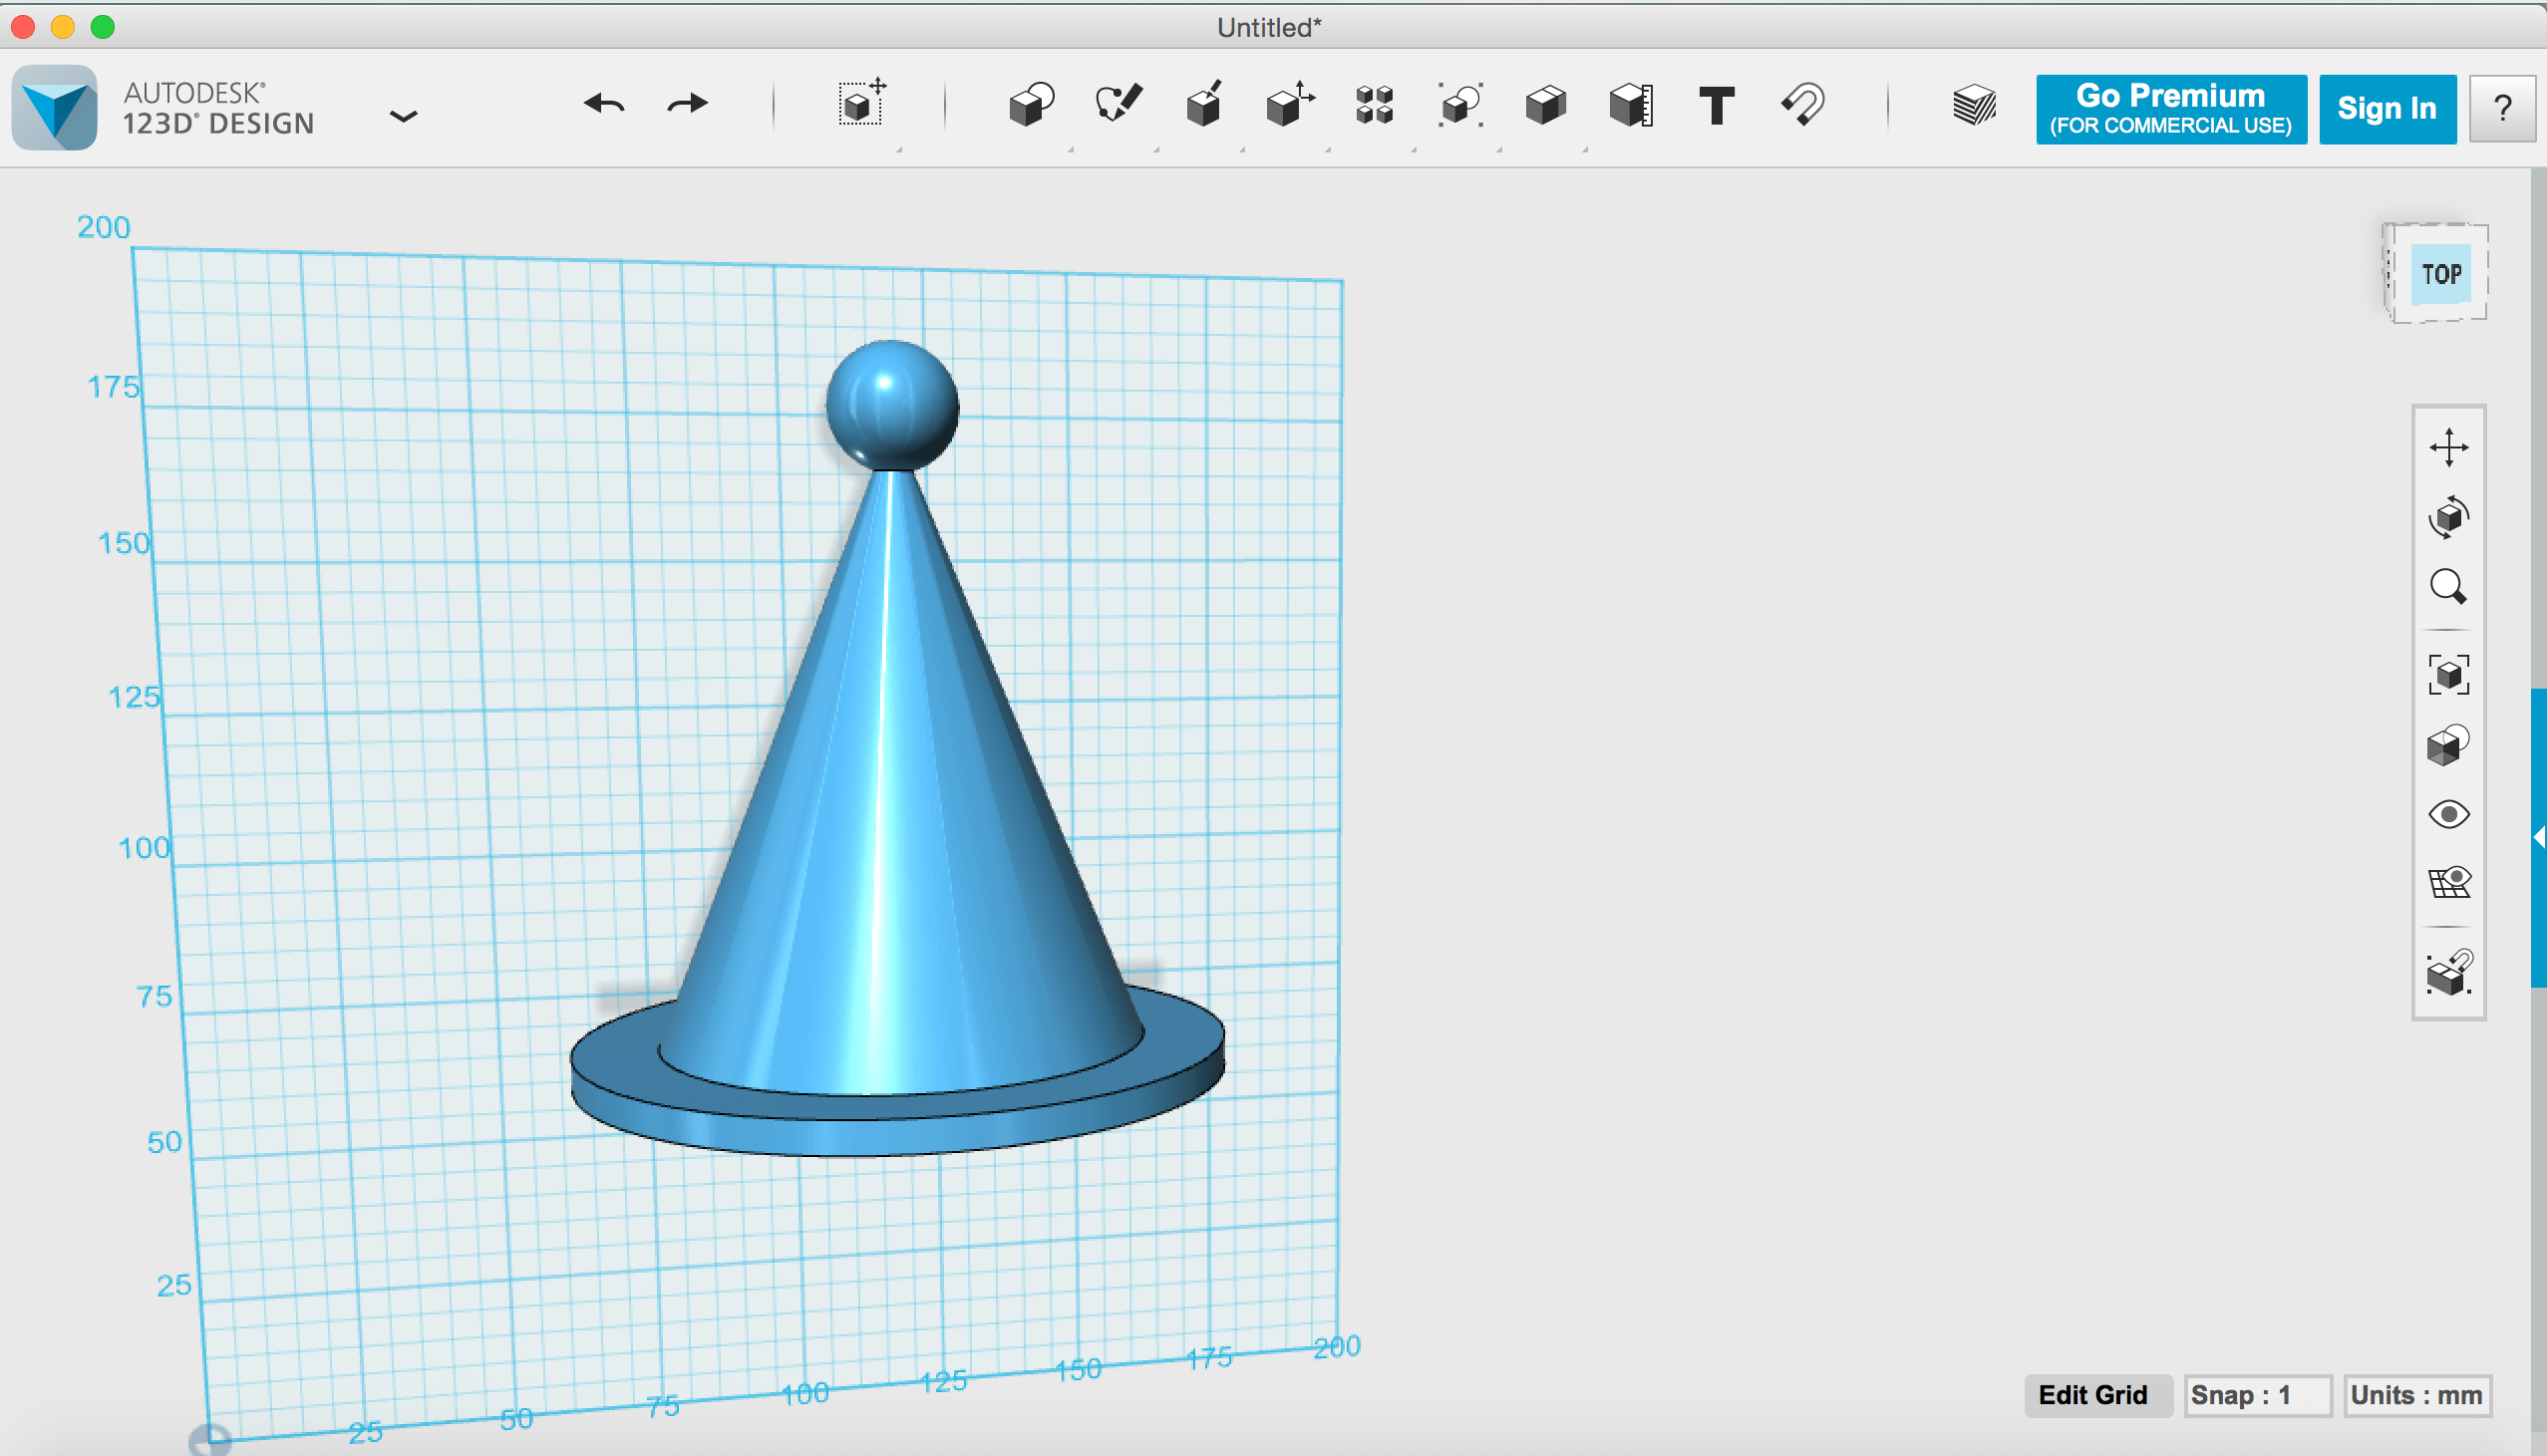
- Then click on the handles to align your object.
Step 5: Merge your Shapes Together
- In order to be able to print your hat, you should merge everything together into one shape. This is extremely important when it comes to slicing. You can do this by using the Combine options on the toolbar.
- Select your two parts and then press enter! It’s as simple as that!
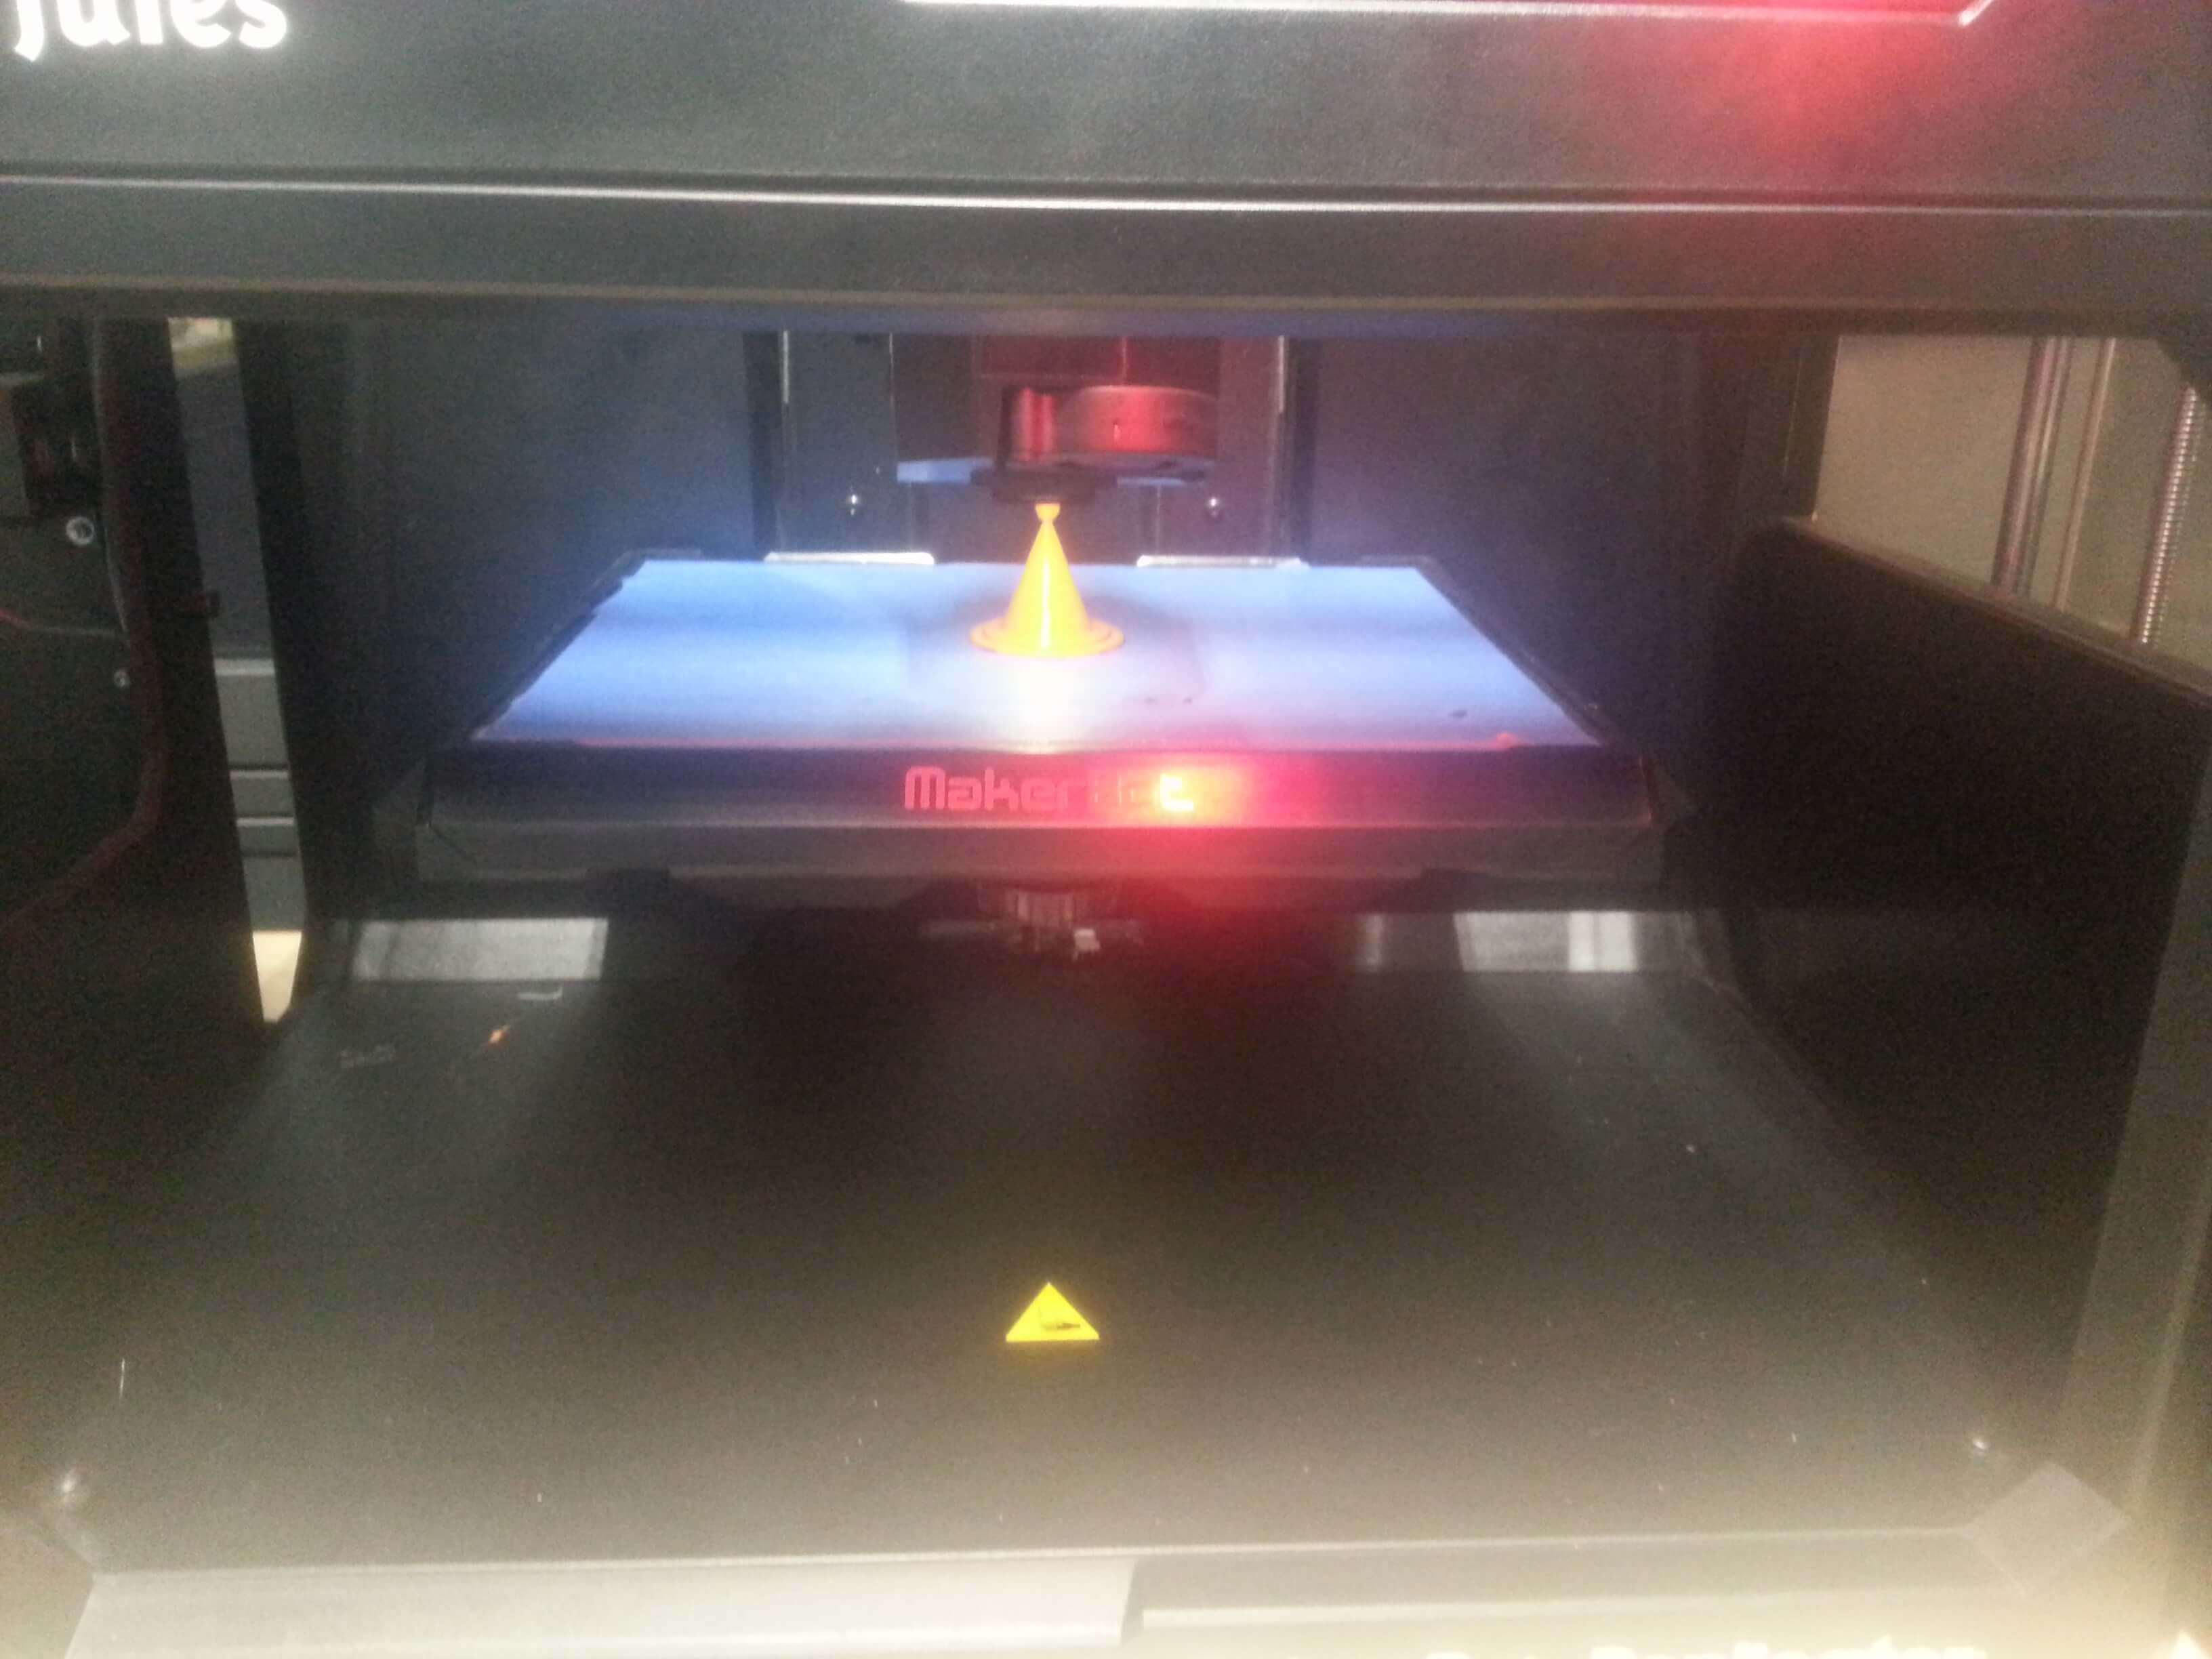
Step 6: Save and print
If you don’t own a 3D printer then there is no need to worry! Once you have finished your design remember to save it and either create an .STL or .OBJ file for your 3D printer or send it directly to a 3D printing service:
- If you have a 3D printer (or have access to one), click the Start button at the top and select 3D Print and then either the .STL or the .OBJ file format. Save the file to disk.
- If you wish to have your object printed by a printing service, choose the Start button again and choose Order Online and select the service of your choice!
License: The text of "Autodesk 123D Tutorial: How to Make a Little Elf Hat" by All3DP is licensed under a Creative Commons Attribution 4.0 International License.