Build a Walkie-Talkie With a Raspberry Pi & 3D Printing

“I built a Wi-Fi ”walkie” talkie for my kids; now you can too!”, writes maker Daniel Chote on projectable.de. It runs on open-source software and is a great weekend project.
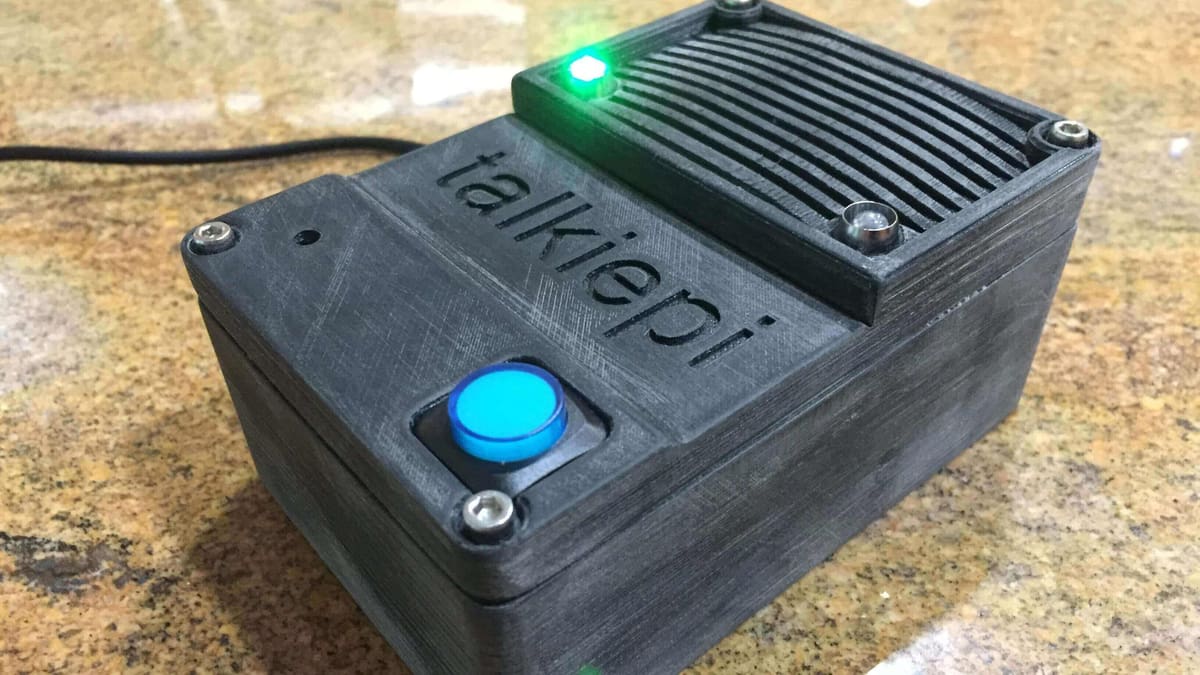
Daniel Chote named his creation “talkiepi”. This 3D printed walkie-talkie uses Wi-Fi to make a connection. It runs the popular conferencing software Mumble, which is also open-source and available on PC, Mac, Linux, iOS, Android machines and also Raspberry Pi. This means you can configure different groups of talkiepis, just like using different channels on a traditional walkie-talkie.
And it also has a “push to talk”-feature, which is pretty much perfect when you‘re building a walkie-talkie.
What You Need to Build a 3D Printed Walkie-Talkie
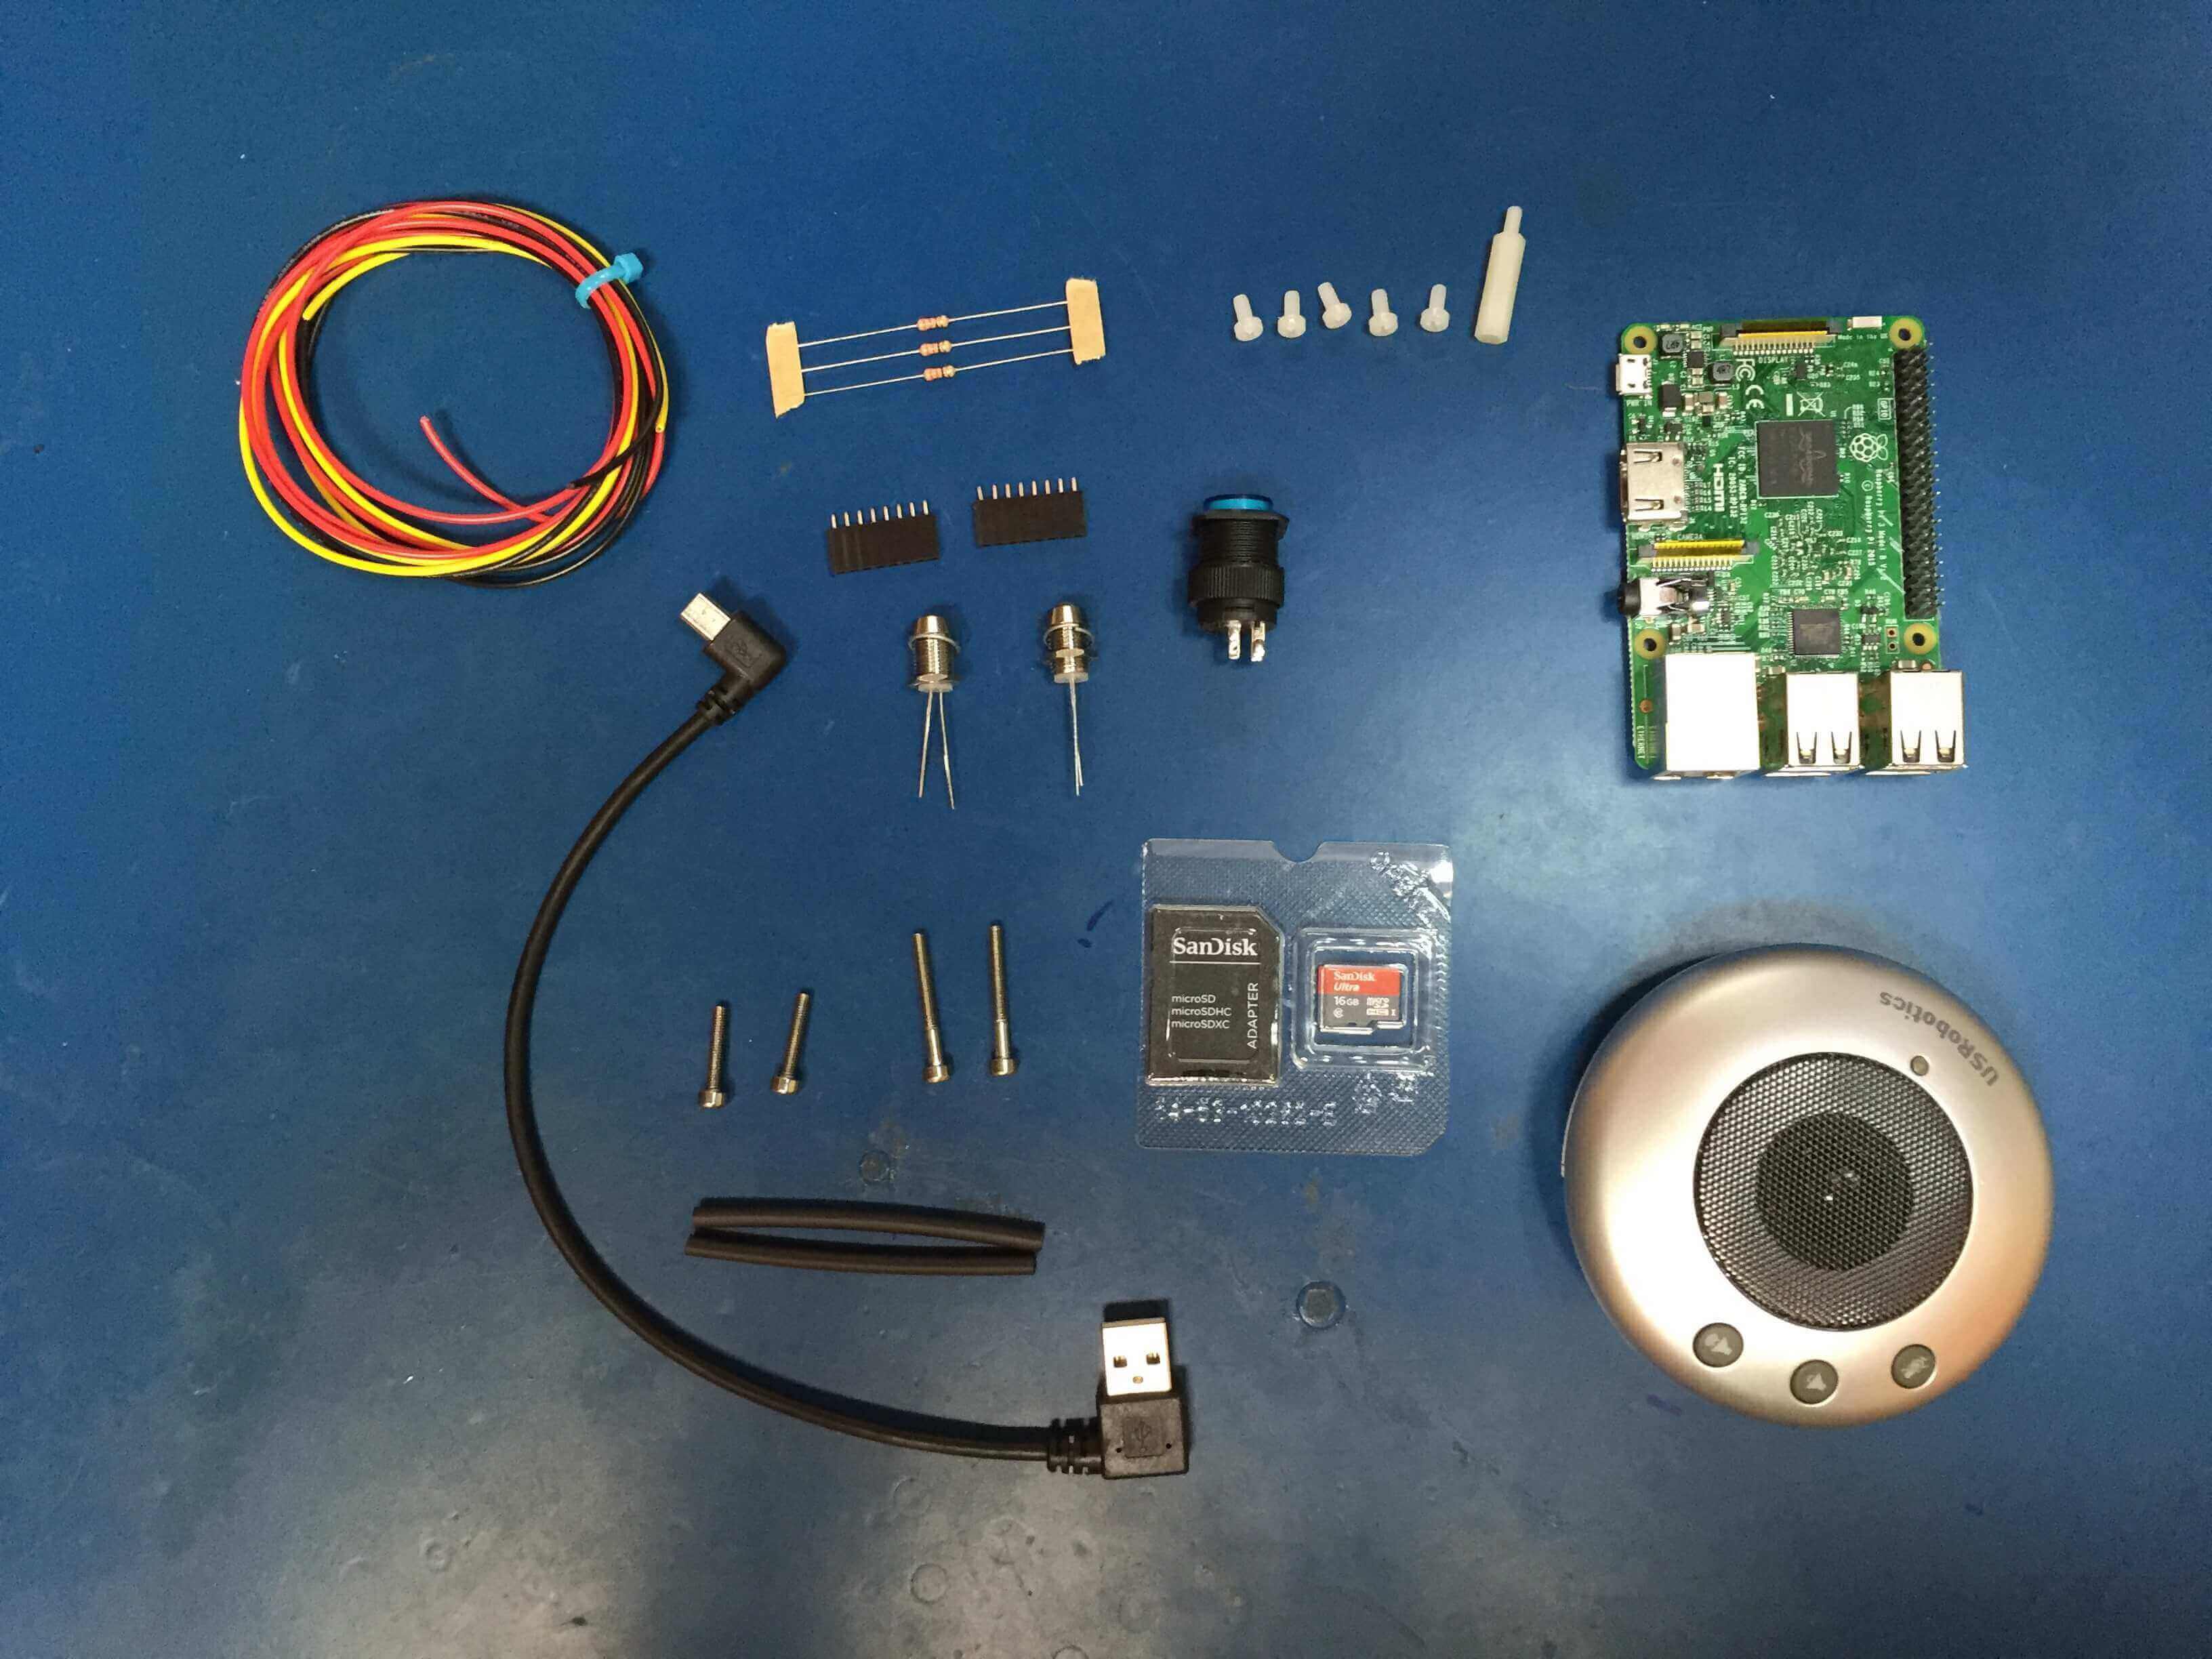
To build this talkiepi, you need a Raspberry Pi 3, a USB speakerphone, some basic electronic components, and a 3D printed enclosure. You’ll also need these additional parts (most of them are available at Amazon or Adafruit).
- Micro SD Card
- US Robotics USB Speakerphone (USR9610)
- Short right angle / left angle mini USB cable
- 5 x M3 nylon screws + 1 M3x20 nylon standoff
- GPIO header connector (there are many options for this)
- 2 x 5mm LEDs with 5mm LED holders
- Pushbutton with LED
- 3 x 330ohm resistors
- 2 x M3x15 + 2 x M3x25 stainless bolts (for the case)
- 2 x M3x10 stainless bolts + nuts (for the speaker)
- Hookup wire + heat-shrink
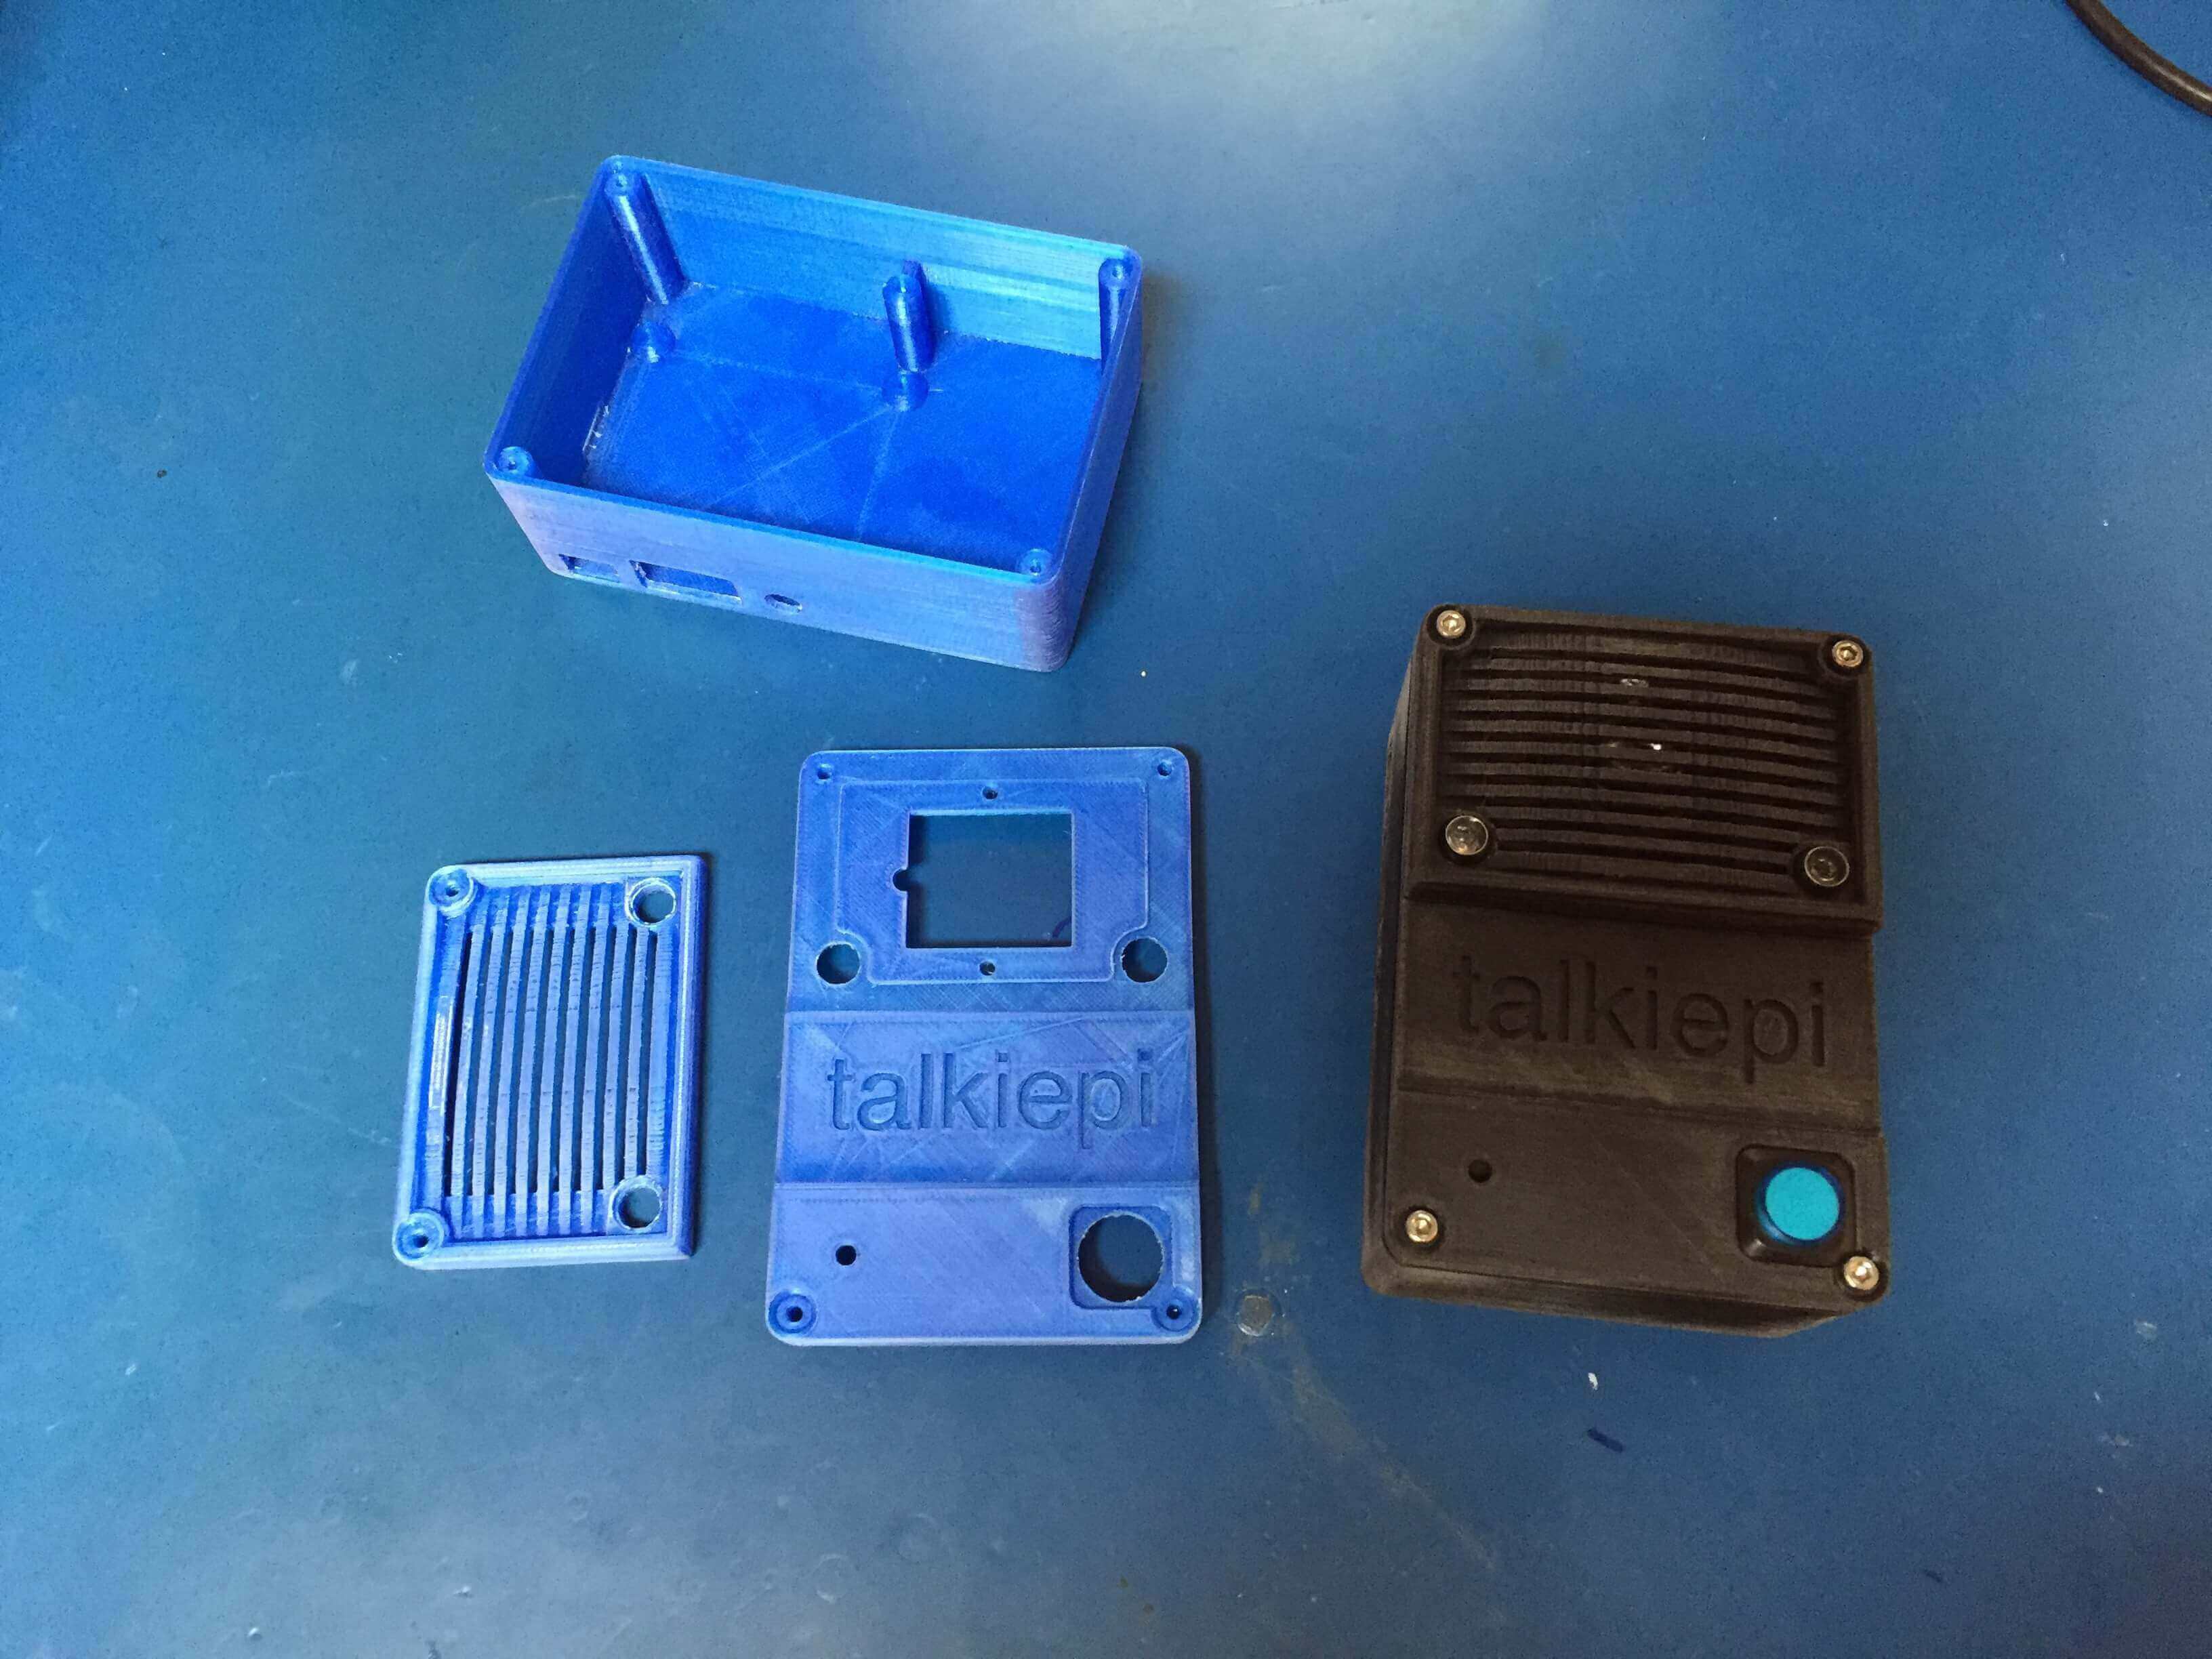
Daniel Chote used Autodesk Fusion 360 to design the case; you can find the files for 3D printing on GitHub.
He printed the parts on a Monoprice Select Mini 3D printer with PLA filament and 100 percent infill. If you don’t own a 3D printer yet, here are services that will print and mail you your parts!
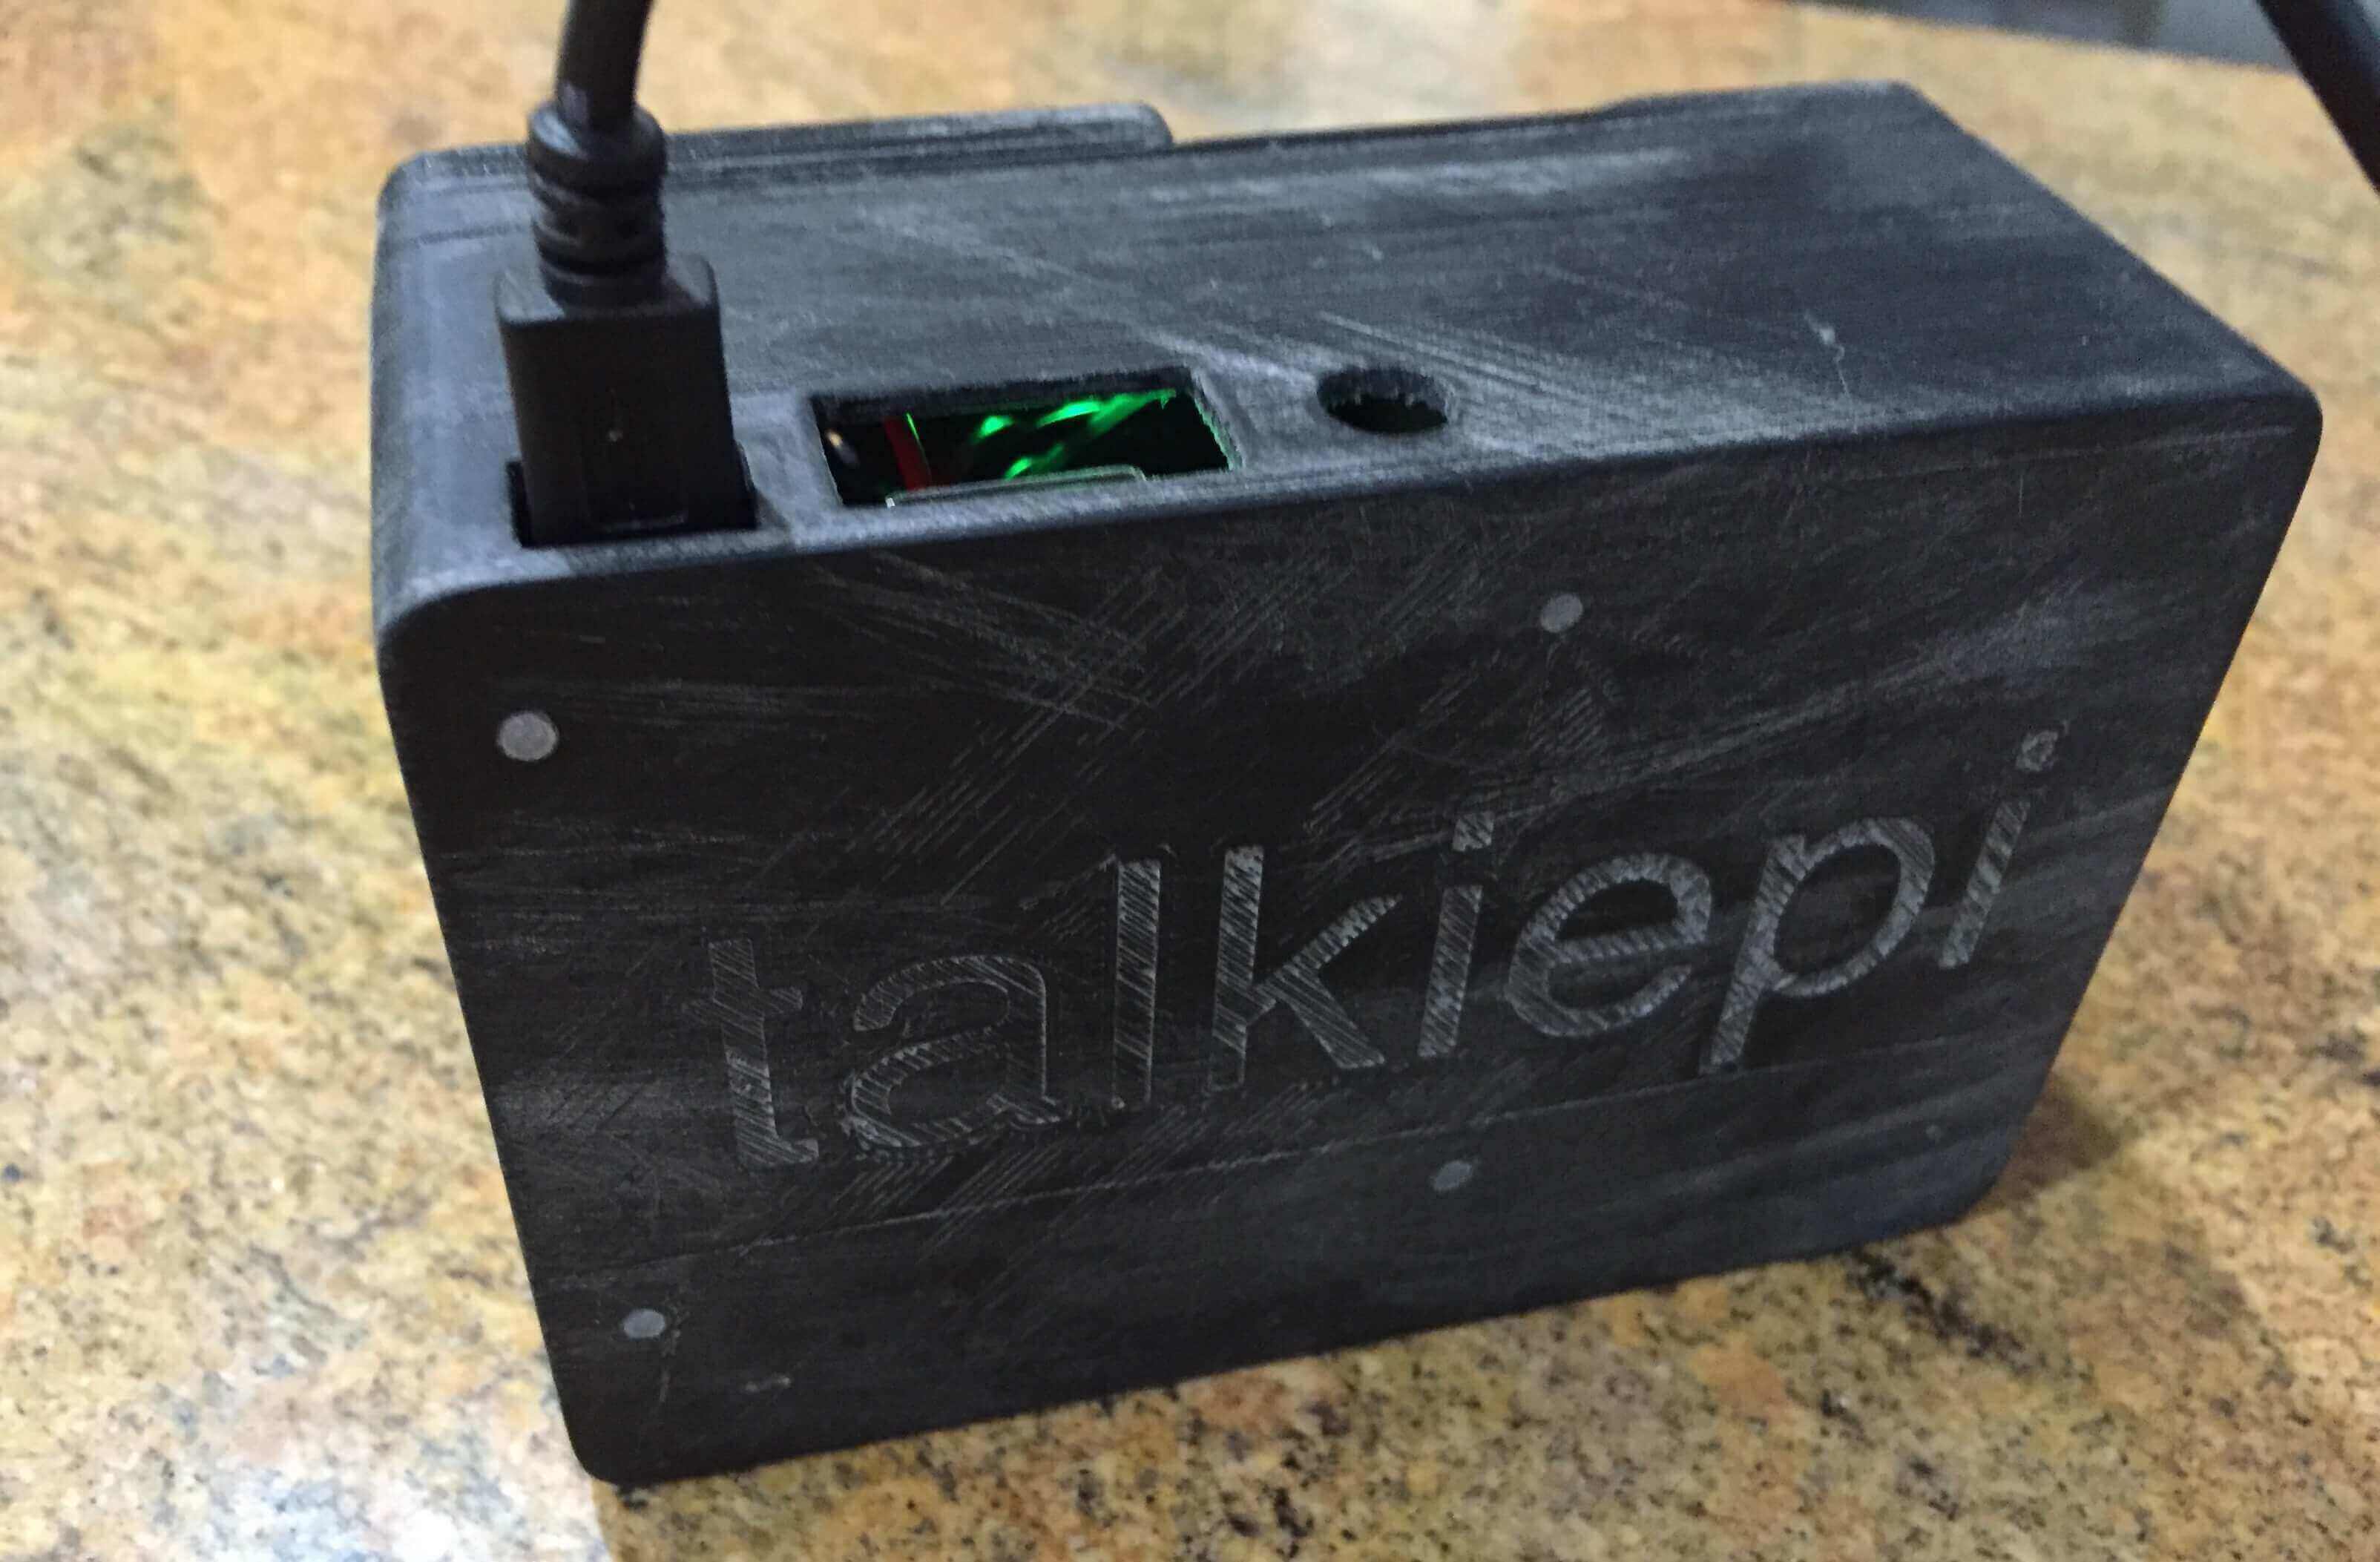
“I designed the enclosure to accommodate the Pi3 and the US Robotics speakerphone PCB specifically”, Chote writes. The assembly itself is not very complicated.
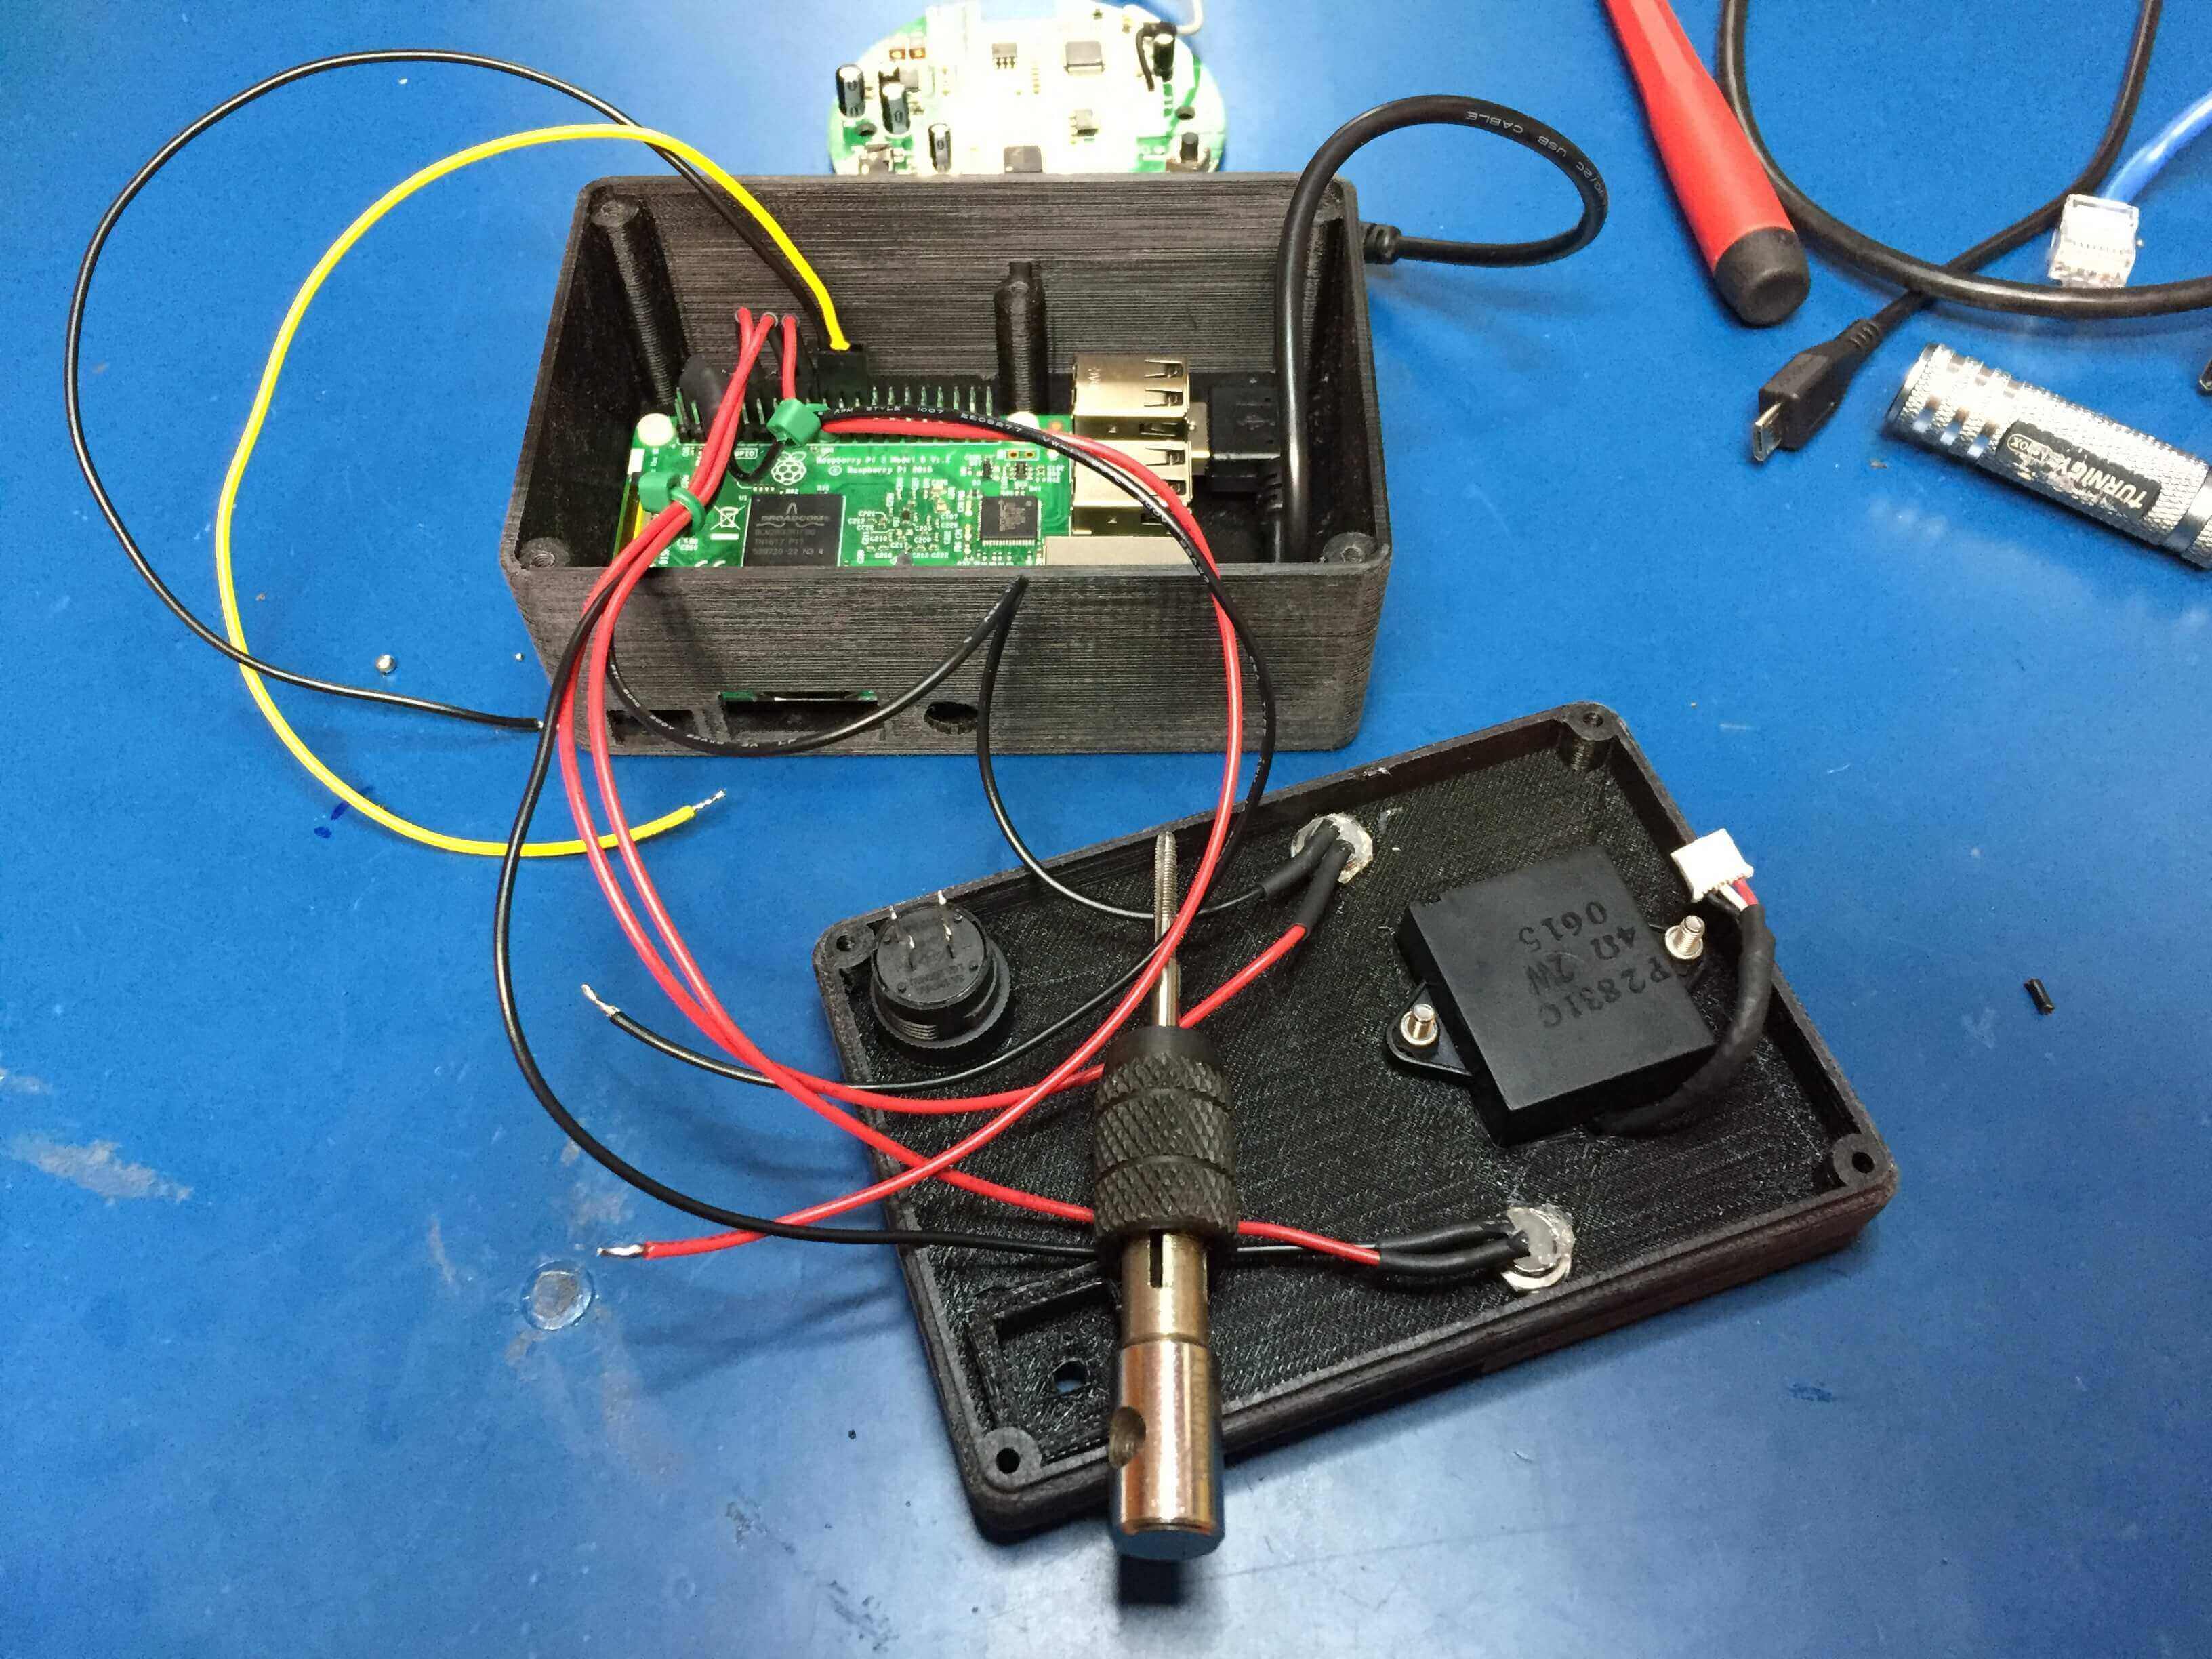
After it is setup on your Wi-Fi network and the software is configured, talkiepi will require little to no maintenance to use. Just push the talk button and enjoy.
You can find all the data on GitHub and additional instructions on the Projectable website.
License: The text of "Build a Walkie-Talkie With a Raspberry Pi & 3D Printing" by All3DP is licensed under a Creative Commons Attribution 4.0 International License.