Hydro Dipping & Other Tricks to Post-Process 3D Prints

Learn how to use hydro dipping, polishing, and other post-processing techniques to make your 3d printed models look even better.
Let’s face it, at some point you’ll grow bored of models with only one color and with visible layers showing. You may want a different type of aesthetic look for your 3D prints. In this post, we’ll show you several methods to enhance the look and feel of your work, which can be easily replicated in your home workshop.
First, let’s look at two dyeing methods that will give unique color finish to your 3D printed object. Admittedly, we borrowed them both from routine treatments used in beauty salons for hair and nails. They can both be used to dye 3d printed parts!
#1 Hydro Dipping
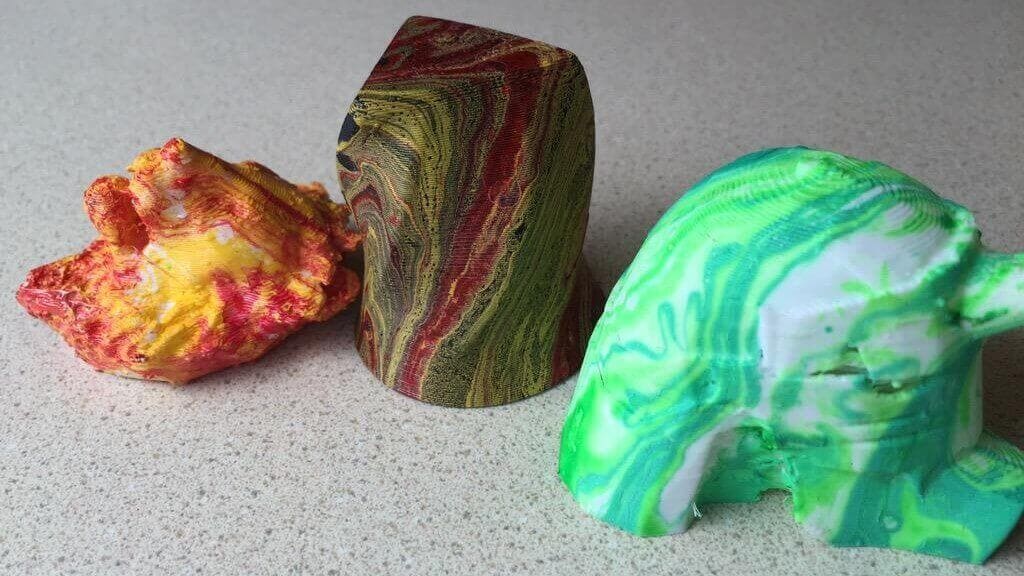
Hydro dipping is a technique often used in many fields where intricate and chaotic patterns are needed. It is used from applying color to car parts or as a form of cosmetic nail art. Other names used for this method are “swirling” or “water marbling”, but they’re almost identical.
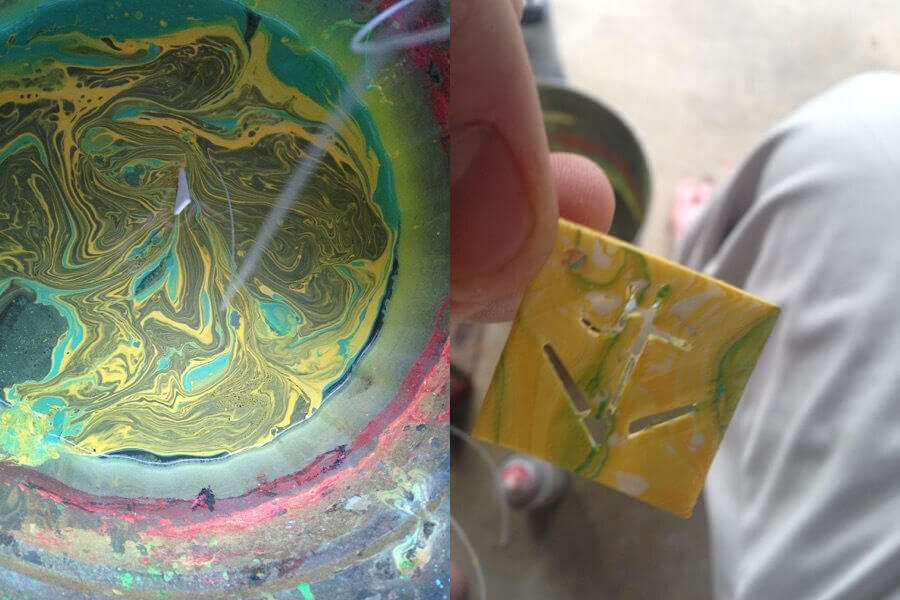
You basically apply a dyeing agent or color that is not soluble in the water (ie.: oil based or spray color), mix it on the surface so you get a near desirable pattern, and then dip your object into it. Since the dye is not soluble in the water, the pattern will stick to your model only.
A detailed guide on how to apply hydro dipping can be found at Digital Harbor.
You can also find a tutorial about hydro dripping from Adafruit, used to apply patterning to the humble fidget spinner. Check it out in the video below:
#2 Ombré Two-Tone Graduated Coloring
First things first, what is “Ombré” exactly? Wikipedia defines it as:
Ombré describes the gradual blending of one color hue to another, usually moving tints and shades from light to dark. The technique is commonly seen as a surface treatment in fashion and art. During the early 21st century ombré became a popular feature for hair coloring, nail art, and even baking, in addition to its uses in home decorating and graphic design
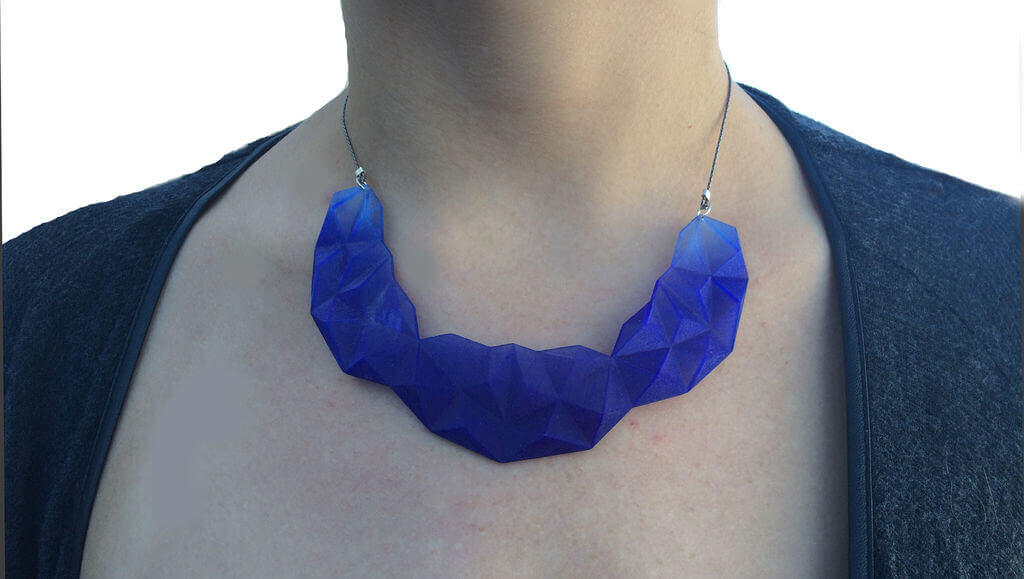
With this technique you can get very fine color gradients, but it is more time consuming and complex than water marbling. It is used with a water soluble iDye Poly, which is a powdered fabric dye for dyeing synthetic fabrics such as polyester and nylon.
You can probably use different dyes with similar properties. You achieve the gradient by repeatedly dipping your object in different depths and time intervals. The results can be very pleasing, as can be seen on this 3d printed necklace made from Object VeroClear resin.
Detailed tutorials from the Instructables site can be found here and here. As you can see, the primary applications are for jewelry and decorative elements.
#3 Surface Polishing 3D Printed Objects
To improve surface finishing and get a smooth and glossy material finish, you can apply polishing methods that use certain chemicals.
Here is the list of some common materials and their commonly used solvents:
- ABS: Acetone
- Acrylic: Most Solvents
- PLA: MEK (Butanone or methyl ethyl ketone) or ‘MEK Substitute’, THF (Tetrahydrofuran)
- PVA: Water
- PVC: Most Solvents
- Polycarbinate: Pretty solvent resistant
- Nylon: Pretty solvent resistant
- Polypropylene: Pretty solvent resistant
- Polyethylene: Pretty solvent resistant
There are other more “exotic” solvents out there.
IMPORTANT: Please read carefully all the safety instructions for handling these materials provided by your supplier. These methods can be dangerous: almost all solvents are toxic for humans, and vapors are flammable and even explosive under some conditions. Insure proper ventilation and fire prevention. NEVER MIX ANY CHEMICALS. If you use any of these methods, you must ensure that all reasonable precautions are taken. Please stay safe!
Here is the video describing the vapor polishing of ABS with acetone. It can be done without heat but it requires much more time.
If you’d prefer to avoid the simple but somewhat dangerous method of applying heat inside a basic container – and have some time and DIY skills – you can build a much more advanced DIY ultrasonic vapor polisher. Made with hacked parts from a household ultrasonic humidifier, it creates a solvent fog to polish the surface of your 3D printed object.
The ultrasonic vapor polisher device was developed by Instructables member Michael, and here’s how he describes its purpose and function:
Vapor polishing is nothing new. Experienced 3D printing enthusiasts are well aware that you can smooth the surface of 3D printed objects by exposing them to the right solvents. There are a few existing methods for doing this, but each of them comes with unique drawbacks.
Below is a video of his device in action, tested using parts with DIY TstrBot. Keep in mind, however, that this processing method will decrease the strength of your object. Prolonged exposure to the solvent fog will weaken the outer shell.
The completed guide, with all the parts and steps to make your device, can be found on Instructables. Please do share your post-processing results, we would like to hear from you. And remember… Safety first!
License: The text of "Hydro Dipping & Other Tricks to Post-Process 3D Prints" by All3DP is licensed under a Creative Commons Attribution 4.0 International License.