Featured image of Cura Extrusion Multiplier: How to Improve Your Prints
A Multitude of Solutions
Cura Extrusion Multiplier: How to Improve Your Prints

Cura's extrusion multiplier is actually called "Flow". Read to learn what it is, how to tune it, and how it can help fix print issues.

Featured image of The Best ABS Print & Bed Temperature Settings
Hotter, Better, Smoother, Stronger
The Best ABS Print & Bed Temperature Settings

Temperature settings for ABS are crucial for high quality and strong prints. Read on to learn all about the best ABS print settings!

by Gedeon Ang
Featured image of Cura First Layer Settings: Initial Layer Simply Explained
First Impressions
Cura First Layer Settings: Initial Layer Simply Explained

The initial layer is the foundation of the entire 3D model. Learn all about Cura first layer settings and how to get them perfect!

Featured image of The Best PETG Bed & Print Temperature Settings
Hottest Material on the Market
The Best PETG Bed & Print Temperature Settings

The right PETG print temperature can be elusive. Read on to learn all you need to know about PETG bed and print temperature settings.

by Zachary Hay
Featured image of The Best Anycubic Kobra Neo Cura Profile / Settings
Fast & Precise Kobra
The Best Anycubic Kobra Neo Cura Profile / Settings

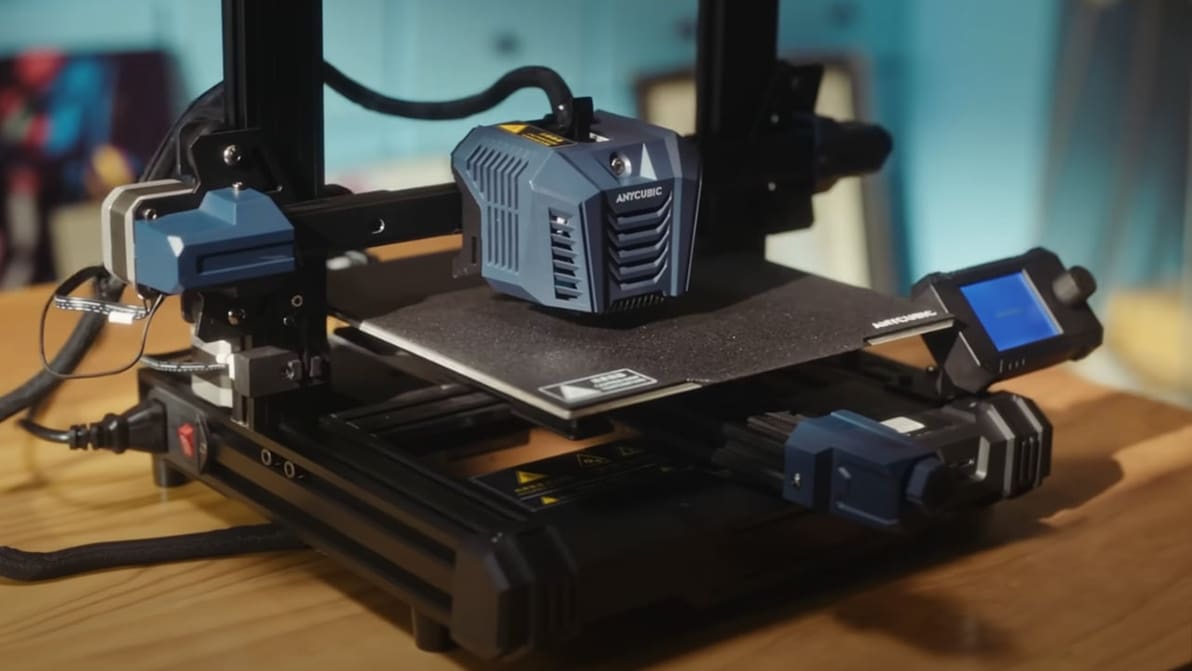
Looking for the perfect Anycubic Kobra Neo Cura profile? Read on for settings that will help ensure perfect prints, every time!

by Gloria E. Magarotto
Featured image of 3D Printing Raft: When Should You Use It?
Save Your Prints from Sinking
3D Printing Raft: When Should You Use It?

If you're having problems with warping or bed adhesion, there's a solution! Learn what a 3D printing raft is and when and how to use it.

by Abhimanyu Chavan
Featured image of 3D Printing Brim: When Should You Use It
I Am Brim
3D Printing Brim: When Should You Use It

It prevents warping, helps with adhesion, and reduces waste – what's not to love about a 3D printing brim? Read on to learn more!

by Lauren Fuentes
Featured image of 3D Printing Holes: 5 Simple Tips
Hole in One
3D Printing Holes: 5 Simple Tips

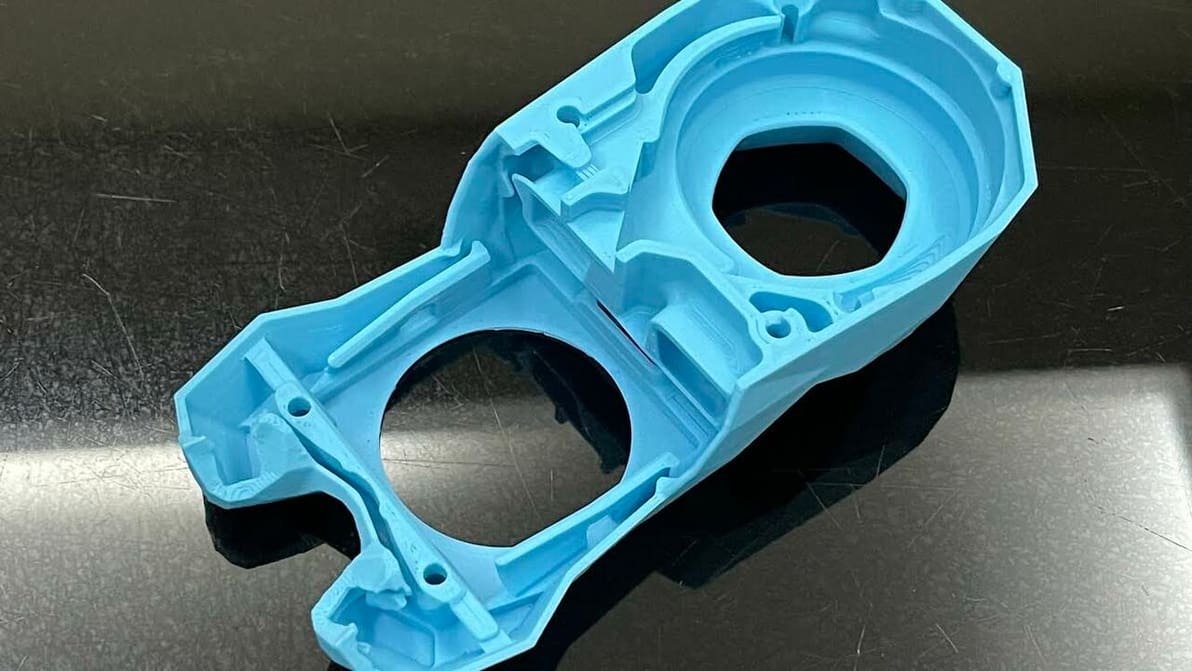
3D printing holes is quite common, but it can also be challenging. Check out 5 simple tips to get more accurate holes from your 3D printer.

by Hironori Kondo
Featured image of How to Optimize Cura Support Settings
Support Your Supports
How to Optimize Cura Support Settings

Cura offers a powerful range of settings to play with. Learn about the main Cura support settings and how to best support your prints.

Featured image of The Best Creality K1 Cura Profile / Settings
Set Your K1 Up for Success
The Best Creality K1 Cura Profile / Settings

Looking for the perfect Creality K1 Cura profile? Check out these settings and unleash the lightning-fast potential of your Creality K1!

by Timothy Solomon
Advertisement
Advertisement
Featured image of Ender 3 (V2/Pro) ABS Settings: 4 Easy Tips
An End-uring Filament
Ender 3 (V2/Pro) ABS Settings: 4 Easy Tips

Try ABS on your Ender 3 (V2/Pro)! Check out 4 easy tips to get your ABS settings right and your prints looking great!

by Pranav Gharge
Featured image of How to Use a Temperature Tower in PrusaSlicer
It's Getting Hot in Here
How to Use a Temperature Tower in PrusaSlicer

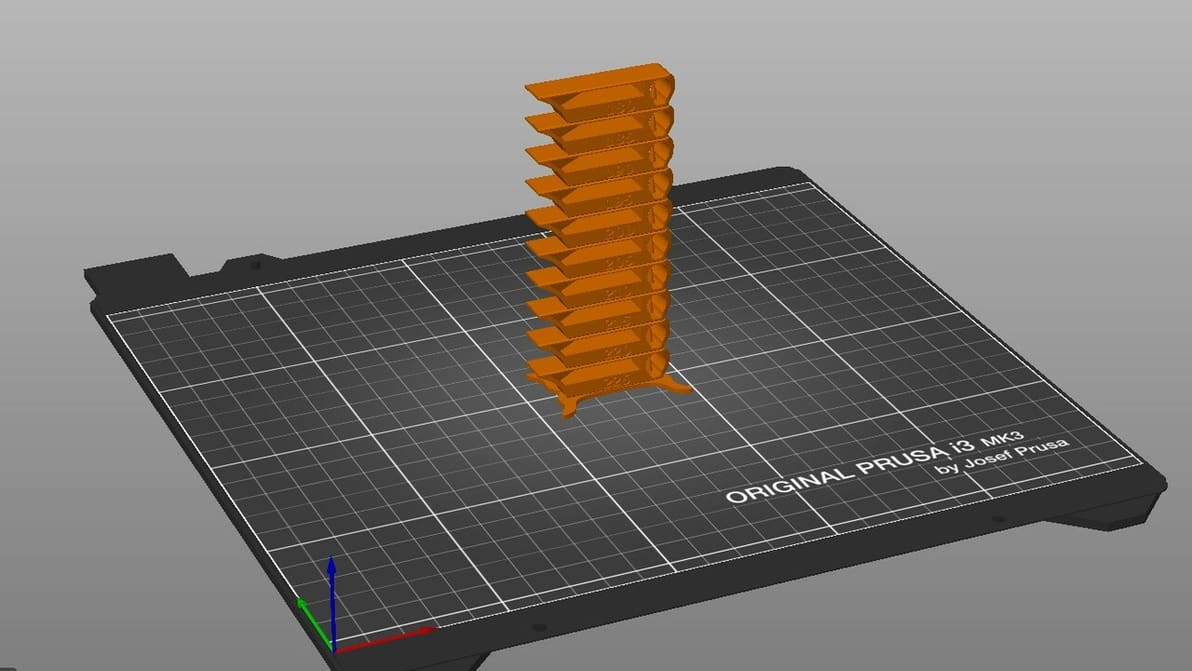
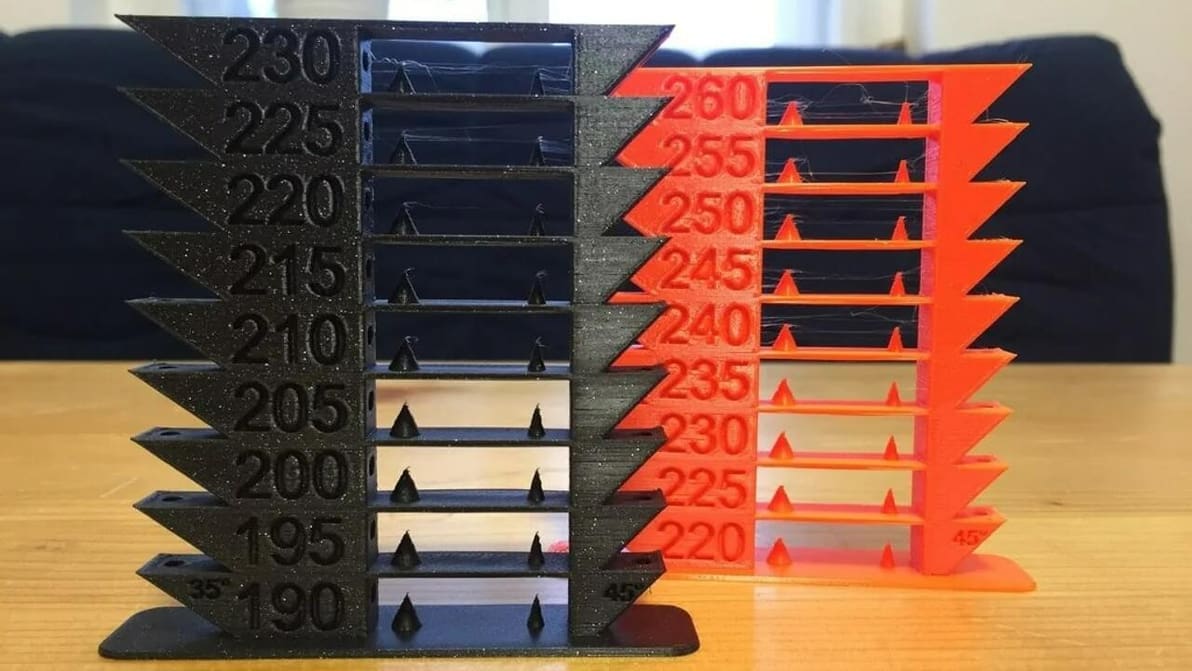
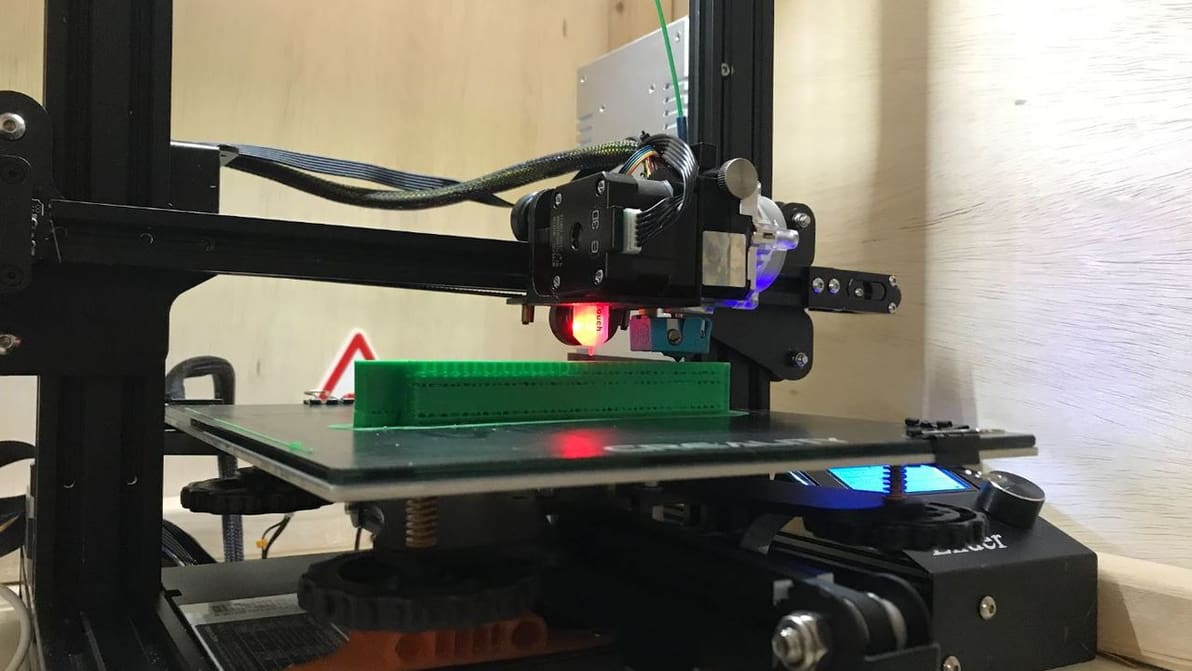
By creating PrusaSlicer temperature towers, you can elevate print quality and filament efficiency in one go. Read on to learn more!

by Bharat Jagwani
Featured image of PETG Not Sticking to Bed: How to Improve Bed Adhesion
Adhesion Answers
PETG Not Sticking to Bed: How to Improve Bed Adhesion

PETG makes excellent functional prints, as long as bed adhesion is not an issue. Check out these solutions to PETG not sticking to the bed!

by Connor Licht
Featured image of The Best 3D Print Speed Settings for PLA & More
Need for Speed
The Best 3D Print Speed Settings for PLA & More

Tuning your PLA print speed can be tricky. Learn how to find the perfect print speed settings for PLA and more materials!

Featured image of Cura Tree Support: All You Need to Know
Branch Out
Cura Tree Support: All You Need to Know

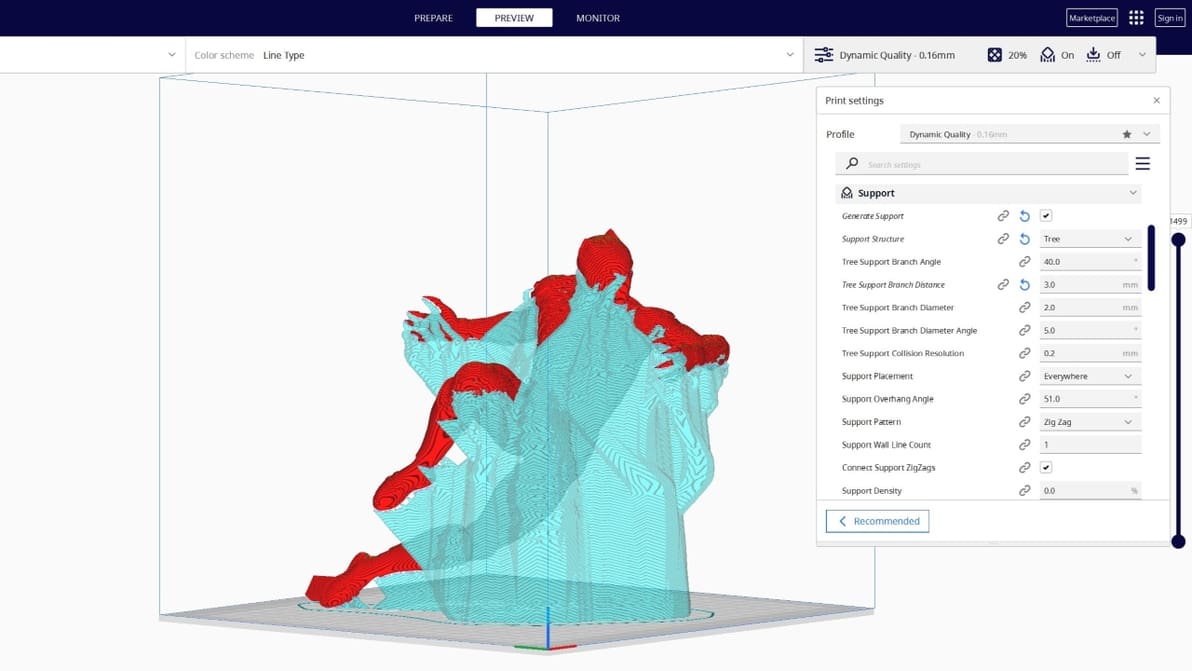
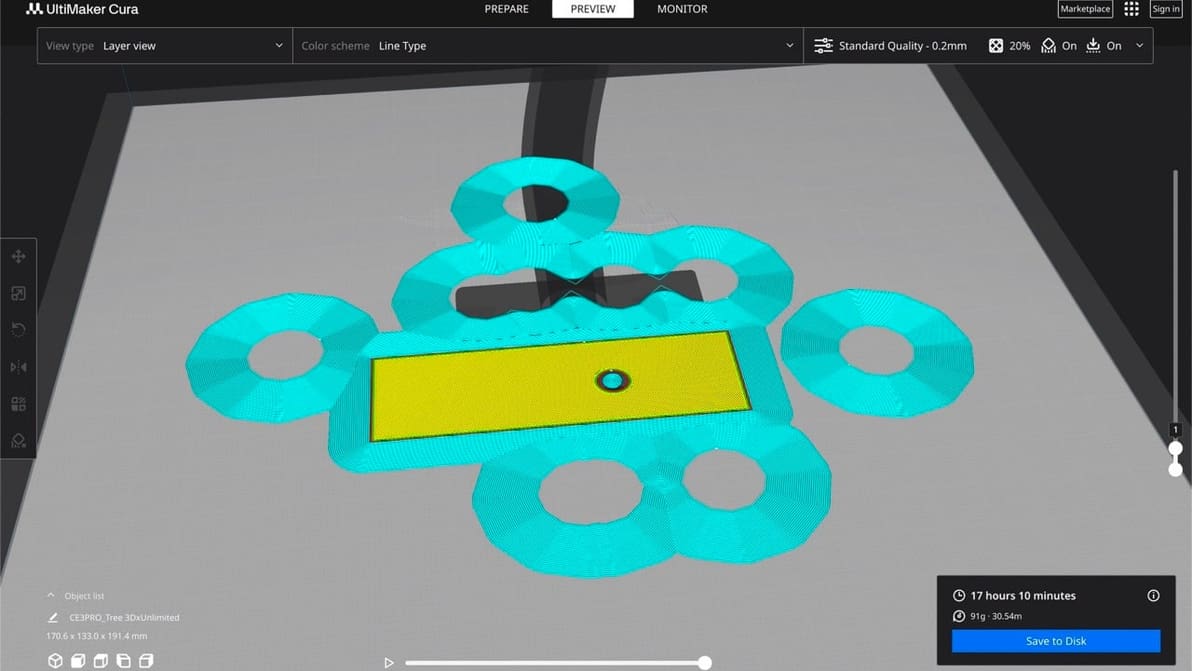
Tree supports are efficient and tidy. Find out why the Cura tree support setting is one of our favorite 3D printing tricks.

by Pranav Gharge
Featured image of The Best Creality Slicer Settings / Profile
Setting It Right
The Best Creality Slicer Settings / Profile

Looking to master Creality's slicer? Learn all about the crucial Creality Slicer settings and how to obtain a flawless print.

by Pranav Gharge
Featured image of Bambu Studio: Vase Mode – Simply Explained
Spiralize Me
Bambu Studio: Vase Mode – Simply Explained

Bambu Studio's vase mode is the easy path to seamless, artistic 3D prints. Read on to learn how to use it and how to troubleshoot.

by Bharat Jagwani
Featured image of The Best ChiTuBox Anycubic Photon Resin Settings
Up Your Photon Game
The Best ChiTuBox Anycubic Photon Resin Settings

With ChiTuBox, Anycubic Photon settings are a piece of cake. Get more control over your printer with this great slicer.

by Lucas Carolo
Featured image of The Best Anycubic i3 Mega Cura Settings / Profile
One Tweak at a Time
The Best Anycubic i3 Mega Cura Settings / Profile

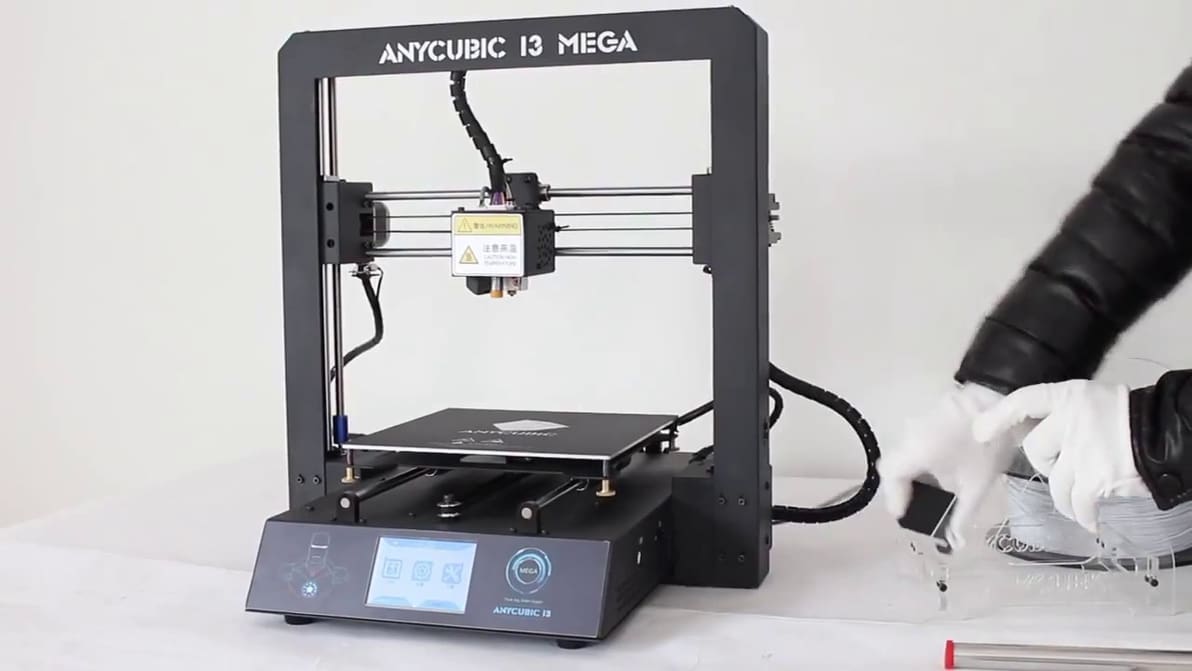
Looking for optimal Anycubic i3 Mega Cura settings? Here is what we suggest as the best Cura Anycubic i3 Mega Cura profile.

by Leo Gregurić
Featured image of PrusaSlicer Infill Patterns: All You Need to Know
Skill with Infill
PrusaSlicer Infill Patterns: All You Need to Know

PrusaSlicer infill patterns are some of the most diverse of any slicer. Read on to learn which one is best for you!

Advertisement
Advertisement