How to Make a Yo-Yo in Autodesk 123D

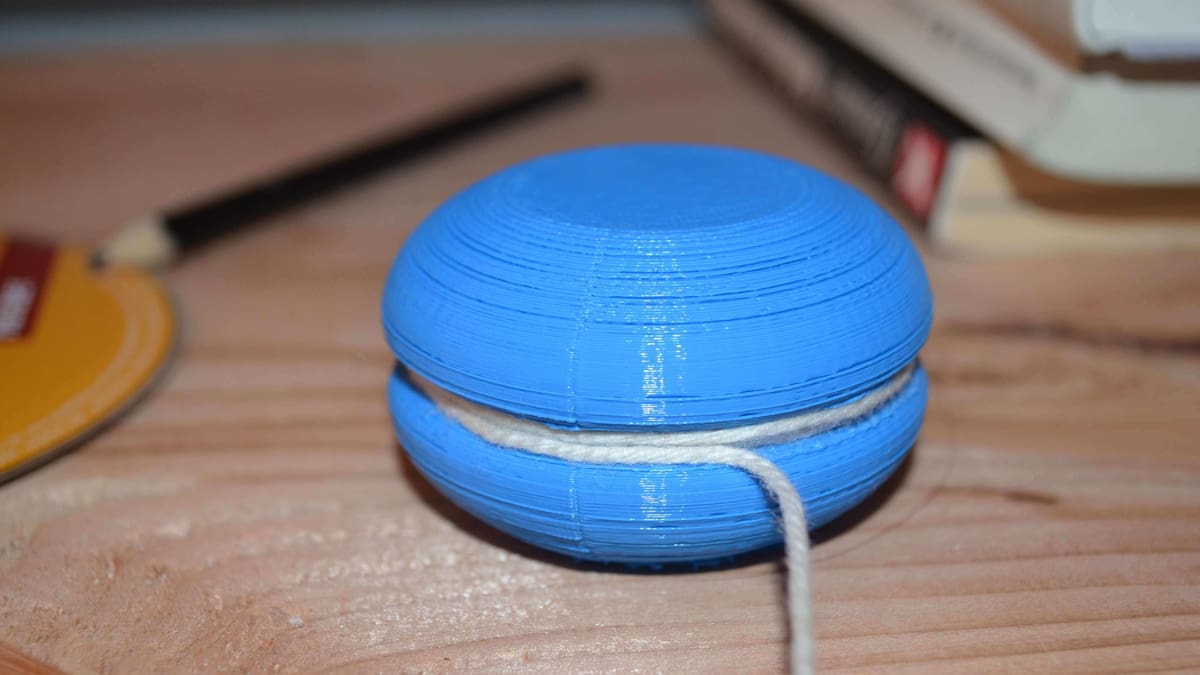
A 3D printed yo-yo is an ideal beginner’s project – it is easy to create a 3D model in a modeling tool such as Autodesk 123D and 3D printing it is straightforward. So: Start your 3D modeling career building a yo-yo for yourself or for your kids.
A yo-yo is a timeless pastime popular among all generations and in many cultures. It was invented in ancient Greece – a vase dating back to 500 BC shows a boy playing a terracotta yo-yo.
Step 1: Install Autodesk 123D
- To download the software, go to Autodesk’s 123D website and follow the instructions.
- After downloading the file, install the software on your system. When running Windows: Right-click the installer and select Run as Administrator.
Step 2: Sketch your yo-yo
- Start a New Project.
- At the top of the page you will find a toolbar – hover over this and choose Sketch.
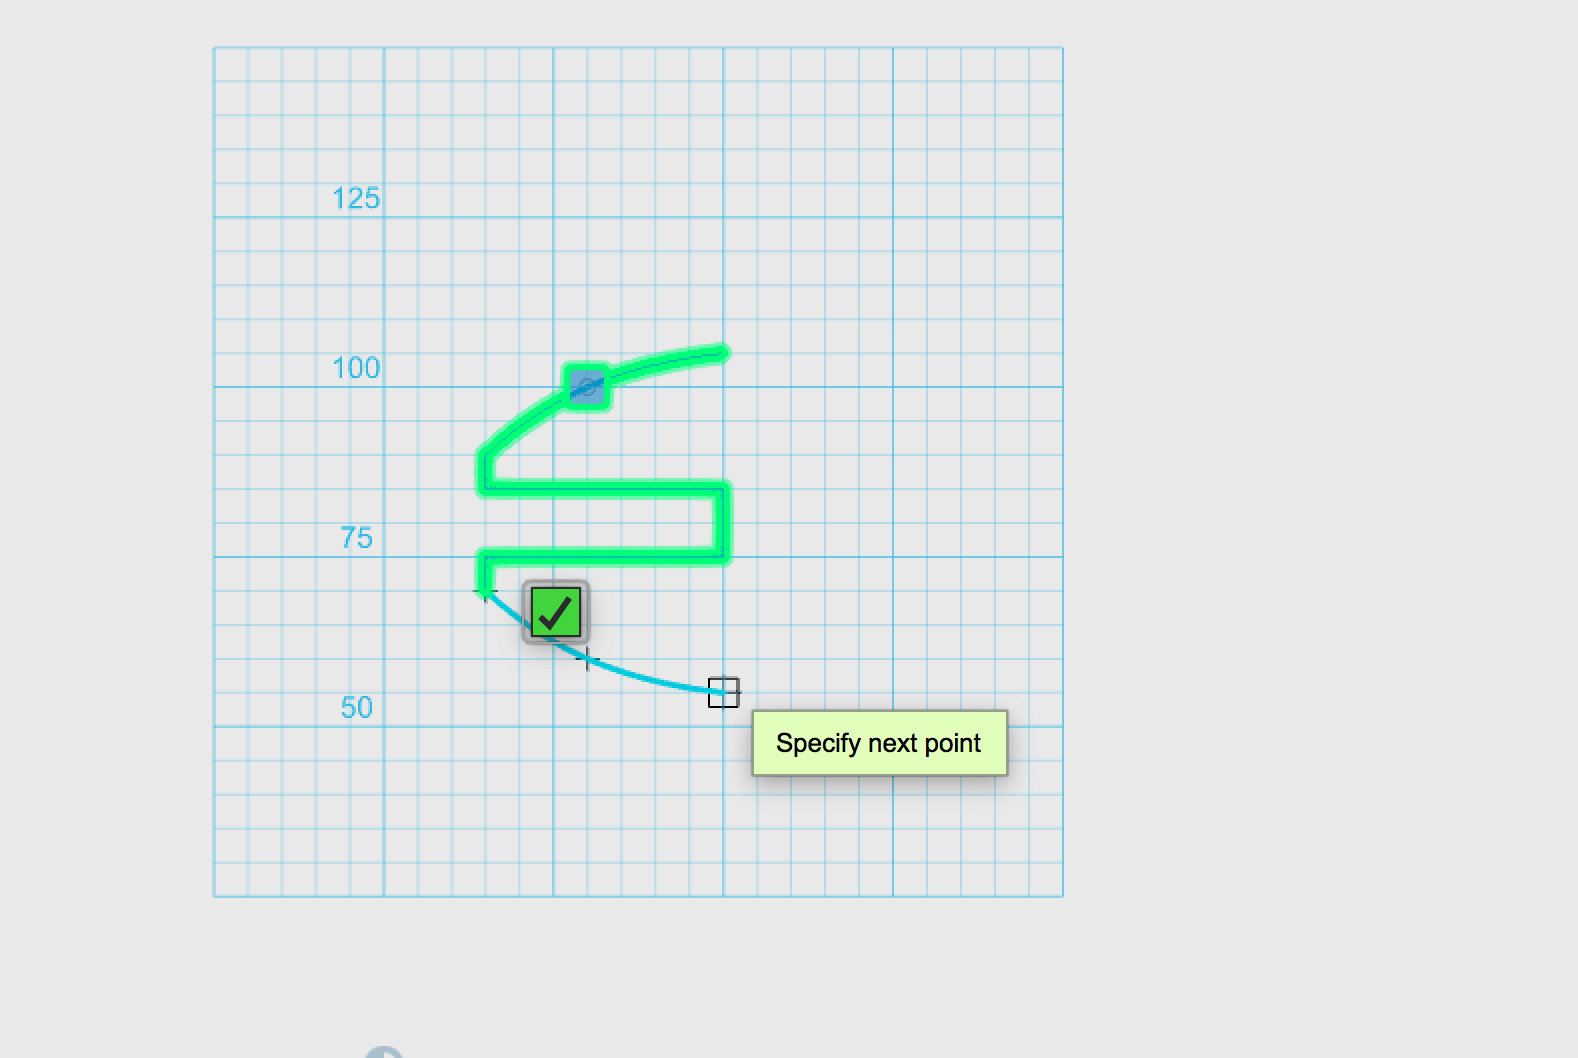
- From here, select the Poly Line option and draw the outline of your yo-yo.
- Draw out a basic shape by clicking and moving your mouse.
- To smooth everything into a curve shape, use the Spline option next to the Poly Line tool.

Complete one side of the basic yo-yo shape and revolve this 2D image.

Step 3: Turn your 2D sketch into a 3D yo-yo
- In order to turn your sketch into a 3D print, you need to add height. To do this, hover your mouse cursor over Construct on the toolbar.
- Select the Revolve option.
- To revolve your shape select Axis and click on the bottom edge. This will then show you a toolbar in which you select the degrees, you could also use the mouse to drag your shape into a solid. Otherwise type 360 in the mm box.
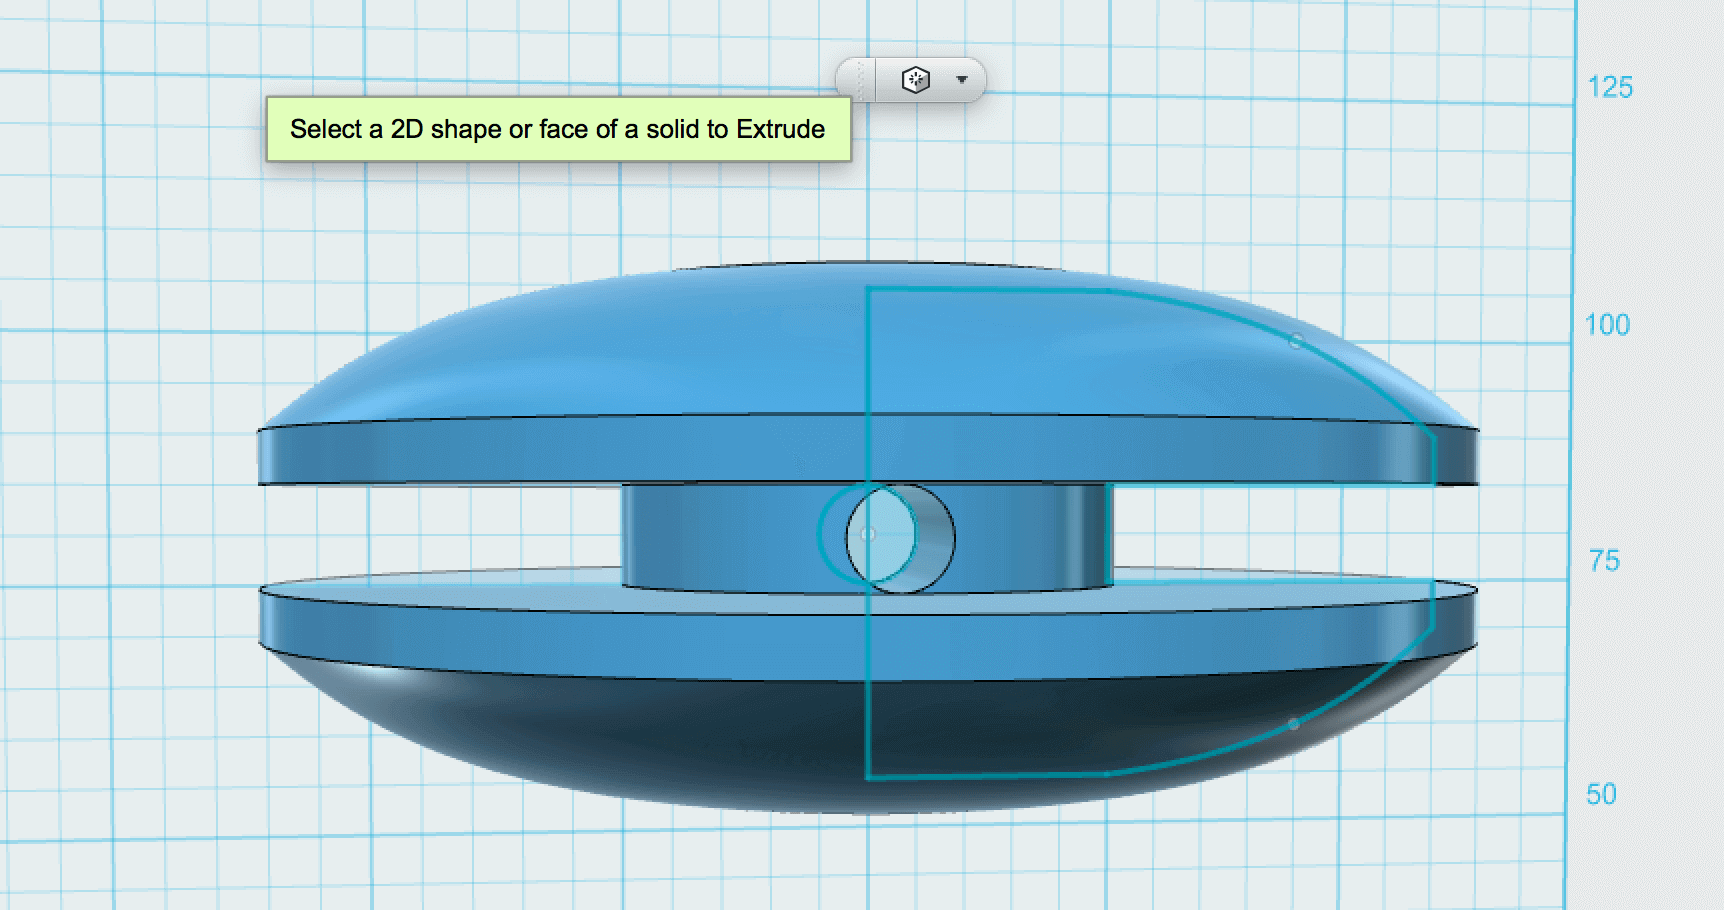
Step 4: Add a hole to your yo-yo
- Select the Circle option from the toolbar at the top
- Click Extrude and then click on the circle and cut through the yo-yo to create the hole.
- Round off the edges with the Modify tool.
- If you want to personalise your yo-yo, you can put patterns into the top, but make sure this is the same on both sides so you don’t change the balance!
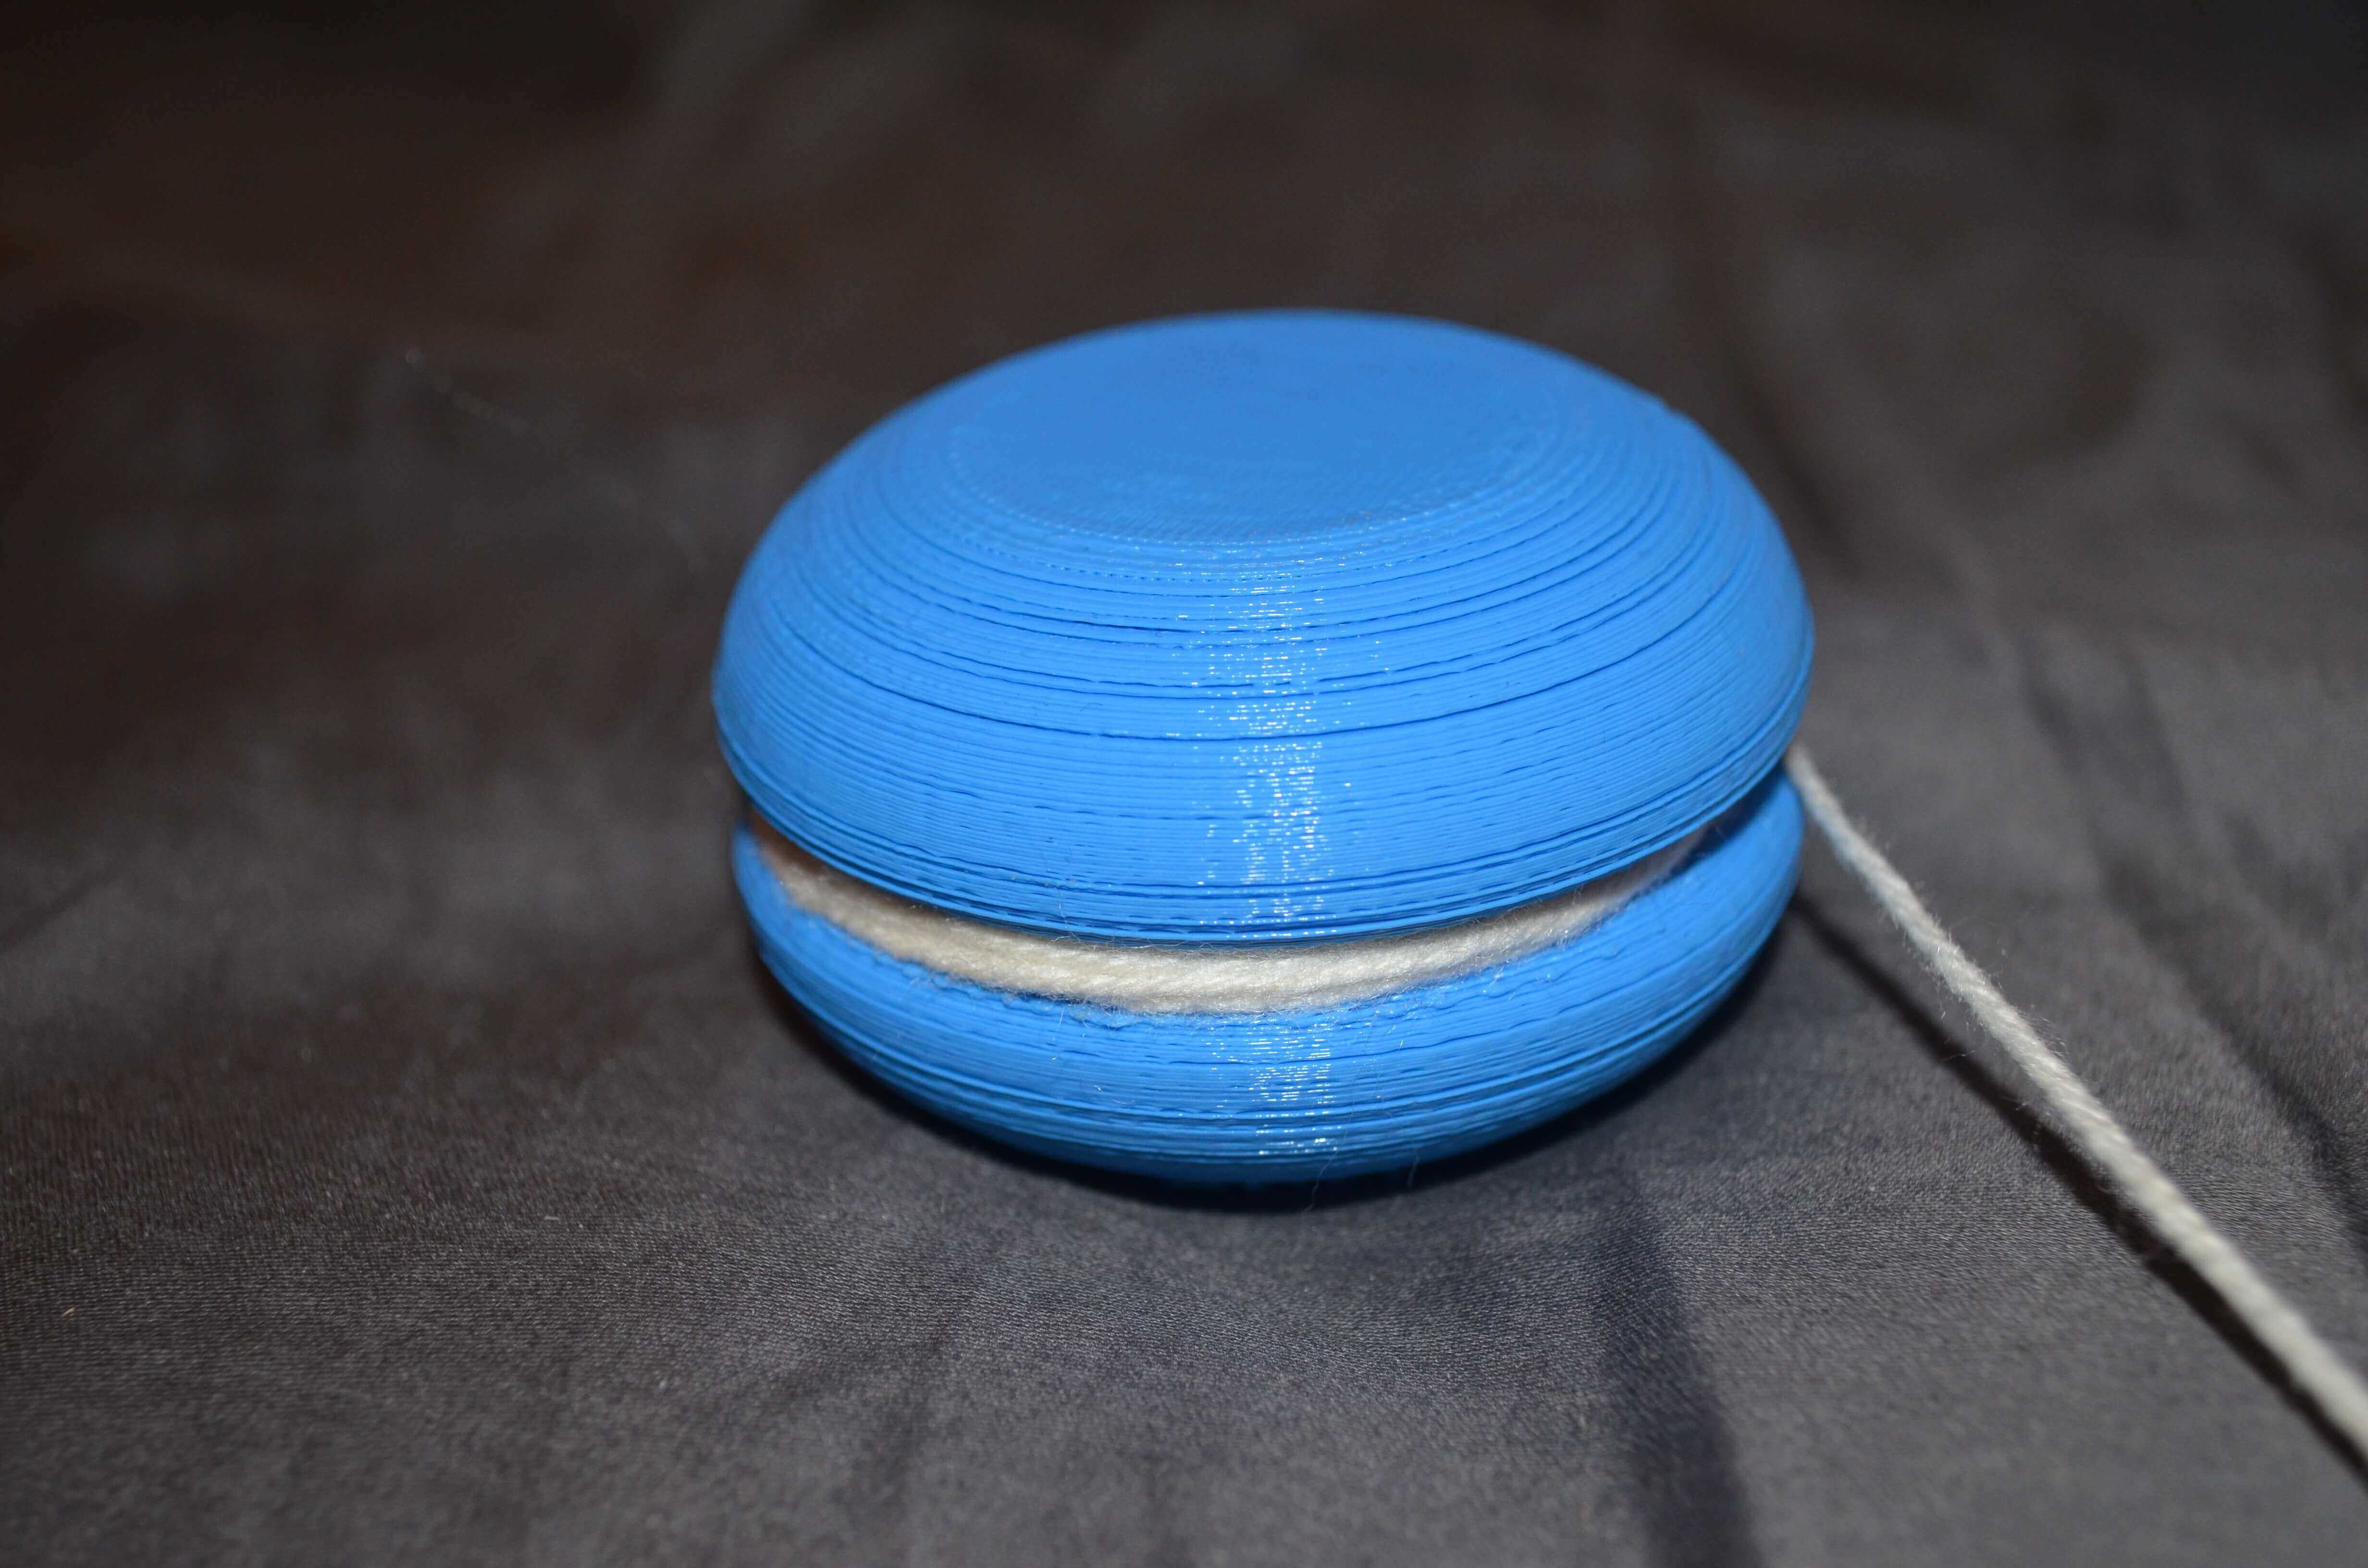
Step 5: Save and print
- If you have a 3D printer (or have access to one), click the Start button at the top and select 3D Print and then either the .STL or the .OBJ file format (as we created a unicolored yo-yo, the universal .STL format will do). Save the file to disk.
- If you don’t own a 3D printer then there is no need to worry! Once you have finished your design remember to save it and either create an .STL or .OBJ file for your 3D printing service or have the file sent directly to a 3D printing service (click the Start button again, select Order Online and then the service of your choice).
If you do not have a 3D printer, use All3DP’s price comparison service. to get the best price from one of the most popular printing services. Just save the model as a .STL file and upload it to All3DP’s service.
License: The text of "How to Make a Yo-Yo in Autodesk 123D" by All3DP is licensed under a Creative Commons Attribution 4.0 International License.