The ALL3DP verdict on the high-quality Pharaoh ED 3D printer, which has Delta Robot Technology that allows it to print at faster speeds with lower levels of vibration and noise.
Mass Portal is a privately held company in Latvia that manufactures and sells 3D printers. The Pharaoh ED 3D printer is now also available through iGo3D. The Pharaoh ED printer, Mass Portal’s first 3D printer, has been on the market since April 2014. It’s very well built and delivers outstanding print results. Assembly and calibration are quick and self-explanatory. There are currently still a few shortcomings with the software, and you quickly come to realise that this is a 3D printer for professionals.
For those who have high standards when it comes to print quality – and who bring a certain amount of patience with them – the Pharaoh ED is a good choice. It’s a printer for 3D whizzes!
1. Unboxing
The design of the Pharaoh ED is very appealing. Because of the delta construction, the 3D printer is fairly tall. The printer housing is closed all around and the build is of high quality. The transparent panels on the sides (side covers) reveal a futuristic-looking interior. At a weight of 15 kg (33.1 lbs) and a height of 63 cm (24.8 in), the printer is nevertheless a very manageable piece of office equipment, and it stands firmly on flat surfaces. Very convenient is that the Pharaoh printer comes almost completely assembled. Since there’s really not much to do by way of setting up, you can get started with the actual printing process quickly.
Items included in the shipment
In addition to the printer, you’ll find several other important items in the box:
❏ A power supply cable and USB cable
❏ A filament spool and the corresponding filament spool holder
❏ A round glass build plate (platform) onto which the object is printed
❏ A spatula that allows you to easily remove the printed object
❏ And finally, the side covers, which are easy to attach to the sides due to the magnetic construction
2. Assembly
There are just a few additional items in the box, which is a good indication that assembling the printer won’t take long at all. You start by installing the round glass build plate. To do this, you place the plate on the floor of the printer, press it down and slide it into the clamps until it snaps tightly into place. It’s easy to install the side covers on the sides, thanks to the magnetic construction.
On the back of the printer you’ll find a fixture for the filament spool holder. The filament spool holder is inserted here and then the filament spool itself is placed on the holder, allowing the printing material to roll off clockwise.
Now it’s time to start up the 3D printer. To do this, you select the function from the menu that allows you to load the filament you’ll be using. To fine-tune how firmly the filament is gripped by the material feeder in order to move it forward with the right pressure and at the right speed, the mechanism on the back of the printer can be adjusted. Depending on the printing material (filament), the extruder heats up to a particular temperature, and then the filament starts loading automatically. The calibration process (plate levelling) for this printer is done automatically, and now you’re ready for the first print run.
Our Evaluation:
The shipment includes everything you need to get started in 3D printing. The Pharaoh ED is built very well, assembly is quick and simple, and the side covers included in the shipment ensure fewer complications during the printing process. You also have to register online using the printer’s serial number to obtain the appropriate user manual and software.
3. Software
The 3D printing software programs for the Pharaoh ED isn’t quite as user-friendly as we’d like. Although Slic3r, Cura, Simplify3D and other software packages are available, none of them offer default profile settings, which means that all of the data has to be entered manually. You’ll need to have some experience with this in order to get optimal print results, so put some time aside to figure out the right settings.
When you’ve entered the correct settings, you can load the file with the 3D printable model with just one click or by using the drag-and-drop method. The file formats supported are .stl and .obj, and the software programs can be used on Mac, Windows and Linux platforms. The rotate and zoom in and out options allow you to take a closer look at the imported virtual model. You can also make small adjustments, such as adjusting the placement on the glass built plate or adjusting the size. If a model is too large, you can split it anyway you like, but then two printing processes will be necessary.
Once the model has been arranged to your liking, you select the print settings. In terms of printing material, it’s best to start out with PLA. At this point, ABS, PET, PVA, HIPS and other materials are only supported and used on an experimental basis and require a lot of experience.
Now that the stage has been set, the virtual model has to be converted and saved either on the computer or directly onto the SD card that was sent along with the printer.
Our Evaluation:
Almost all of the common software programs are supported and can be used for this printer, but none of them provide default profile settings. Models downloaded from an online portal or your own models can be easily imported and prepared accordingly. However, some experience with 3D printers or a lot of patience is necessary to be able to print at all or to achieve the print results you want. If you have any other questions, you can currently only contact the manufacturer by email for support (support@massportal.com). You’ll get a quick response, though.
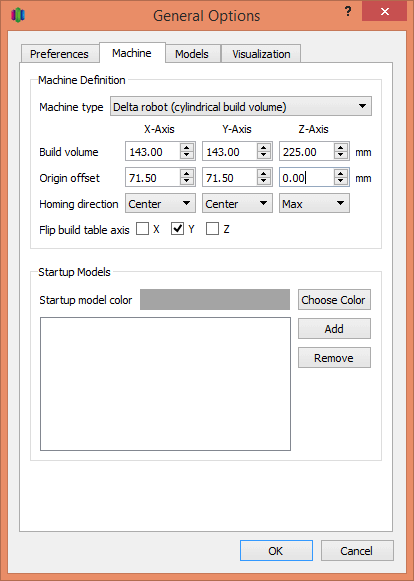
4. Calibration (Plate Levelling) / Printing
Once you’ve chosen a software program and prepared the model, the Pharaoh ED needs to be calibrated. All this requires is just a click in the menu. Since the calibration process is done automatically, this is a quick matter. The Pharaoh ED scans the distance between the glass plate and the print head automatically. But if necessary, you also have the option of fine-tuning the calibration process. Now you select the model in question from the SD card and printing starts.
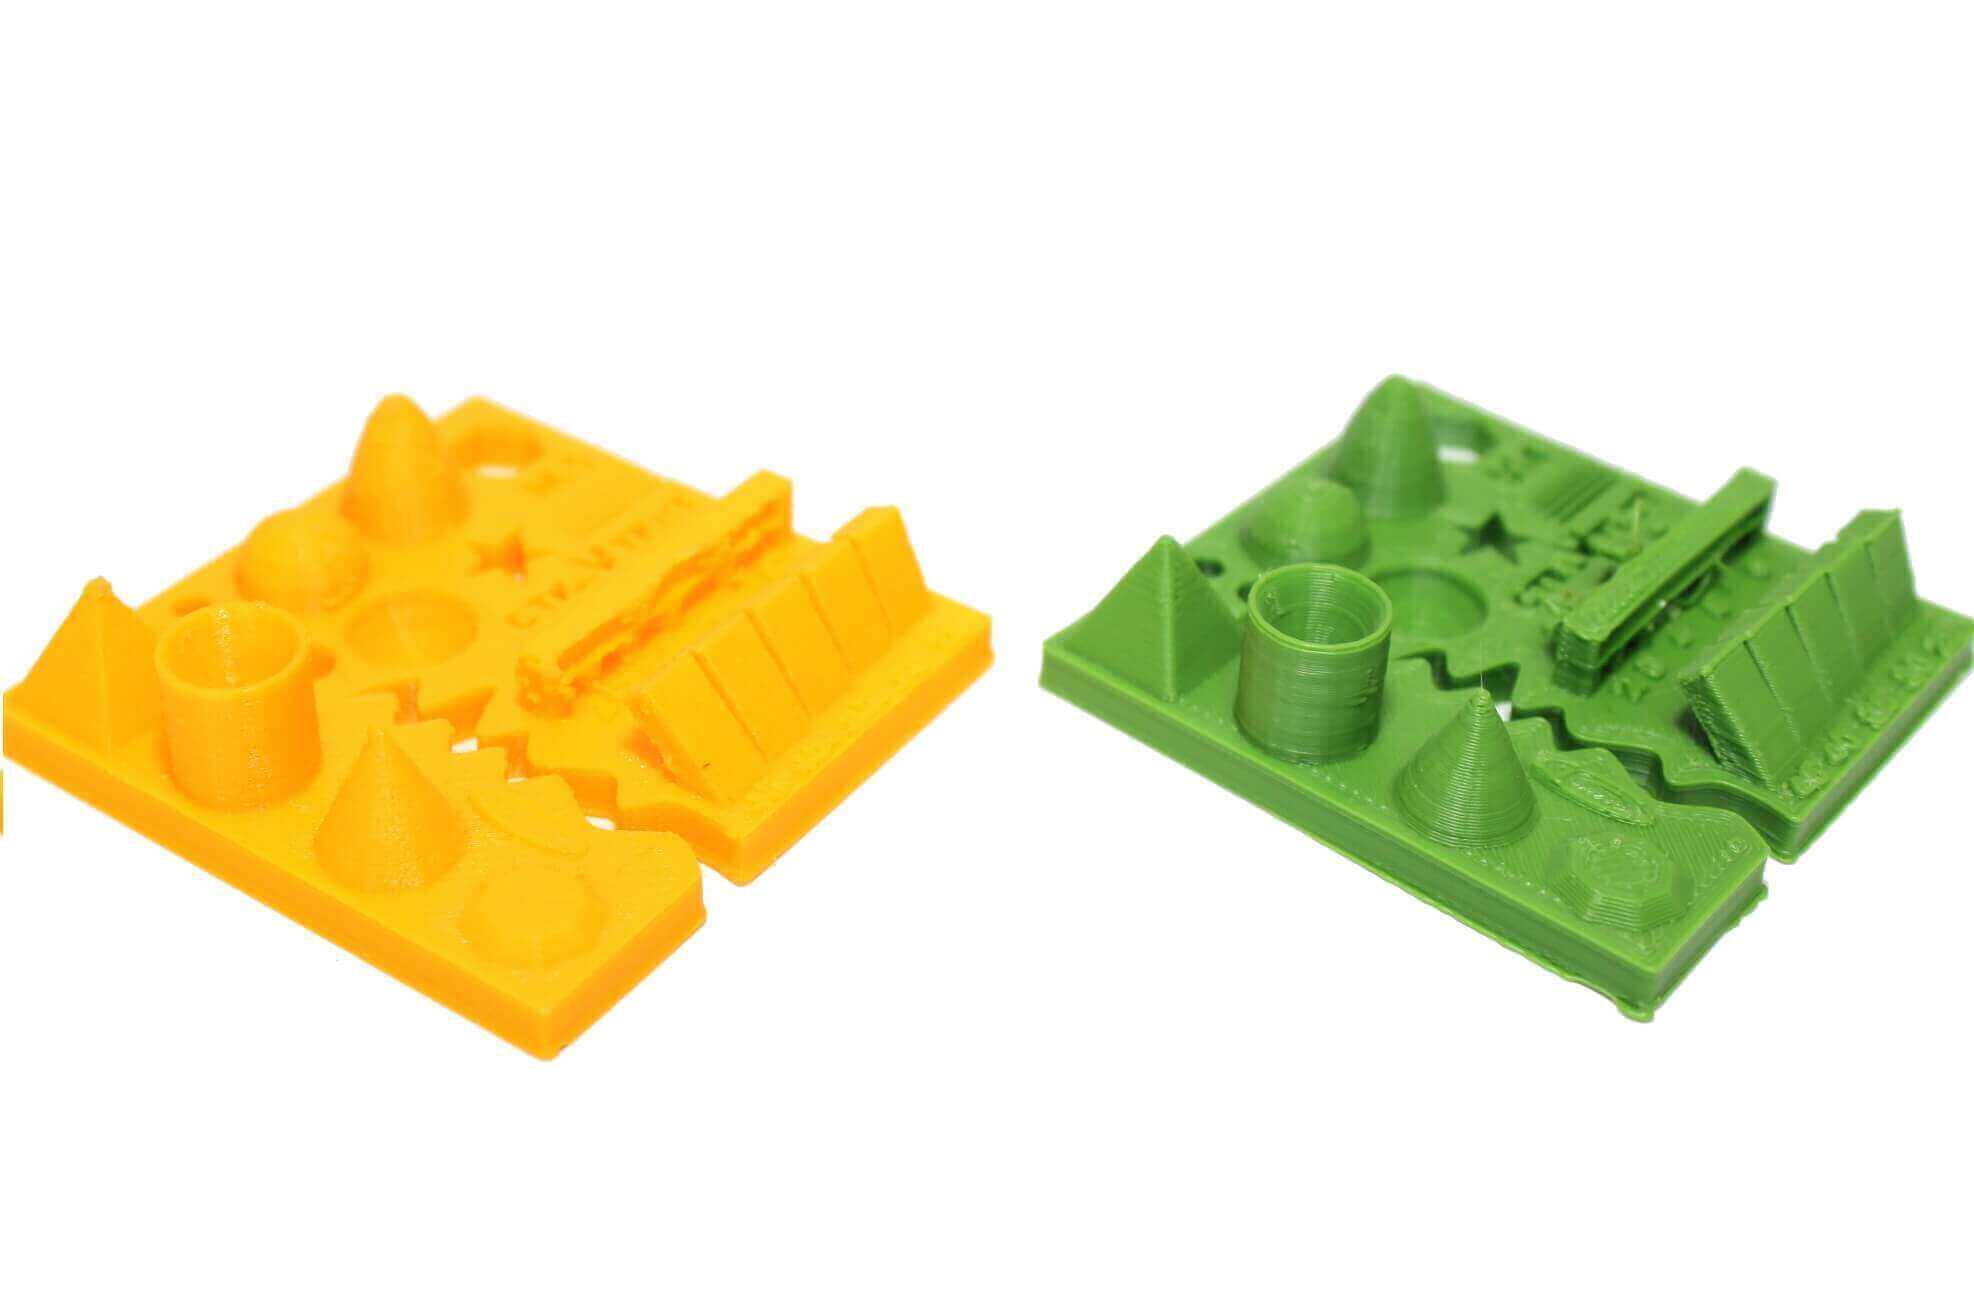
Unfortunately, a few problems occurred during our test run. The printed objects didn’t adhere to the glass plate very well, and we soon noticed that the objects were coming out somewhat crooked. A good solution to prevent this is to cover the plate evenly with the blue build tape or else with reusable foil. But, on the other hand, printing out the test objects that were already on the SD card that was included in the shipment went very well and the print results were of excellent quality.
Major problems occurred when we tried to print our own models. The printing process was aborted or not completed, printable objects were rejected by the printer or just a jumble of strings was printed. Even though customer support answered our questions promptly, it took us quite a while to run a successful printing test. However, after trying out several things and a lively exchange with Mass Portal, we achieved quality print results that we have never gotten from any other printer so far.
Our Evaluation:
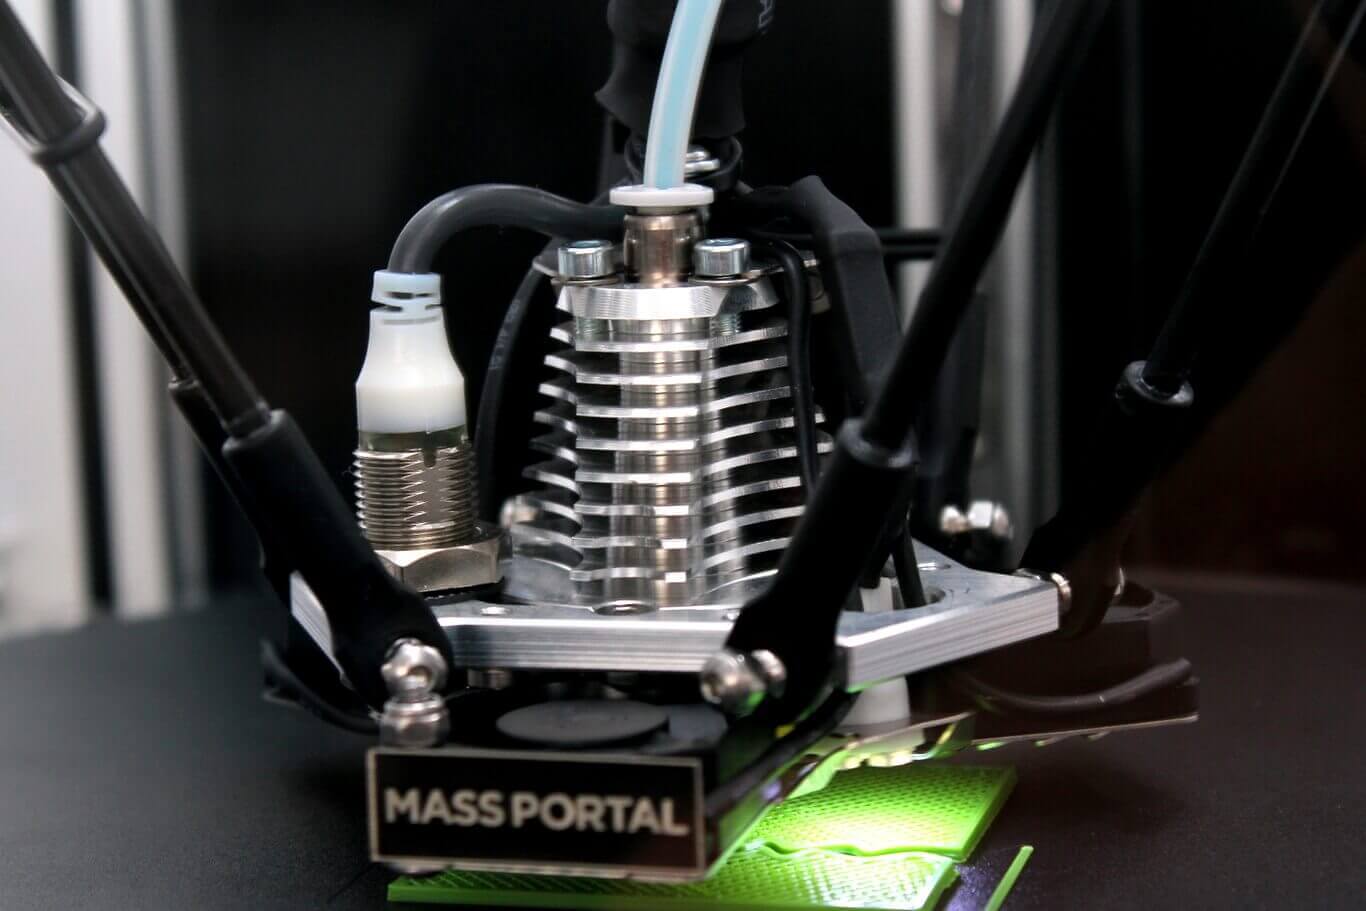
The matter of the settings takes up a lot of time and requires experience in 3D printing. Except for the assembly, the Pharaoh ED printer is far from being “plug & play”. This is mainly due to the internal software and the lack of default profile settings. But once you’ve mastered that, the print results are hard to beat in terms of quality. The side covers are a very practical solution; you don’t have to worry about draft interferences. The noise level is within reasonable limits, and the delta construction prevents vibrations.
5. Summary / Specifications
After several printing runs, we were left with a mixed picture of the Pharaoh ED printer’s capabilities. The assembly is very user-friendly, easy enough for any type of user. The hardware is outstanding and has delivered the best results in any of our printer tests to date. On the other hand, those new to 3D printing are likely to become exasperated, since the printer’s software and its compatibility with Simplify3D, Cura and others still needs much improvement. A lot of experience with 3D printers is expected, and even after playing around with the system for quite some time, it takes a while to accomplish your intended goal.
The bottom-line is that the Pharaoh ED printer scores high when it comes to print quality, but at this point the printer is only suitable for 3D printing professionals because of the software issues.
Technical Data Pharaoh ED
Physical Dimensions
❏ Width: 32 cm (12.6 in)
❏ Depth: 31 cm (12.2 in)
❏ Height: 63 cm (24.8 in)
❏ Weight: 15 kg (33.1 lbs)
Max. build area
❏ Diameter: 20 cm (7.9 in)
❏ Height: 18.6 cm (7.3 in) — whole diameter, 20.5 cm (8.1 in) — in the middle
❏ Square: Width: 15 cm (5.9 in) x Depth: 15 cm (5.9 in) x Height: 18.6 cm (7.3 in)
Printing
❏ Print technology: Fused Filament Fabrication (FFF)
❏ Print speed: 30 mm/s – 300 mm/s (1.2 in/s – 11.8 in/s) Note: The actual print speed depends on the object’s geometry, material, nozzle diameter, layer thickness, desired printout quality
❏ Travel speed: 30 mm/s – 400 mm/s (1.2 in/s – 15.8 in/s)
❏ Ambient temperature: 15° – 33° C (59° – 91.4° F)
Mechanical design
❏ Aluminium extrusion profile frame
❏ Acrylate body panels Enclosed
❏ LED illuminated print chamber Removable
❏ Transparent side and front doors
❏ Delta robot:
- □ Indirectly mounted relative to frame
□ Precision HIWIN linear guides
□ Carbon fiber delta robot diagonal rods
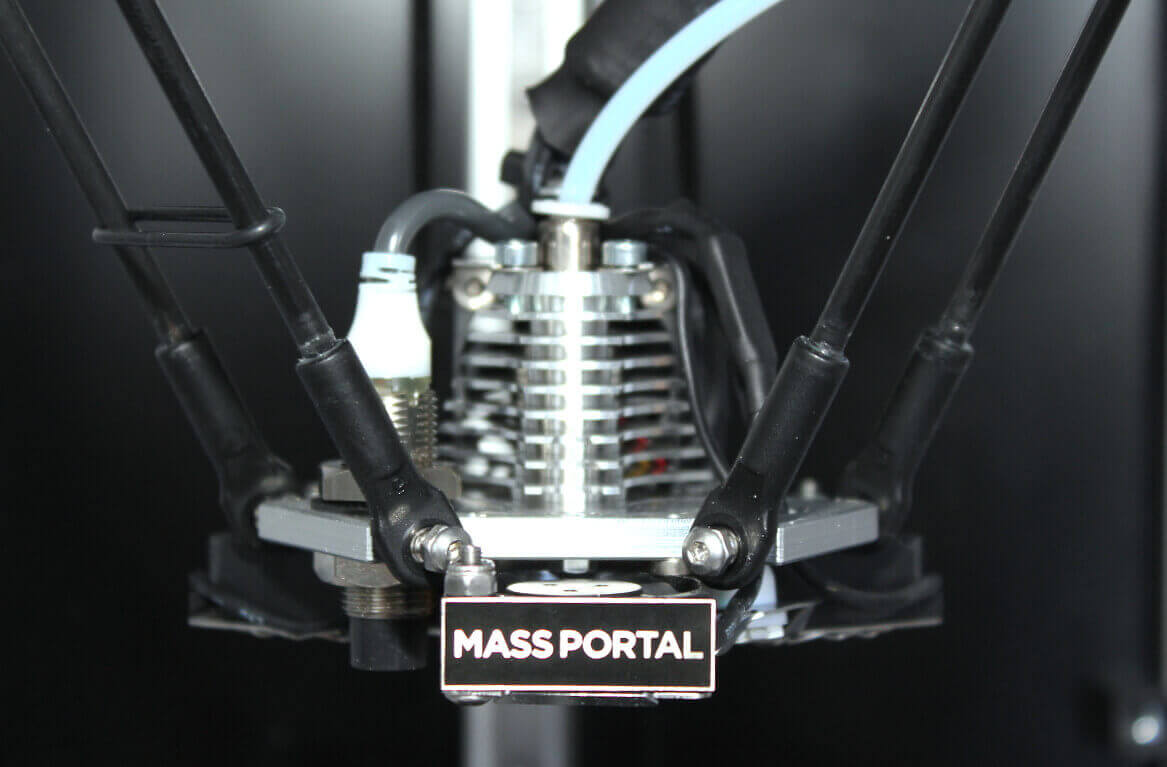
Print Head
❏ Pharaoh™ all-metal hot-end
❏ Designed and manufactured by Mass Portal
❏ Constructed entirely of metal
❏ Dual ceramic heating cartridges
❏ Printing temperature up to 300° C (572° F)
❏ Interchangeable brass nozzles, diameter 0.4 – 1 mm (0.015 – 0.039 in)
❏ LED illumination of the printed object
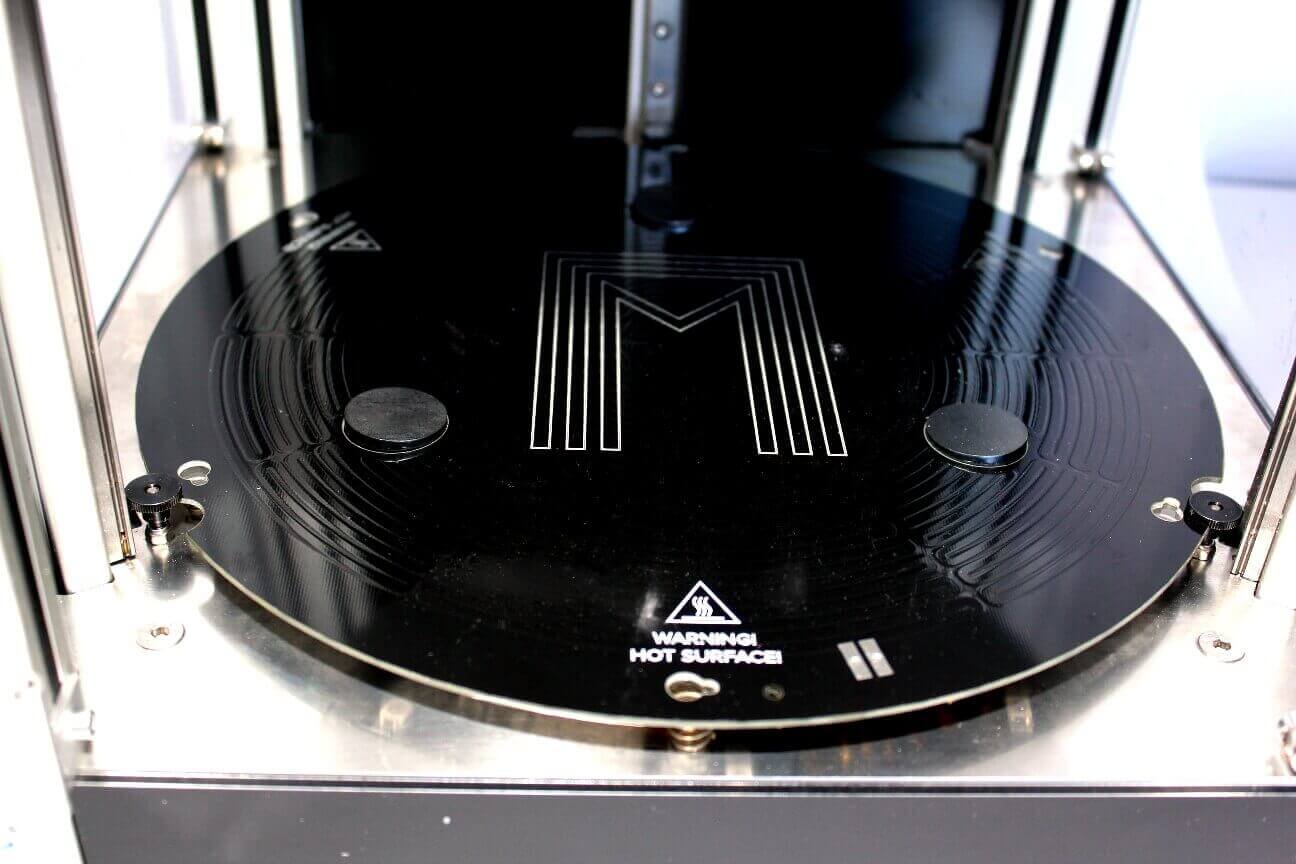
Print Bed
❏ Heated brass print bed — up to 110° C (230° F)
❏ Automatic leveling system
❏ Calibrates printer at user’s request
❏ Measures bed level at 4 points
❏ Contact-less inductive sensor
Printing Materials
❏ Recommended: PLA (Polylactic Acid) thermoplastic
❏ Experimental: ABS, PET, PVA, HIPS and other thermoplastic
❏ Plastic filament diameter: 1.75 mm (0.068 in)
❏ Can use filament from various manufacturers
Printer Operation
❏ Computer-driven: USB 2 connection
❏ Standalone: LCD screen with 5-way controller
❏ Printer control language: G-code
❏ Built-in SD-card reader (standard size cards)
❏ Repetier-Firmware printer control software
Electrical parameters
❏ Internal power supply
❏ Line: 110 – 240 V AC / 50 – 60 HZ
❏ Power: Max. 305 W; nom. 115 W; standby 15 W
Software
❏ Repetier-Host: Controls the printer
❏ Slic3r: Prepares objects for printing, operated from within Repetier-Host
❏ 3D object file formats: .STL and .OBJ
❏ Operating systems: Windows (automated setup), Mac, Linux
License: The text of "Pharaoh ED Review: A 3D Printer Fit For a King?" by All3DP is licensed under a Creative Commons Attribution 4.0 International License.