The Ultimaker 2 is one of the top printers available. Read our Ultimaker 2 review to find out if it is the right 3D printer for you.
It doesn’t take long to install, is not particularly maintenance-intensive and comes with a good software program. The Ultimaker is capable of processing a variety of filaments. The printed objects are of high quality with only minor flaws, even when using the default settings. The print settings offer a great deal of versatility, allowing you to customize the printing process and outcome. The Ultimaker 2 is comparable to the Zortrax M200 but offers different advantages. Find out below how the printer test turned out.
The test printer has been provided by iGo3D.
Ultimaker 2 Review: Unboxing
You can tell that the Ultimaker 2 is a high-quality printer as soon as you lift it out of the packaging. The printer looks smart with its milky-white frame and fits on most desks. Altogether, the printer is built really well; it is robust and sturdy, nothing wobbles. Our test printer was for the most part already assembled; assembling the rest was easy. Newcomers to the 3D printing field won’t have a problem installing this printer either.
Items included in the shipment
Along with the printer, the shipment includes a number of essential parts and accessories:
- You’ll notice the power cable right away. But the short cable on the large transformer surprised us a little ‒ but anyway, it does supply power.
- A PLA filament spool, the corresponding spool holder and the filament guide.
- A glass plate is also included in the shipment, which is attached to the heated build plate (platform) and serves as a surface for the prints.
- Great service offered before actual purchase: At the price of one US dollar and up, you can order samples that were printed by this printer.
- Lube oil is included for maintenance purposes.
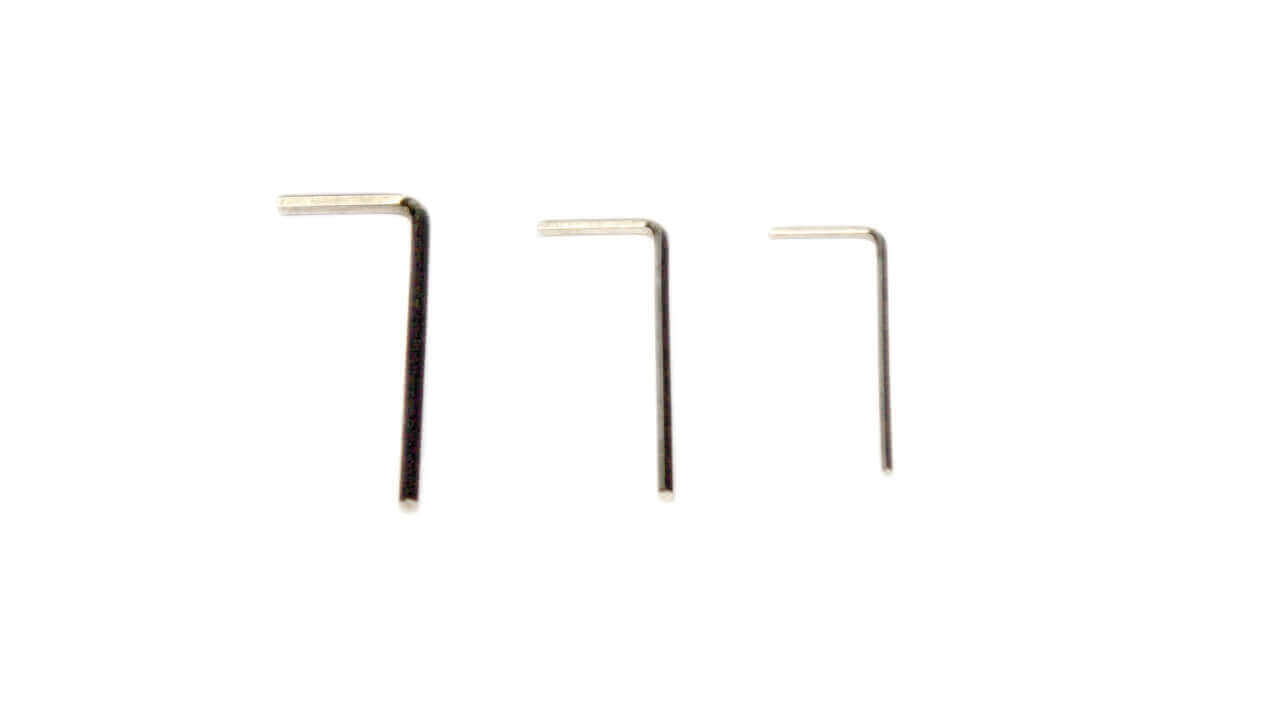
- Three hex keys (Allen keys) are included as well.
- The enclosed glue stick is used to apply the adhesive to the glass plate, making it easy to remove printed objects.
- The virtual models to be printed are saved on the SD card.
- The last item you’ll find in the box is a USB cable ‒ it’s needed for firmware updates.
Assembly
It’s a cinch to set up. The glass plate is mounted on the build plate and held in place by two metal clamps.
On the back of the printer, you’ll find an opening for the filament spool holder. The filament spool is placed on the holder, allowing the printing material to roll off counterclockwise. The filament guide is mounted in another opening.
The Ultimaker printer is almost ready for operation. The power cable has to be plugged in and the filament fed into the system. To do this, you select the respective function from the printer menu. Then you load the filament through the filament guide in the material feeder. The filament is then fed in by the knurled wheel ‒ a little extra pressure is needed to aid the process. When the filament reaches the tube, you press on “Continue”, and the filament is pushed to the extruder with more pressure and speed. The material feeder is adjustable, but if it’s too tight, then the knurled wheel just grates away at the material. The level of pressure that the wheel applies to the filament can be adjusted by adjusting a screw at the top end of the material feeder using the appropriate hex key. Now the extruder has to heat up. As soon as the material comes out of the nozzle, you have to press “Continue” again, and with that the installation of Ultimaker 2 is done.
Our evaluation:
The Ultimaker 2 does a very good job: The printer is very well built, the shipment includes everything that is needed for printing and assembly is quick and simple. Changing the filament requires a little practice, since you have to constantly go back and forth between the display on the front and the filament feeder.
Especially nice: You can order samples that were printed with the Ultimaker 2 on the website; this way you’ll get a good idea of what the print quality will be like. The comprehensive user manual with its straightforward illustrations is easy to understand. The support section on the manufacturer’s website provides answers to any questions. Manuals, a troubleshooting guide, a guide to better prints and a community forum provide all the necessary information for use ‒ this is how a printer manufacturer should be providing information to its clients.
Ultimaker 2 Review: Software
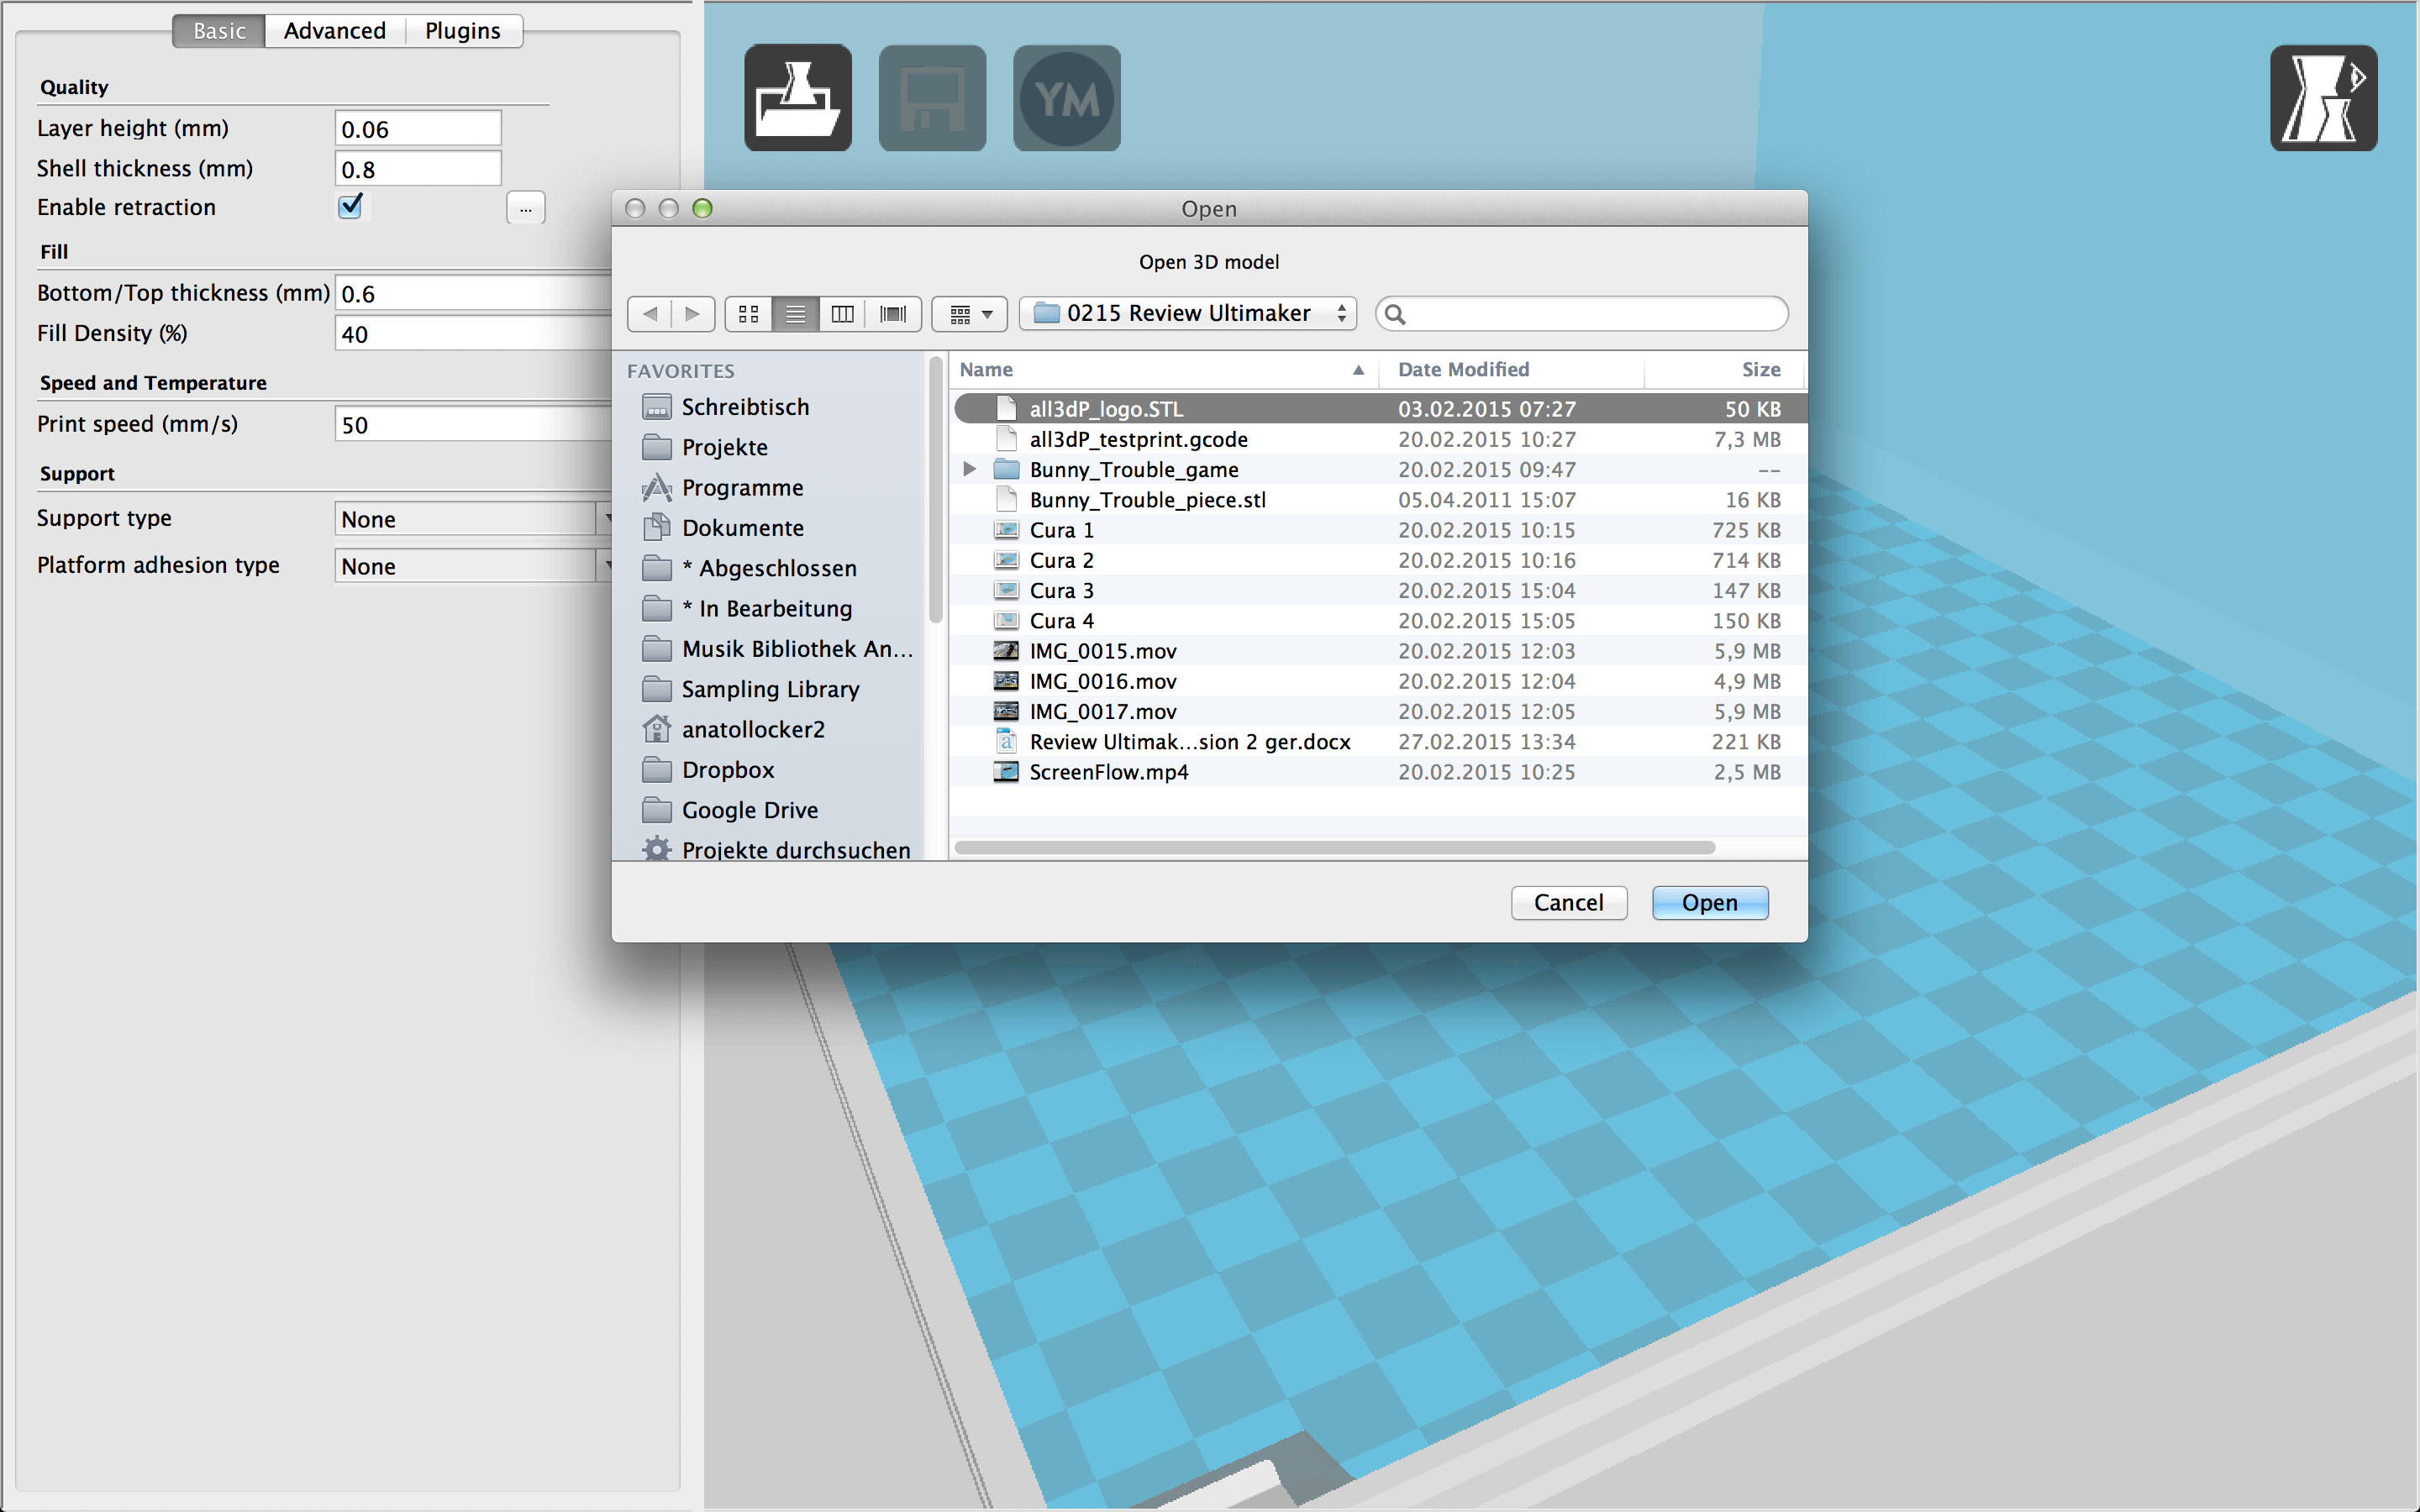
The downloaded models need to be prepared for printing. The Cura software program (for Windows, Mac OS and Linux Ubuntu) is needed for the Ultimaker. In addition to the Ultimaker, this software program is also suitable for a variety of other printers, so you’ll need to first select the right printer from the printer list.
The user interface of the Cura software is pretty technical, but it offers many options that allow you to customize your settings. Thanks to the helpful user manual, you’ll be able to quickly figure out how it works. You can load the models easily and use the rotate, scale and move options for various views of the added model.
Now you can edit the model. Available are scale, mirror, split, multiply and rotate model options. Beyond that, you can adjust the print quality and indicate whether support structures should also be printed.
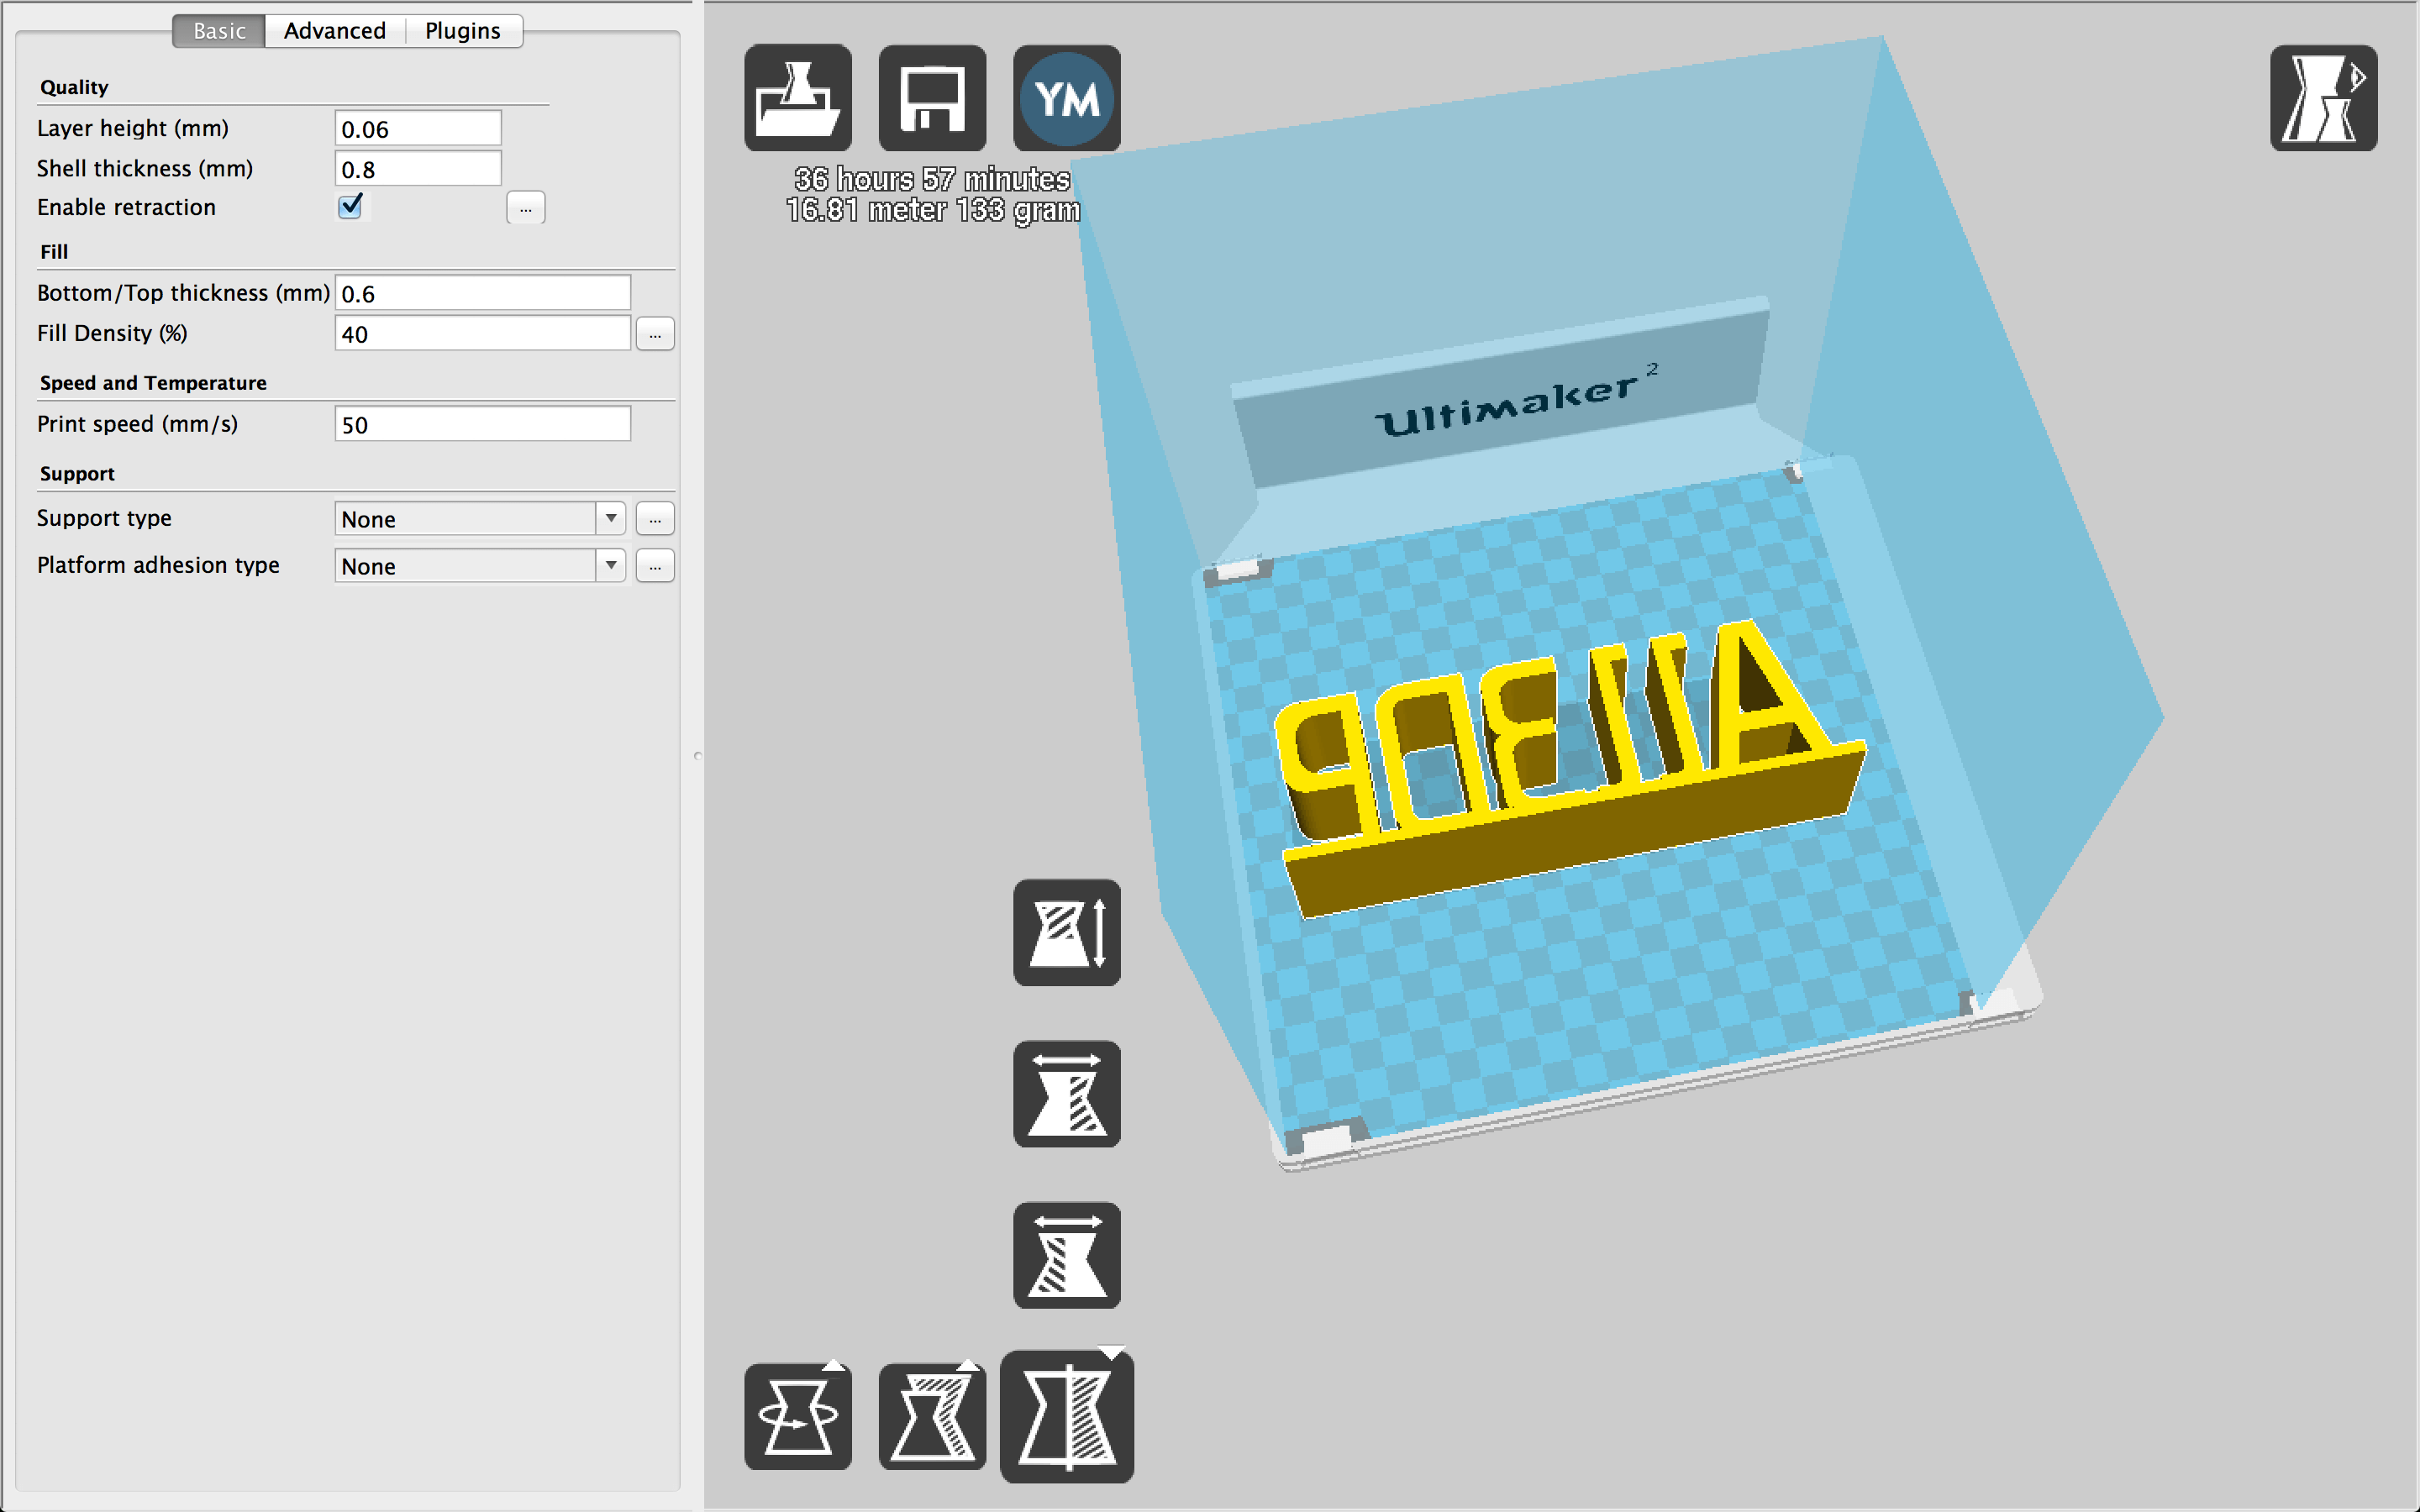
Very helpful: The Cura software shows approximately how long the printing process will take, how much material will be needed and the weight of the printed object. When you’re satisfied with your settings, at the click of a button, the model can be uploaded to www.youmagine.com and become part of the 3D model community ‒ or you can save it on the SD card, with which you can then transfer the model to the printer. The file formats supported are .stl, .obj, .dae and .amg.
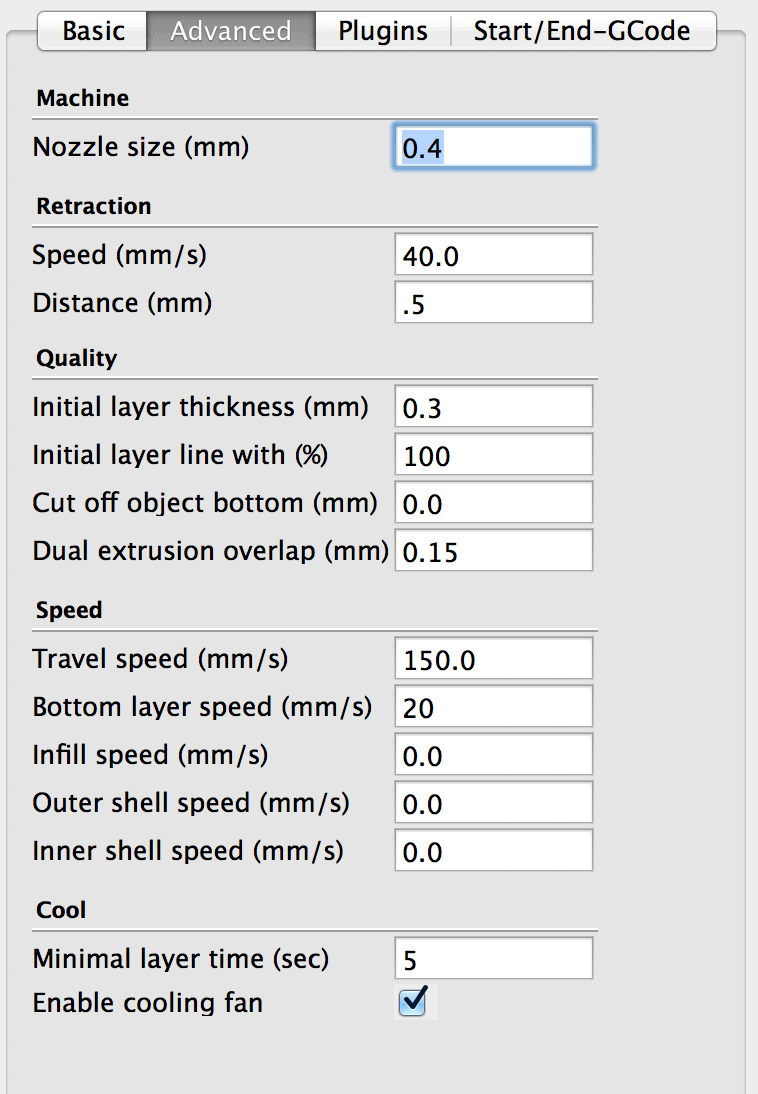
The non-expert mode in the Cura software delivers good results for standard prints. The expert mode offers more advanced settings. To get there, select “Switch to full settings” under “Expert.” The setting options shown on the left are divided into three categories: Basic, Advanced and Plugin. This gives you greater control over the outcome of the printing process. You’ll find out more about the options available in the user manual.
Our evaluation:
Cura is a sophisticated piece of software that offers advanced settings to allow for greater control over the printing outcome. Non-experts can quickly figure out how the software works and do what’s necessary to prepare a model for printing. Importing and saving the CAD models works properly. The user manual available on the manufacturer’s website provides detailed information and describes the various settings in a way that is easy to understand. Cura is an open-source software program and is being continually improved.
Ultimaker 2 Review: Calibration (Plate Leveling) & Printing
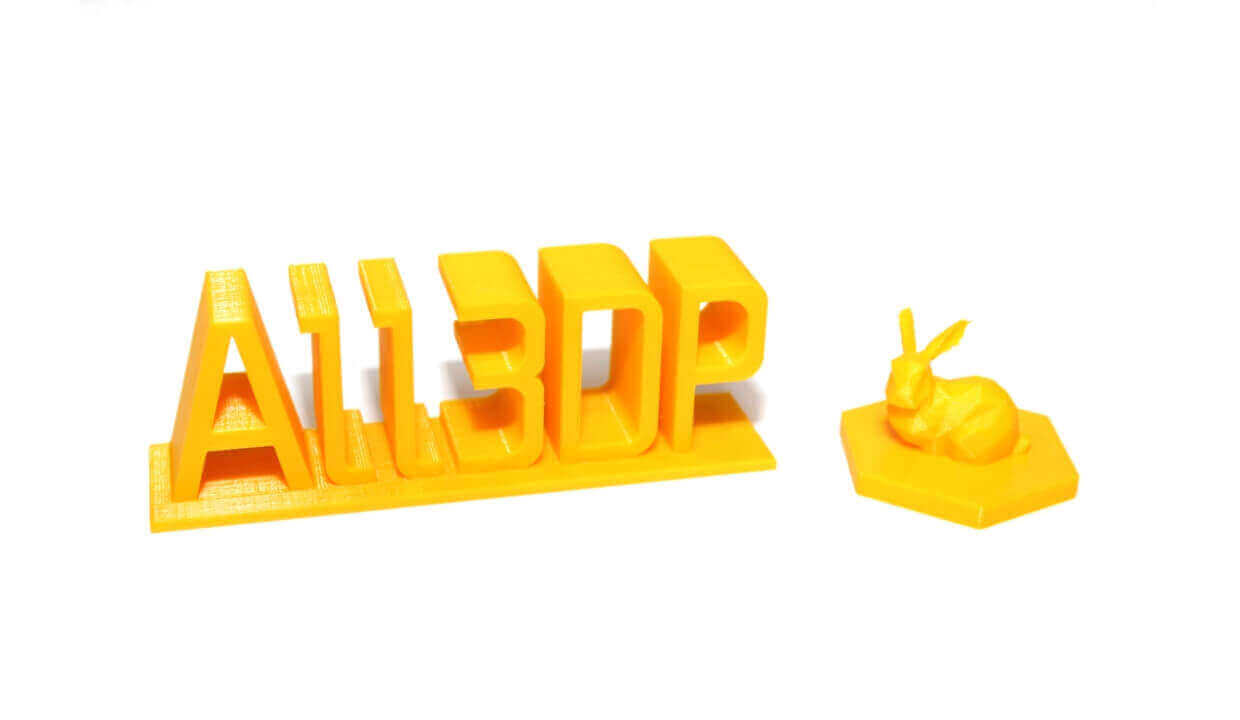
All about printing: The Ultimaker 2 is equipped to process the most commonly used materials. Ultimaker offers ABS filaments and PLA filaments in various colors and other fine differences. We used the yellow “bread-and-butter” PLA in our test.
Before you can start printing, the build plate has to be calibrated (leveled). The distance between the nozzle and the plate is very important. If the nozzle is too close to the plate, then the nozzle will be blocked, and if it’s too far away, the material might not adhere to the plate. The ideal space between the two is about the size (thickness) of a business card. To level the plate, you select the corresponding point on the display. You can adjust the height of the plate with the navigation wheel. To start with, the distance should be approximately 1 mm. Now comes the fine-tuning. The extruder scans the various points on the plate; the height is adjusted with the screws underneath the plate. If you can just barely slide a business card between the nozzle and the plate on each corner, then you’re done with the leveling process. Finally, you apply the adhesive to the glass plate with the glue stick.
Ready for printing: The SD card with the file containing the model has to be inserted in the appropriate slot, and then you select it from the menu. The extruder and build plate start heating up, and when the right temperature has been reached, the printing process starts automatically ‒ this will take a little time, though.
Throughout the printing process, the remaining print time is shown on the display. Once the printing process has been completed, the Ultimaker 2 has to cool down, then you lift the plate out with the printed object. It’s easy to remove.
We liked the print results right away. All of the details, the curving on the object, the edges and nooks and crannies were printed accurately. However, the parts that were especially delicate looked a little frayed around the edges. You could also see thread-like lines across the printed object, but they are easy to remove. Thanks to the comprehensive software program, these types of details can be further optimized. This does show, though, that you really have to familiarize yourself with the whole process in order to get the best possible results. One way or the other, non-professionals will definitely find the results achieved with the default settings satisfactory.
Our evaluation:
As is true for all 3D printers, the printing process still takes a very long time at this point. Leveling on the other hand is a very quick matter. Nevertheless, precision is of the essence here ‒ if your plate is not exact, your object won’t be intact. It’s helpful to know how much longer the printing process will take, which you can check on the display at any time.
The print result is very good, despite the few minor flaws. But because of the extensive setting options provided, there is potentially a lot of room for improvements.
Ultimaker 2 Review: Summary & Specifications
The Ultimaker 2 is one of the best 3D printers available for purchase in 2015. Definitely top notch! We liked the quality, the processing and how it’s operated. However, compared to the Zortrax M200, the Ultimaker 2 is more suited for those who are enthusiastic about and very involved in 3D printing. While non-experts can also produce results quickly, we believe they’re better served with the Zortrax M200. For hobbyists and professionals, on the other hand, the Ultimaker 2 is an excellent choice: There are hardly any printers that can be “pimped,” that is, customized to this extent.
Included in the price are all of the parts and accessories needed, which are sent along with the printer. You can purchase whatever else you’d like online, such as upgrades, special extruders or controllers. The price tag of US $2,500 is fairly steep, but this printer has everything a perfectionistic 3D enthusiast wants.
We thank iGo3D for providing the test printer.
Technical Data Ultimaker 2
PRINTING
Print technology: Fused filament fabrication (FFF)
Build volume: 23 x 22.5 x 20.5 cm
Layer resolution: 20 micron (Ultra high), 60 micron (High), 100 micron (Medium), 200 micron (Low)
Position precision: X 12.5 micron, Y 12.5 micron, Z 5 micron
Filament diameter: 2.85 mm (generally known as 3 mm filament)
Nozzle diameter: 0.4 mm
Print speed: 30 mm/1 ‒ 300 mm/s
Travel speed: 30 mm/1 ‒ 350 mm/s
SOFTWARE
Software package: Cura ‒ Official Ultimaker
File types: STL / OBJ / DAE / AMF
Supports: Windows (XP 32 bit/7+), Ubuntu Linux (12.04+), Mac OS X (10.6 64 bit+)
ELECTRICAL
AC INPUT: 100 ‒ 240 V, approx. 4 AMPS, 50 ‒ 60 HZ 221 watt max.
Power Requirements: 24 V DC @ 9.2 AMPS
Connectivity: Stand-alone printing, from SD card, USB (firmware), WiFi (Doodle3D WiFi-Box)
PHYSICAL DIMENSIONS
Frame Dimension: X 35.7 cm, Y 34.2 cm, Z 38.8 cm
With all parts attached and the max height filament guide tube: X 49.2 cm, Y 34.2 cm, Z 55.8 cm
Shipping box: X 42.0 cm, Y 42.0 cm, Z 57.8 cm
Weight: 11.2 kg
Total Shipping weight: 15.6 kg
TEMPERATURE
Ambient Operating Temperature: 15 ‒ 32 degrees Celsius
Storage Temperature: 0 – 32 degrees Celsius
Operating nozzle temperature: 180 ‒ 260 degrees Celsius
Operating heated build plate temperature: 50 ‒ 100 degrees Celsius
SOUND
Average operational noise: 49 dBA
License: The text of "Ultimaker 2 Review: Excellent for Makers & Pros" by All3DP is licensed under a Creative Commons Attribution 4.0 International License.