
Simplify3D User Guidelines from Gambody
In this guest post by Yurii Yefimov from 3D printing marketplace Gambody, learn how to use Simplify3D to prepare 3D model files for printing.
Simplify3D is a relatively new slicing software that enables you to slice and prepare your model for 3D printing. According to some users, it is a faster slicer than open source alternatives like Cura and Slic3r.
Another benefit is that Simplify3D supports a large number of 3D printers. The developers’ aim is to create software that allows users to optimize their 3D printing files, lifting 3D printing to new heights.
Nevertheless, according to the outpouring of requests for support and advice received here at Gambody, Simplify3D is still perceived by many 3D printing enthusiasts as a tool whose full functionality has yet to be discovered.
To optimize and make 3D printing of models easy, we provide in this post a step-by-step, user-oriented guide to help you prepare your 3D model files for printing.
Preparing 3D model files for printing in Simplify3D
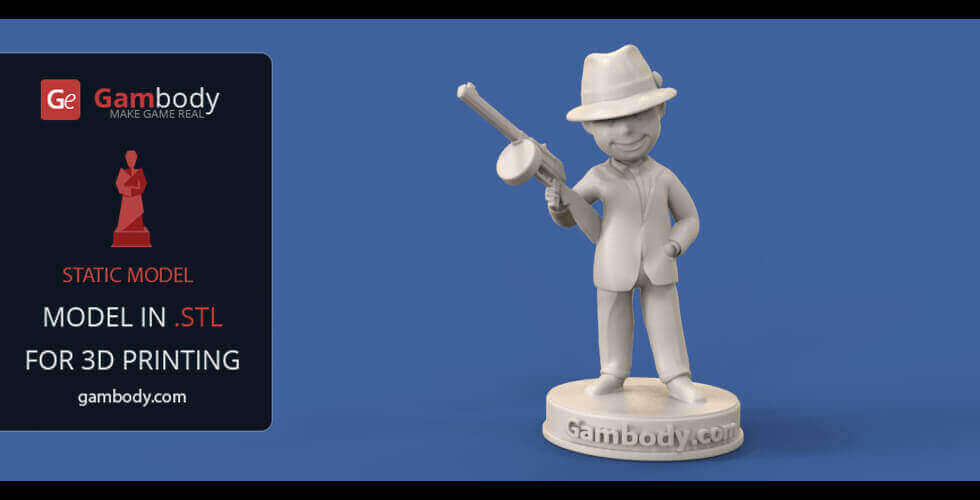
For the purposes of our guide, we will be using Fallout 4 Vault Boy 3D models to illustrate the steps the user needs to take when using Simplify3D software to make their printing experience seamless.
When modeling and then selling their work on a marketplace like Gambody, 3D designers use different objects or primitives to create the mesh of the 3D model as we know it. The model is then exported to the .STL file format and checked for errors.
A great tool that can help you identify most common errors in a 3D model for printing is Netfabb. When the file is checked in Netfabb, the program generates an error-free result for the model.
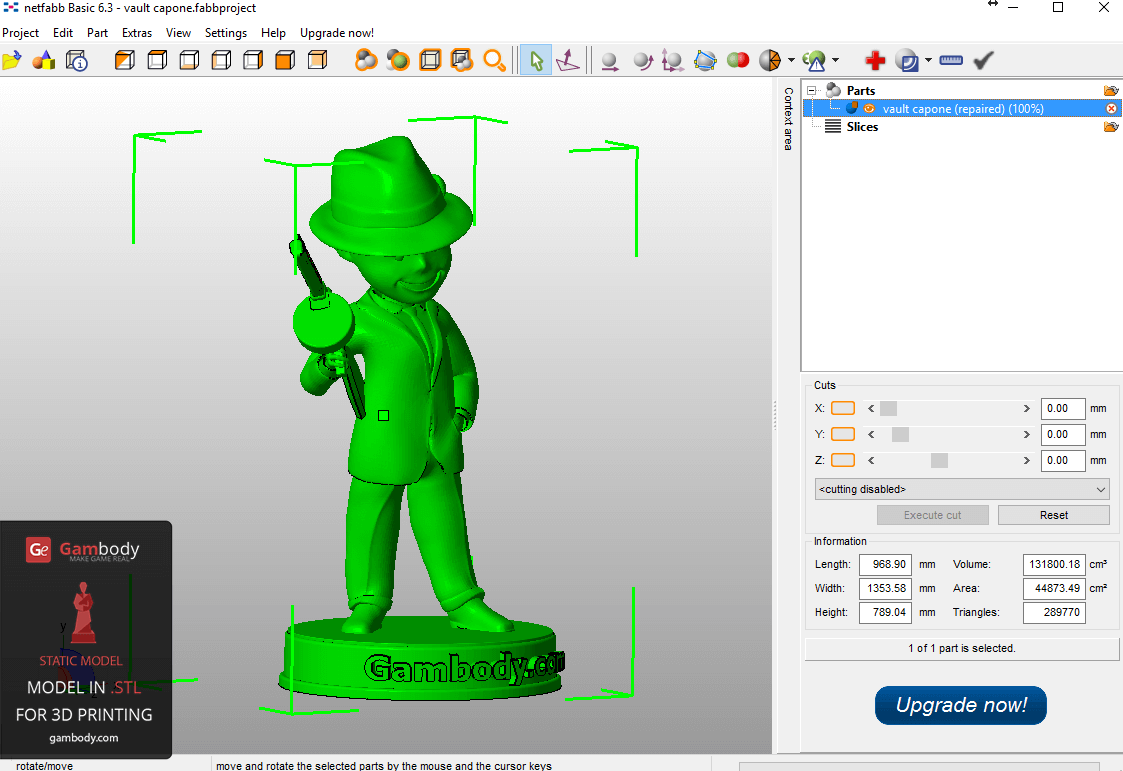
Before sending the file to the printer, however, there is another important step that must be made, and namely that of importing the model into a slicing program. The slicing program enables the user to see all the layers a model is made of, and to identify whether the model will print accurately, without holes or gaps in the mesh.
Upload the .STL file in Simplify3D slicing program
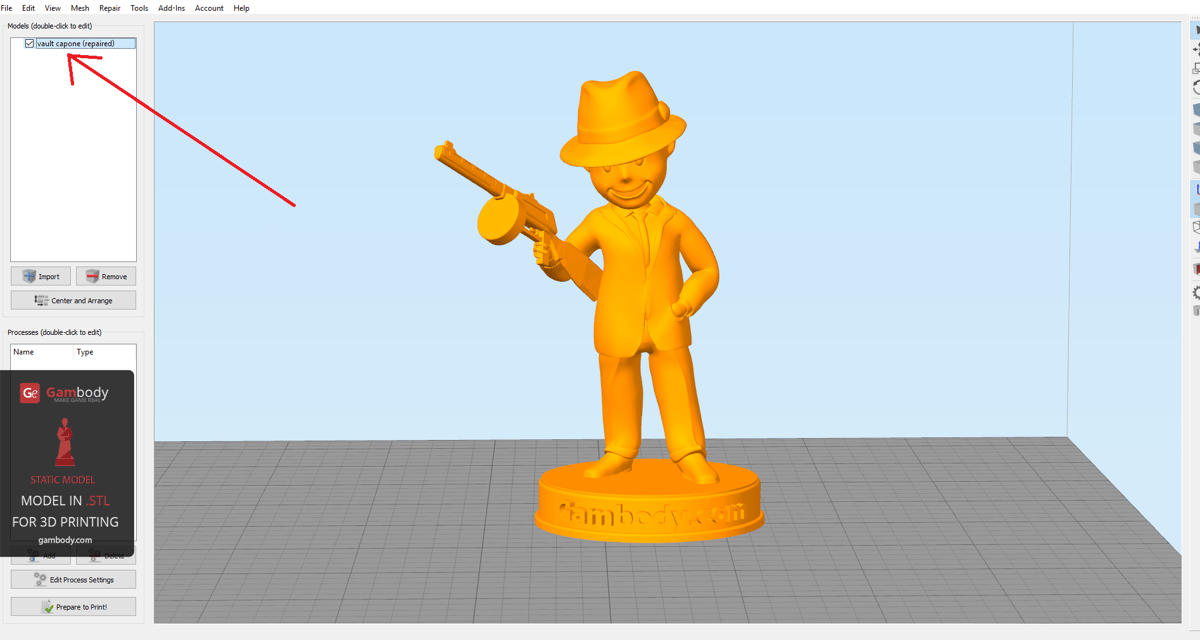
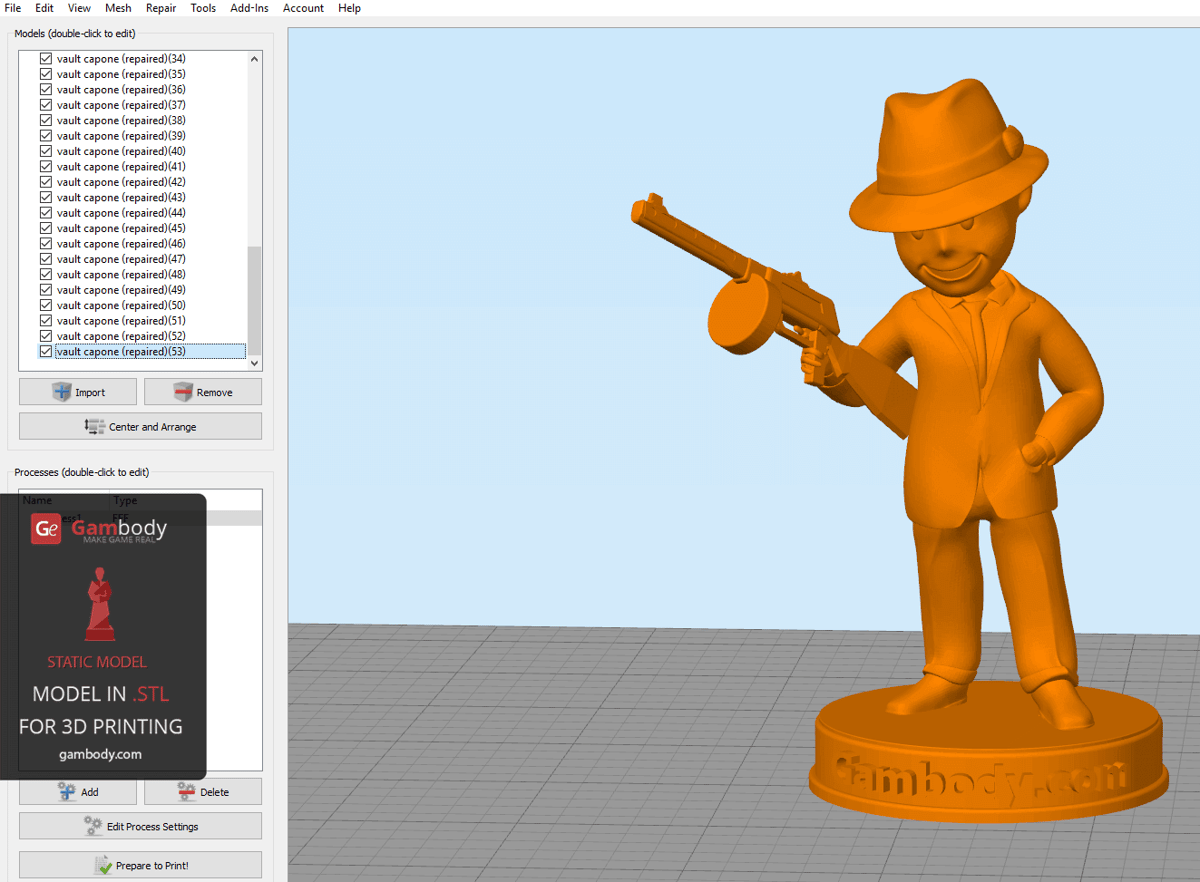
The Vault Boy 3D model is made up of a single part. Therefore, when uploading the model into the slicing program, we have to see that there is a single bounded object, ready for print. Click the Prepare to Print button. In the gif below you can see what Simplify3D has generated for our model.
The pictures above show that the model is made up of several separate objects, instead of a single object, as we have explained previously. These objects will print separately, which means that your printing will fail. This is the most common problem that Simplify3D users complain about when using their program as their slicer for 3D printing.
11 Simple Steps to Make Your 3D Model Solid
Here is what you can do to make sure that the printing of your 3D model succeeds. The solution is quite simple and requires no more than 5 additional minutes of your precious time.
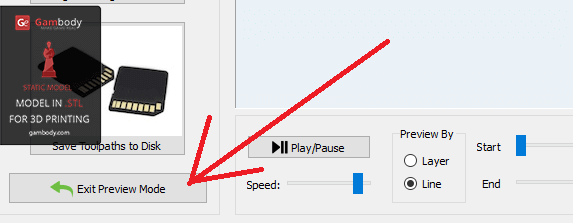
Step 1. Click Exit Preview Mode button to return to the previous screen.
Step 2. In the top toolbar, choose Mesh.
Step 3. A drop-down list will pop up. Select Separate Connected Surfaces.
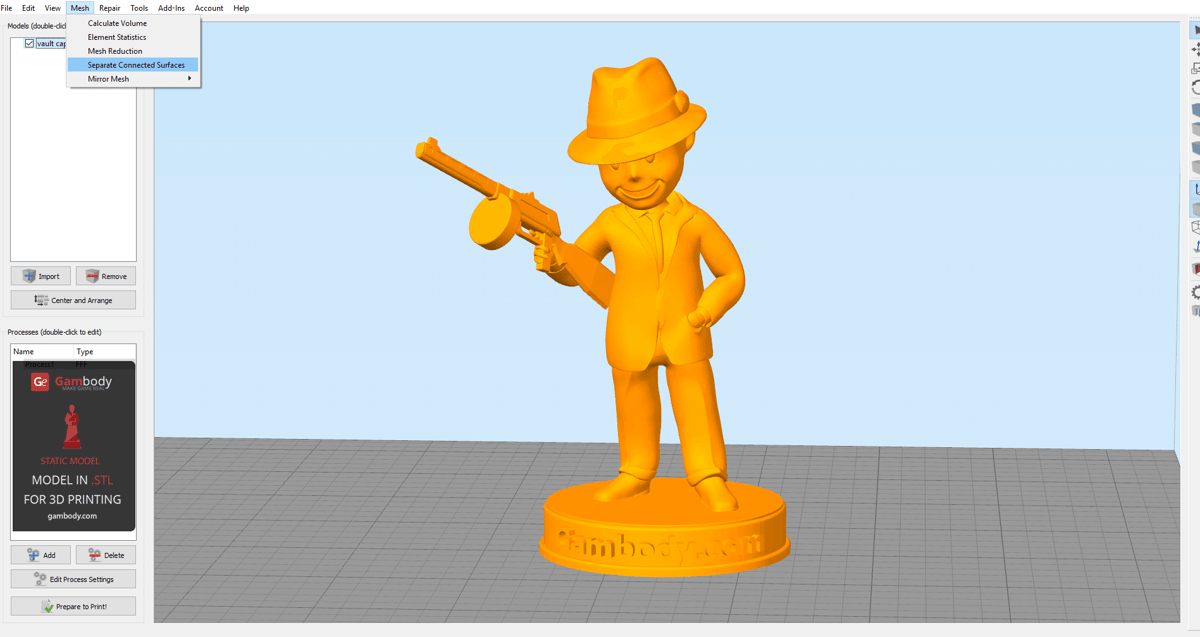
This feature separates your 3D model in all the elements it is made of. This is also the case with the models that have in their structure thousands of elements.
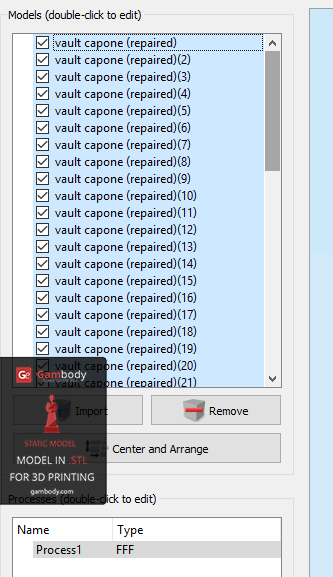
Step 4. Press Shift button on your keyboard and select all the elements in the list.
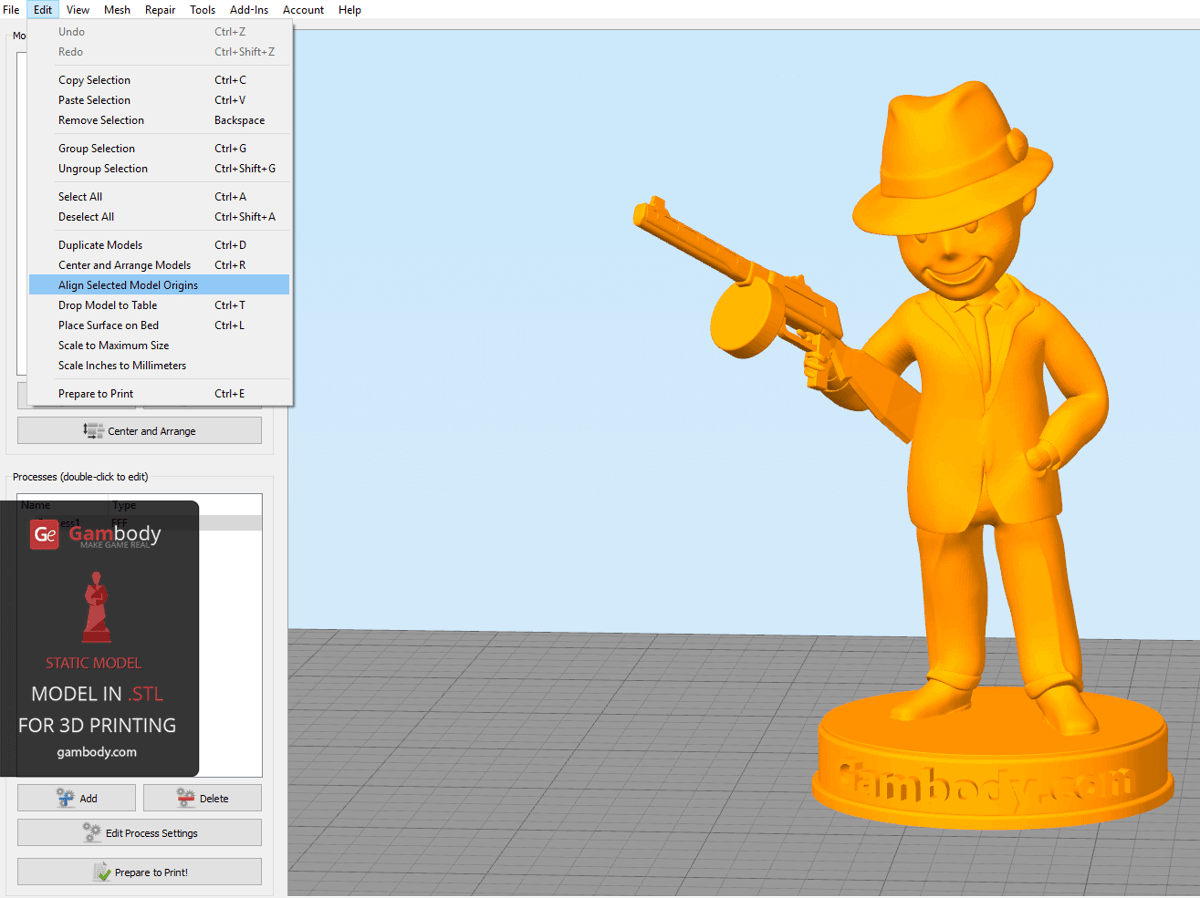
Step 5. In the program’s toolbar, click Edit.
Step 6. Select Align Selected Model Origins feature.
This feature aligns all the elements of the model according to X, Y and Z axes.
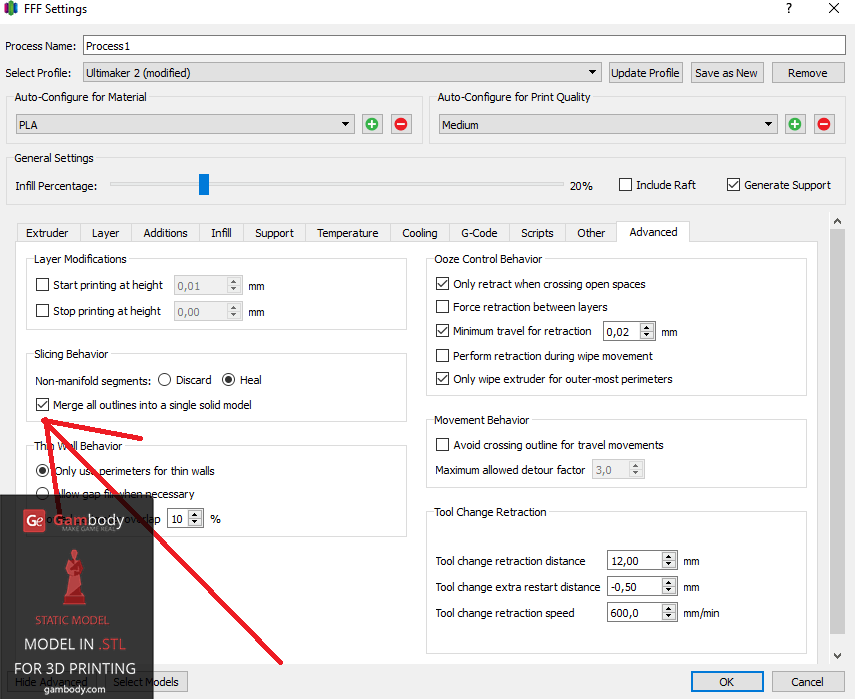
Step 7. Click Edit Process Settings.
Step 8. Select Advanced.
Step 9. Check the box next to Merge all outlines into a single solid model.
Step 10. Click OK.
Now the model is ready to be printed.
Step 11. Click Prepare to Print button.
See in the gif below how the software aligned and merged all elements of the mesh into a single solid model.
These functions are usually set by default in other 3D printing software, such as Cura and Repetier-HOST. If they are not set by default, you will have to set them manually.
Conclusion
If you’re a Simplify3D user, we hope this guide will help you have an effortless printing experience. For additional information, recommendations and advice on program use and other printing matters, refer to the Simplify3D Print Quality Troubleshooting Guide.
About Gambody
This article was written by Yurii Yefimov and Gambody, a 3D printing marketplace where users can buy and sell 3D files of video game related models. You can check them out on Facebook, Twitter and Google+.
License: The text of "Simplify3D User Guidelines from Gambody" by All3DP is licensed under a Creative Commons Attribution 4.0 International License.