Featured image of The Best Resin Printer Slicer Software
SLA 3DP
The Best Resin Printer Slicer Software

Slicing models for resin 3D printing has a few extra considerations. Check out our picks for the best SLA slicer software. Most are free!

by Lucas Carolo
Featured image of 3D Printing Layer Height: How Much Does It Matter?
It's High Time
3D Printing Layer Height: How Much Does It Matter?

Layer height in 3D printing is a simple setting that affects print speed and detail. Keep reading to find out more!

by Emmett Grames
Featured image of Creality Slicer: The Best Slicers for Creality 3D Printers
Slice & Dice
Creality Slicer: The Best Slicers for Creality 3D Printers

Creality 3D printers ship with Creality Slicer, but that's far from the only option! Check out the best slicers for Creality printers.

Featured image of The Best Slicers for the Ender 3
Chop, Chop!
The Best Slicers for the Ender 3

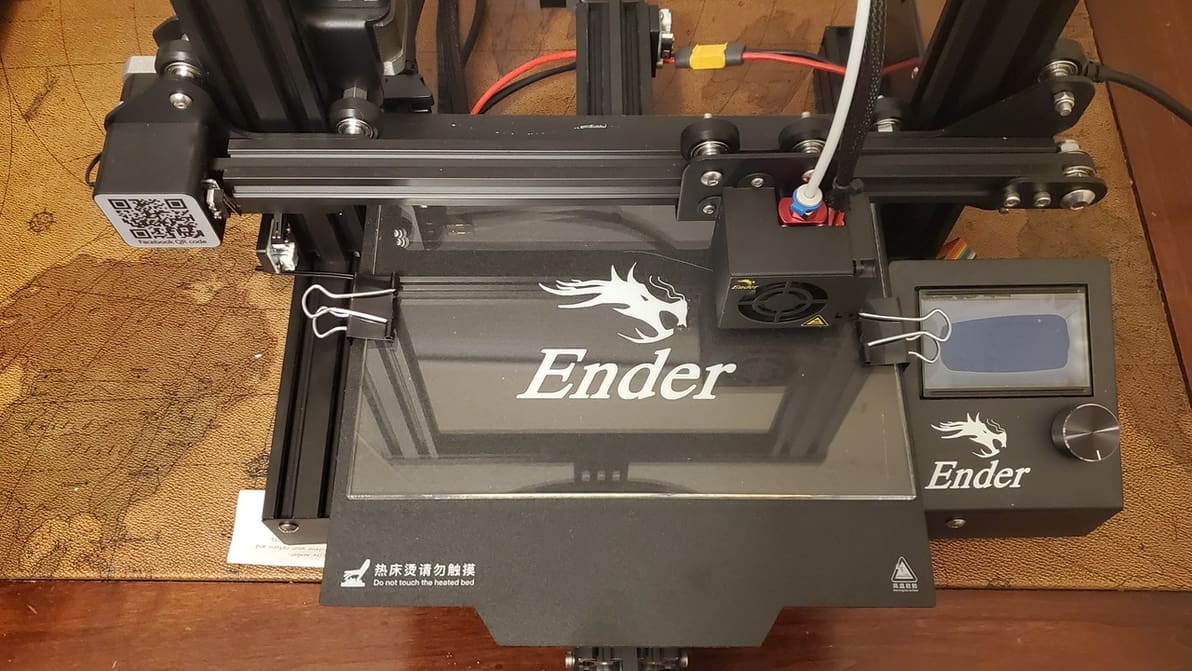
Not all slicers are created equal! Read about the slicers for the Ender 3 (V2/Pro/S1/Neo/V3) and find the best Ender 3 slicer for your needs.

Featured image of Orca Slicer: Pressure Advance – Simply Explained
Under Pressure
Orca Slicer: Pressure Advance – Simply Explained

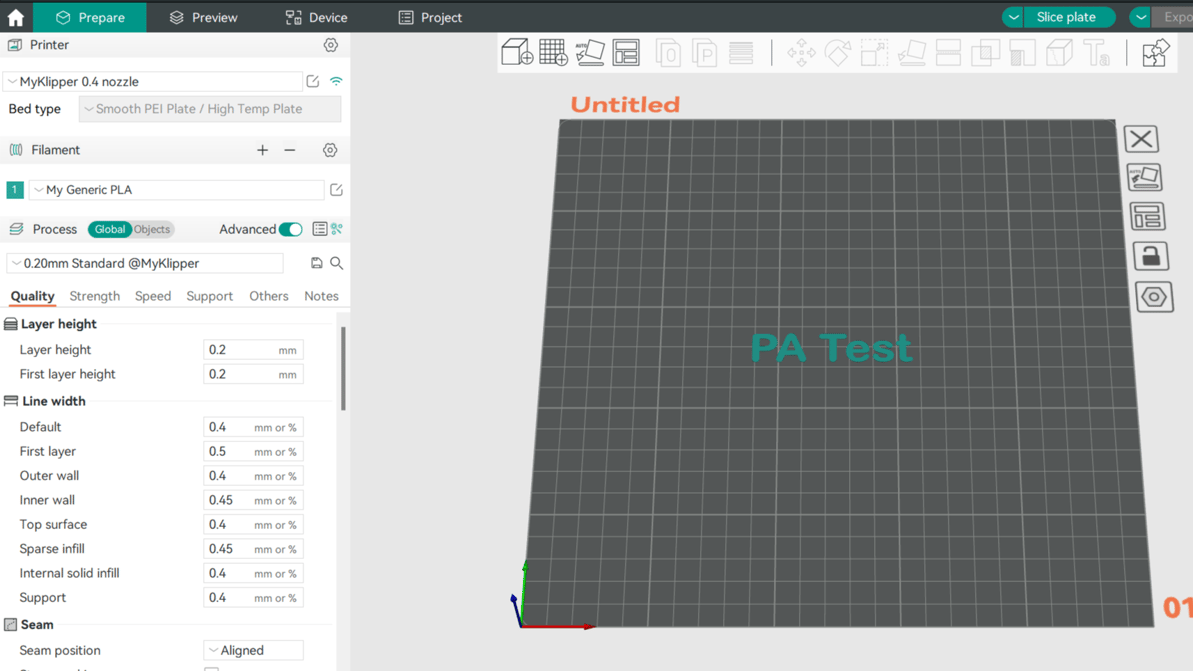
Pressure advance is a well-loved calibration tool among makers. Read on to learn how to adjust your Orca Slicer pressure advance value!

by Gloria E. Magarotto
Featured image of Ender 3 (Pro) Z Offset: How to Adjust It
Offset Like a Pro
Ender 3 (Pro) Z Offset: How to Adjust It

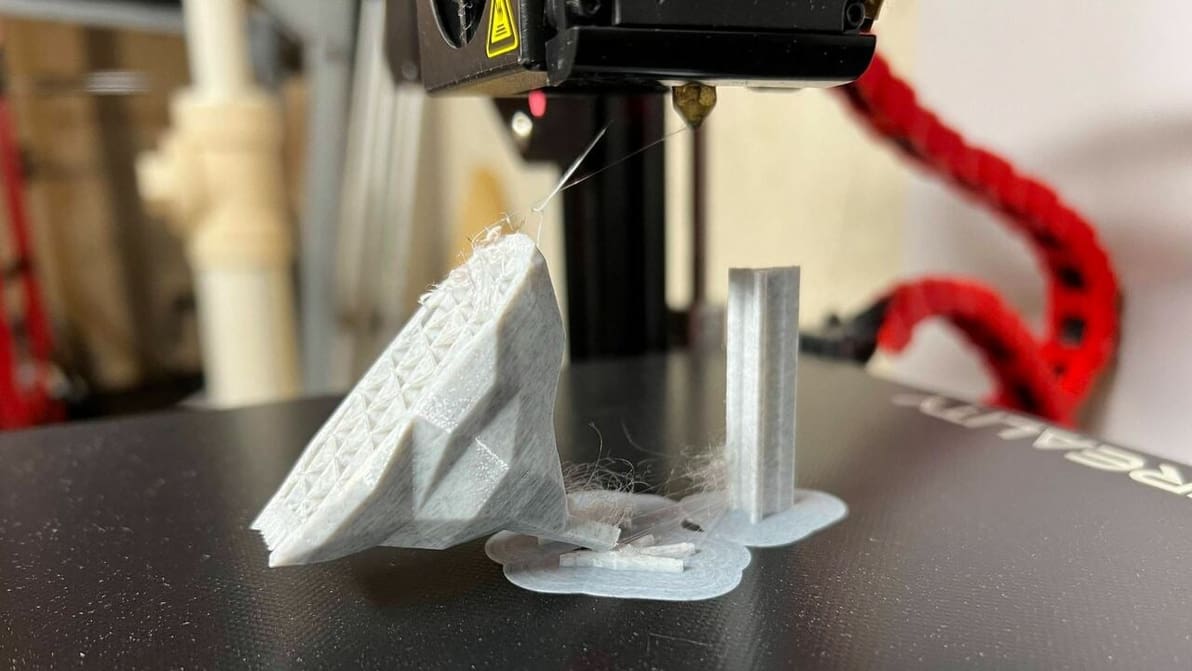
The first layer is the most important part of the print, regardless of the printer. Get it right with these Ender 3 Z offset tips!

Featured image of Cura Extrusion Multiplier: How to Improve Your Prints
A Multitude of Solutions
Cura Extrusion Multiplier: How to Improve Your Prints

Cura's extrusion multiplier is actually called "Flow". Read to learn what it is, how to tune it, and how it can help fix print issues.

Featured image of Orca Slicer vs Cura: The Differences
Take Your Slice(r)
Orca Slicer vs Cura: The Differences

It's Orca Slicer vs Cura: A brand-new slicer faces off against the arguably most popular and known option. Let's compare them!

by Gloria E. Magarotto
Featured image of Cura First Layer Settings: Initial Layer Simply Explained
First Impressions
Cura First Layer Settings: Initial Layer Simply Explained

The initial layer is the foundation of the entire 3D model. Learn all about Cura first layer settings and how to get them perfect!

Featured image of Creality Print vs Creality Slicer: The Main Differences
A Slice Of Life
Creality Print vs Creality Slicer: The Main Differences

Slicing software is essential for any 3D maker. Creality now has two options, so read on to see how Creality Print vs. Slicer stacks up!

by Ian Mitchell
Advertisement
Advertisement
Featured image of Z Hop: What Is It & How to Configure It in Cura
Three Hops This Time!
Z Hop: What Is It & How to Configure It in Cura

Supports falling off mid-print? Z Hop can help! Learn how to use this setting in Cura to improve your prints.

by Jackson O'Connell
Featured image of Ender 3 V2 Z Offset: How to Adjust It
Reaching New Heights
Ender 3 V2 Z Offset: How to Adjust It

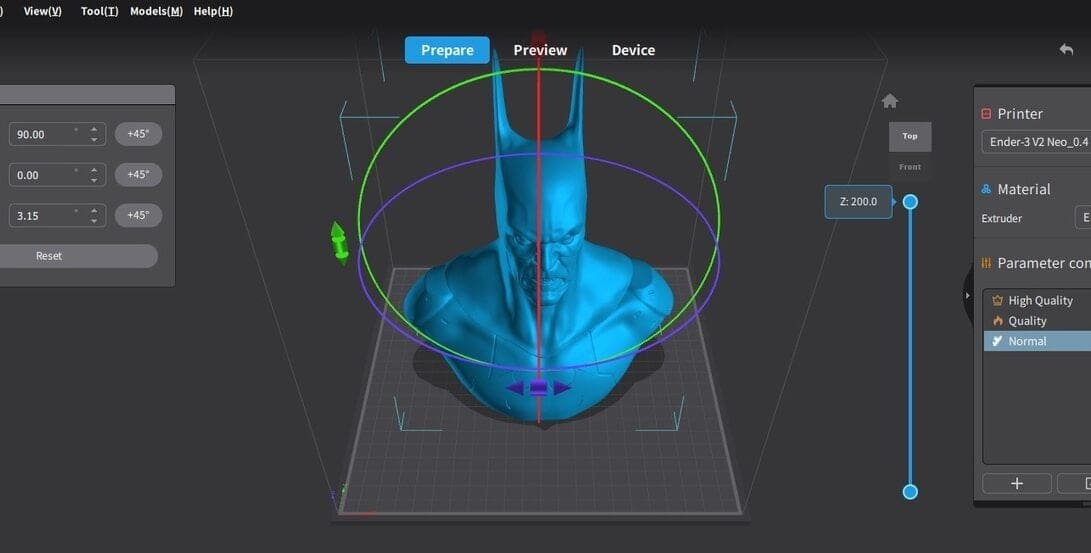
Z offset is an important feature to get right. Learn how to correctly set your Ender 3 V2 Z offset so that you can optimize your 3D prints!

by Jackson O'Connell
Featured image of Cura: Horizontal Expansion – Simply Explained
Expanding Your 3D Toolbox
Cura: Horizontal Expansion – Simply Explained

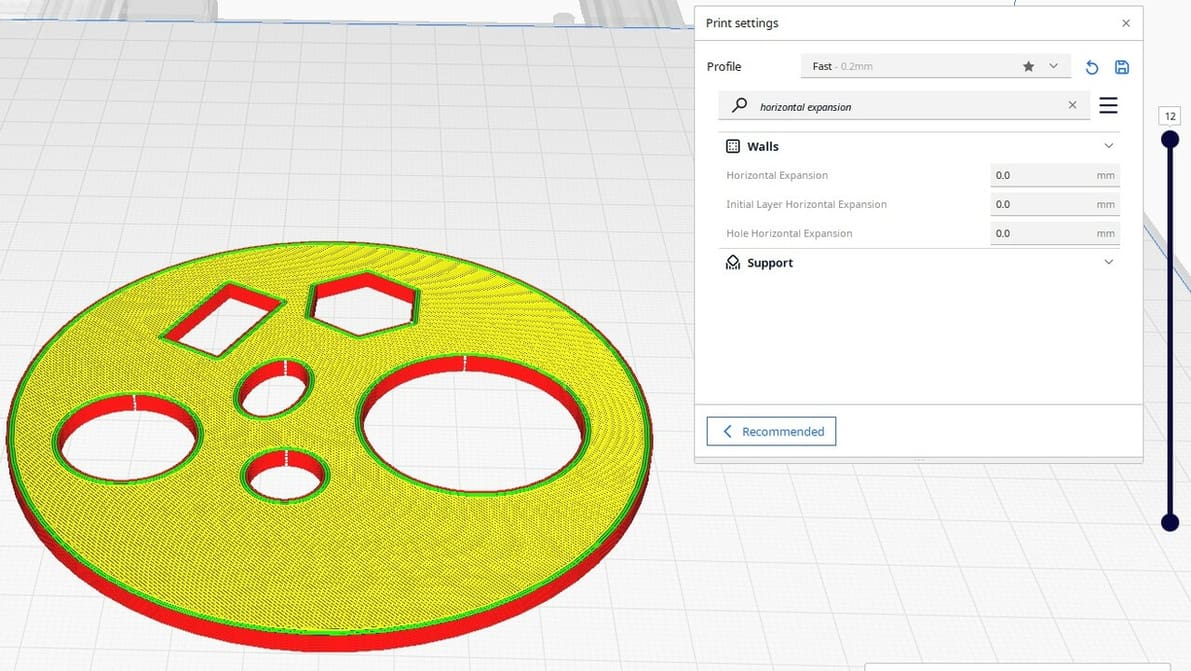
Cura Horizontal Expansion settings can fix dimensional inaccuracies and cure elephant's foot. Read on to learn more!

by Brian Leonard
Featured image of Cura: Print One at a Time – Simply Explained
One Benchy at a Time
Cura: Print One at a Time – Simply Explained

Cura's print "One at a Time" slicer setting can be super handy. Read on to learn how it works, how to use it, and more!

Featured image of The Best Anycubic Kobra Neo Cura Profile / Settings
Fast & Precise Kobra
The Best Anycubic Kobra Neo Cura Profile / Settings

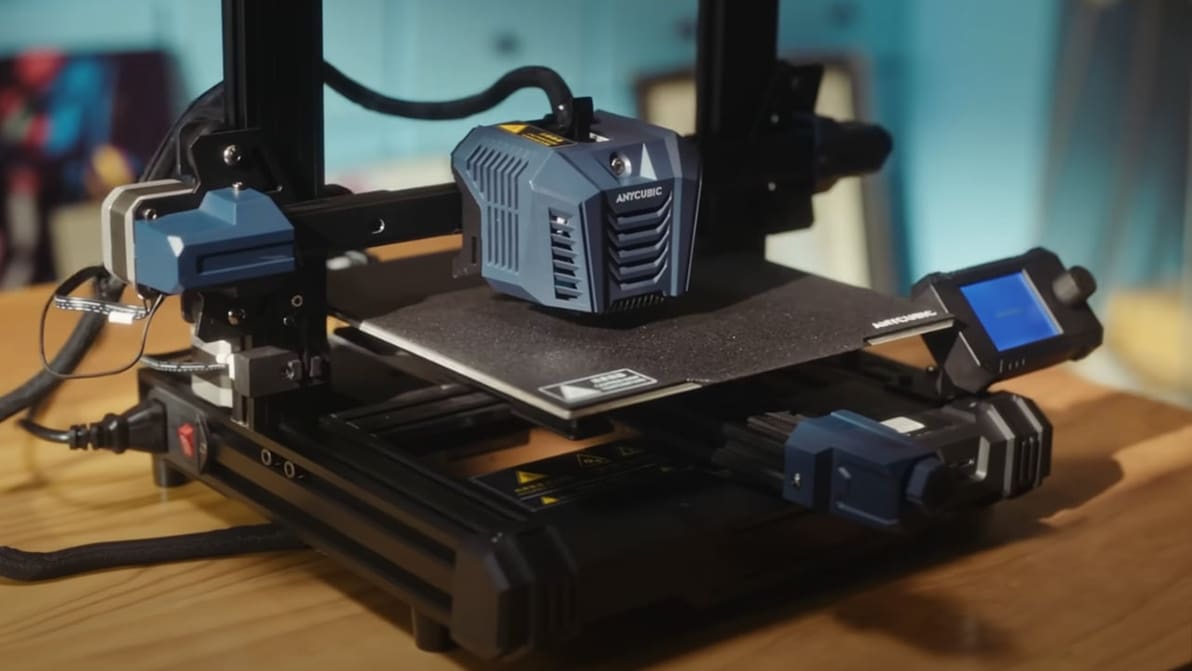
Looking for the perfect Anycubic Kobra Neo Cura profile? Read on for settings that will help ensure perfect prints, every time!

by Gloria E. Magarotto
Featured image of Lithophanes with Cura: Easy Tutorial (incl. Best Settings)
From Digital to Physical
Lithophanes with Cura: Easy Tutorial (incl. Best Settings)

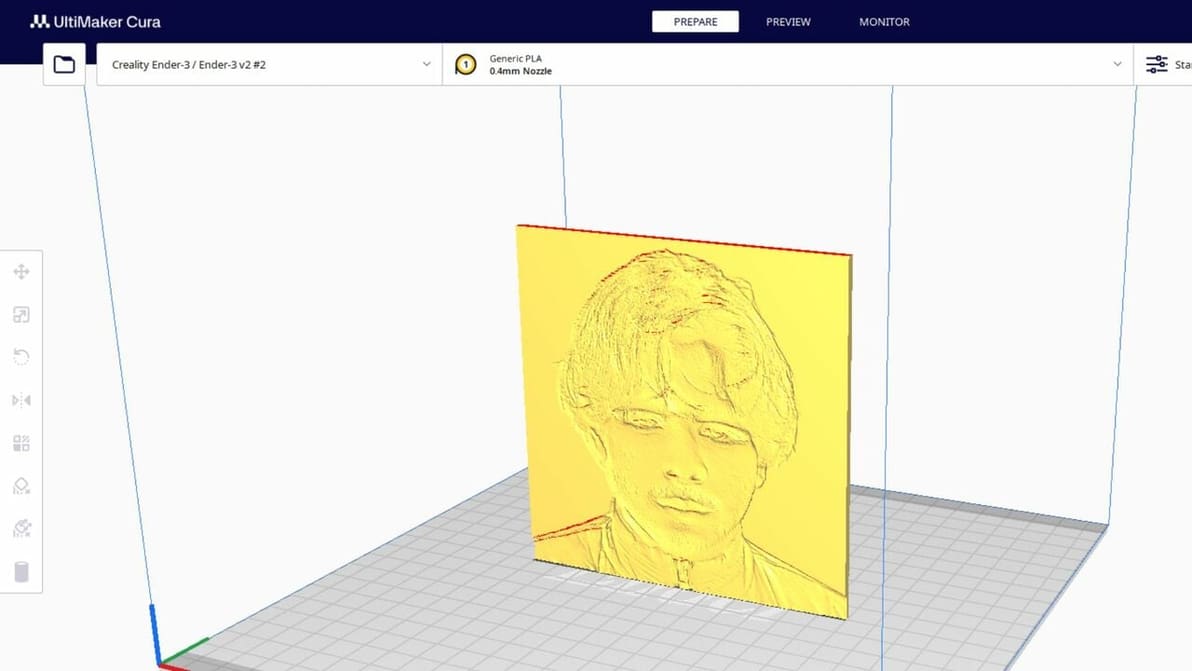
Lithophanes turn digital pictures into tangible ones that you can see when light shines through. Check out how to make a lithophane in Cura!

by Priyank Pal
Featured image of Cura: Support Z Distance – Simply Explained
Lean on Me
Cura: Support Z Distance – Simply Explained

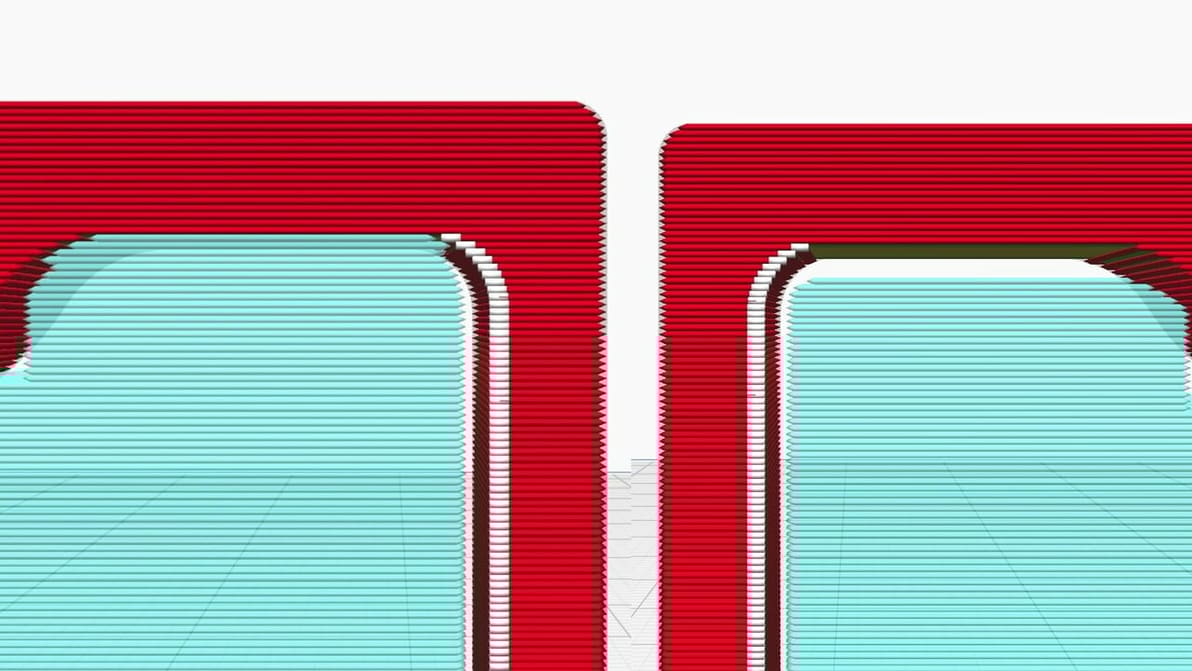
Support Z Distance in Cura can make removing supports a breeze! Read on to learn about this setting and how to tune it for your prints.

by Vincent Reitinger
Featured image of 3D Printing Brim: When Should You Use It
I Am Brim
3D Printing Brim: When Should You Use It

It prevents warping, helps with adhesion, and reduces waste – what's not to love about a 3D printing brim? Read on to learn more!

by Lauren Fuentes
Featured image of How to Optimize Cura Support Settings
Support Your Supports
How to Optimize Cura Support Settings

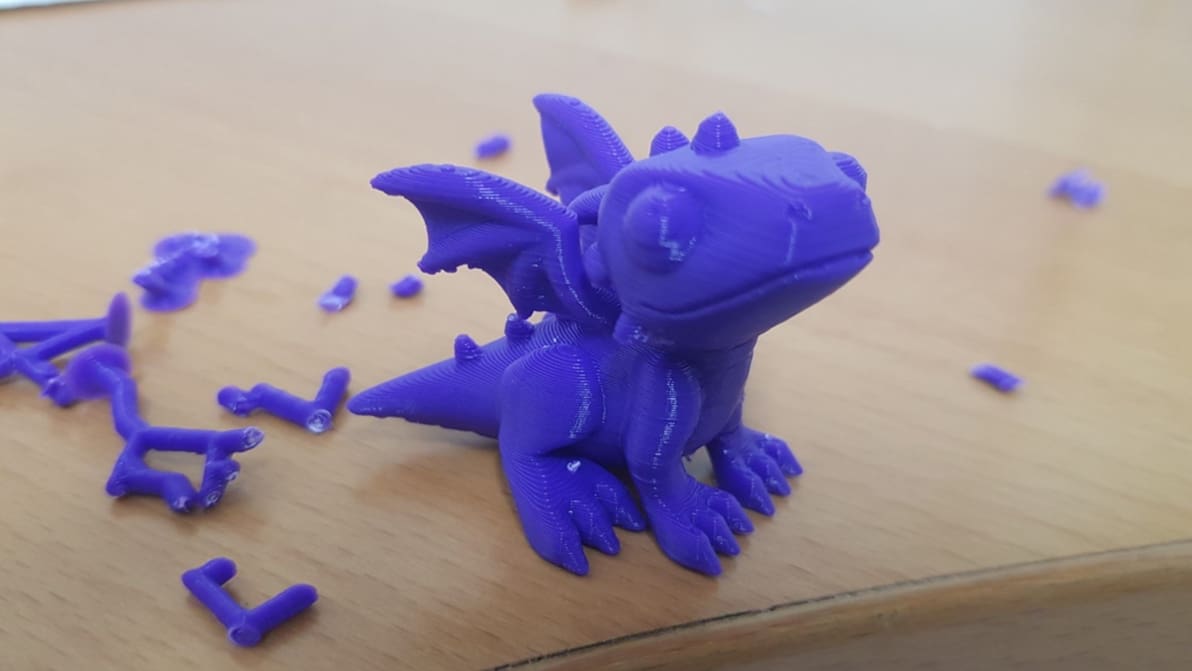
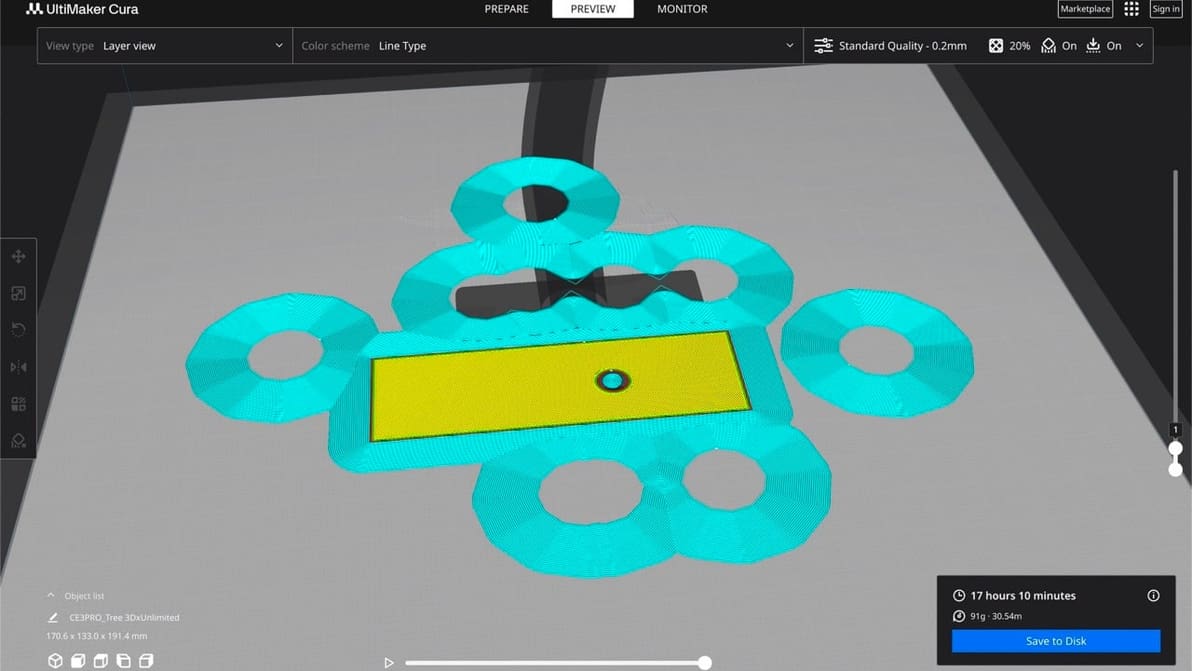
Cura offers a powerful range of settings to play with. Learn about the main Cura support settings and how to best support your prints.

Featured image of The Best Creality K1 Cura Profile / Settings
Set Your K1 Up for Success
The Best Creality K1 Cura Profile / Settings

Looking for the perfect Creality K1 Cura profile? Check out these settings and unleash the lightning-fast potential of your Creality K1!

by Timothy Solomon
Advertisement
Advertisement