Stealth Black: Layer One Atom 2.0 Delta 3D Printer Review
The Layer One Atom 2.0 Delta 3D printer looks great, but is it as good as tried-and-true open source designs? Review by Thomas Sanladerer.
Editor’s Note: This content originally appeared on Thomas Sanladerer’s YouTube Channel and is licensed as Creative Commons Attribution Share-alike thanks to his supporters on Patreon.
The Layer One Atom 2.0 is a Delta 3D printer from Taiwan – an island that’s smaller than all of the Netherlands and known for brands like Foxconn, ASUS, Gigabyte, TSMC, Lian Li, JMicron, Chi Mei, Acer… You get the idea.
It’s a very dense, high-tech environment, and chances are if you bought a phone, laptop or PC in the last 20 or so years, a large part of it’s components will have come from Taiwan.
So what does a 3D printer from that region look like? Well, very, very sexy, that’s for sure!
Layer One Atom 2.0 Review: Design & Features
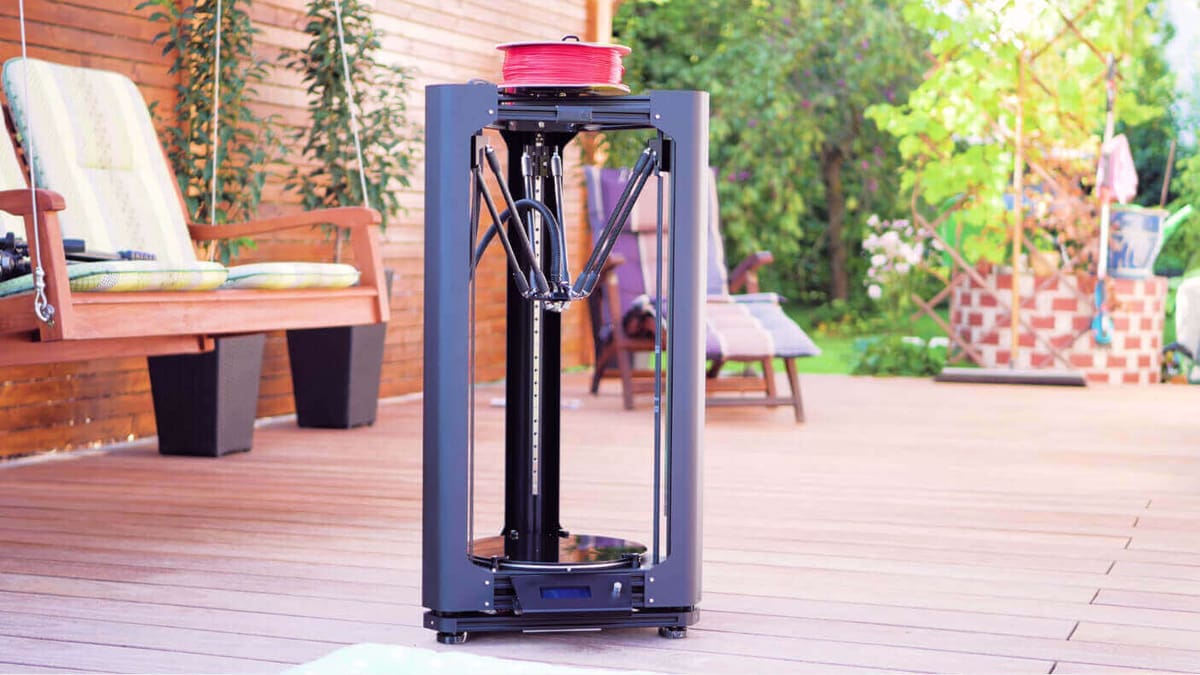
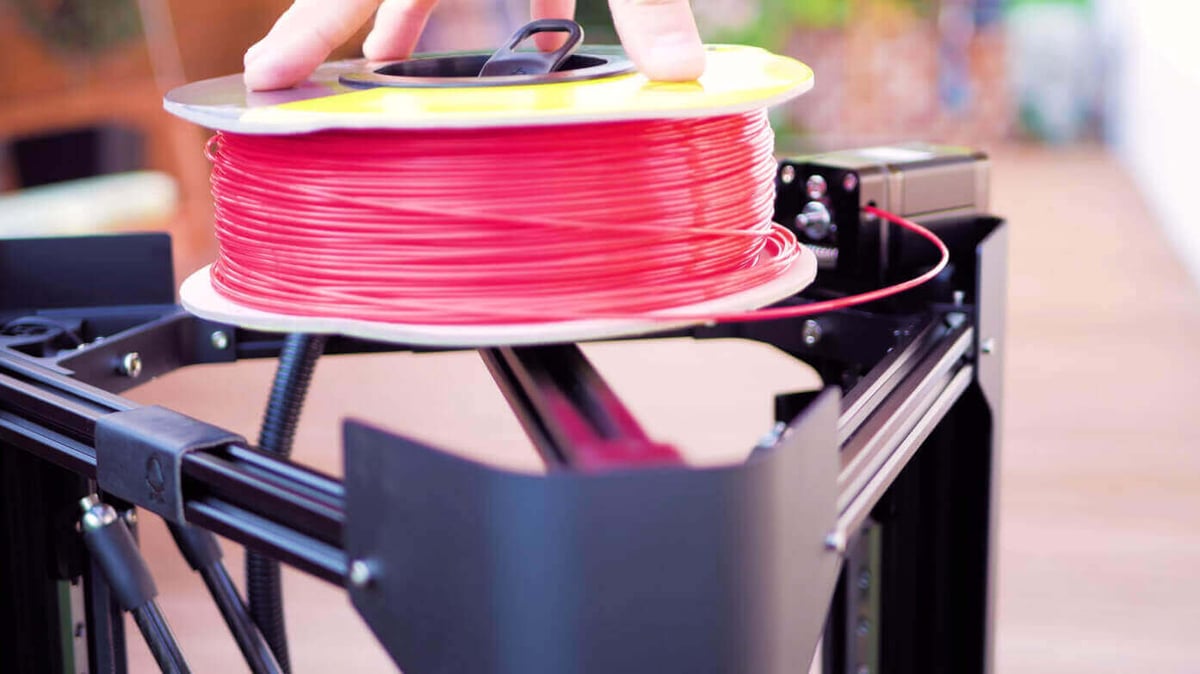
The Layer One Atom 2.0 is a 76 cm (30 inches) tall Delta 3D printer. It comes in this all-black stealth look, and the version I have here is completely tuned out with the optional heated bed, a nice spool holder, and the Atom shell which are these three shaped aluminum corner covers.
They add a bit of stiffness to the frame, accommodate acrylic enclosure panels, and hide the moving carriages a bit. It’s not like the Atom looks unattractive without these addons, it’s simply a bit slimmer and more bare to the bone.
The nominal printing envelope is a 22cm diameter by 32cm tall cylinder. Right now it comes with a single hotend, but a dual hotend is in development – who knows, maybe we’ll even see a two-in, one-out solution. They do sorta pitch their platform as somewhat modular anyways, with a swappable effector, which is also the only source file of the design that’s been posted so far.
Layer One themselves already offer a drop-in laser engraver with a 150mW diode laser, which is enough to cut some very thin, dark materials, or do engravings in things like leather or flat plastics.
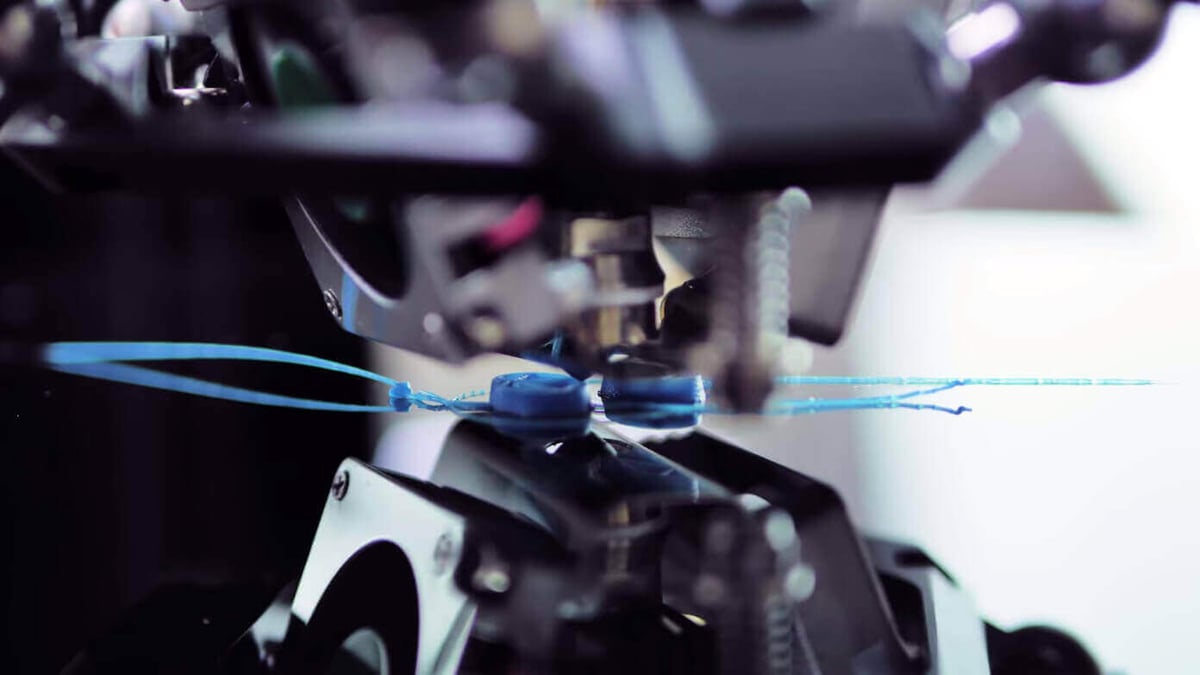
The effector that comes with this one is home to a single, hybrid metal hotend machined from titanium, with a very short melt zone and transition zone. It’s a completely custom design with a ceramic disc heater, a captive thermistor, and a 0.4mm nozzle.
While trying to get the printer running, I struggled with it a bit since it looked like there was something — maybe a metal chip from machining — stuck in the nozzle. But a cold pull with some Nylon took care of that.
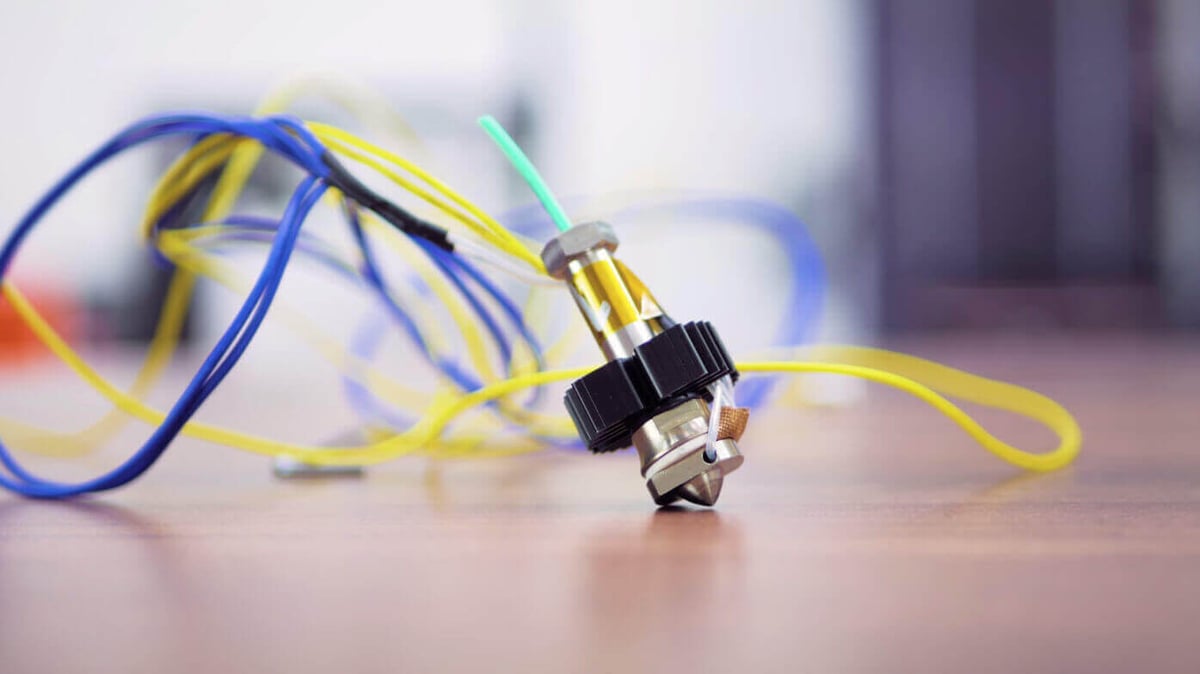
Like in the CEL Robox, the hotend also doubles as a bed probe, using a system I actually quite like. The lower half of the effector is a rigid aluminum piece, but the upper half is folded steel, bolted down on two points and only resting against the aluminum part on a third, which allows the hotend to slightly swivel up as it makes contact with the bed. And on that third spot, there is an adjustable switch that senses that motion and acts as an endstop.
So what you end up with is an auto bed leveling setup that does not require a separate sensor and measures to the exact height of the nozzle. And since the nozzle itself is machined from titanium, there shouldn’t be any wear or deformation from it tapping against the bed.
Moving on from the effector, the Atom is using these carbon fiber rods with nylon ends that are magnetically coupled to the carriage’s balls. I used to be a bit skeptical about magnetic ball ends since I was worried about them falling off. But the Atom’s magnet and ball joints only ever moved or disconnected if I tried to push the effector down by hand or increased the acceleration settings, but it never budged during normal use.
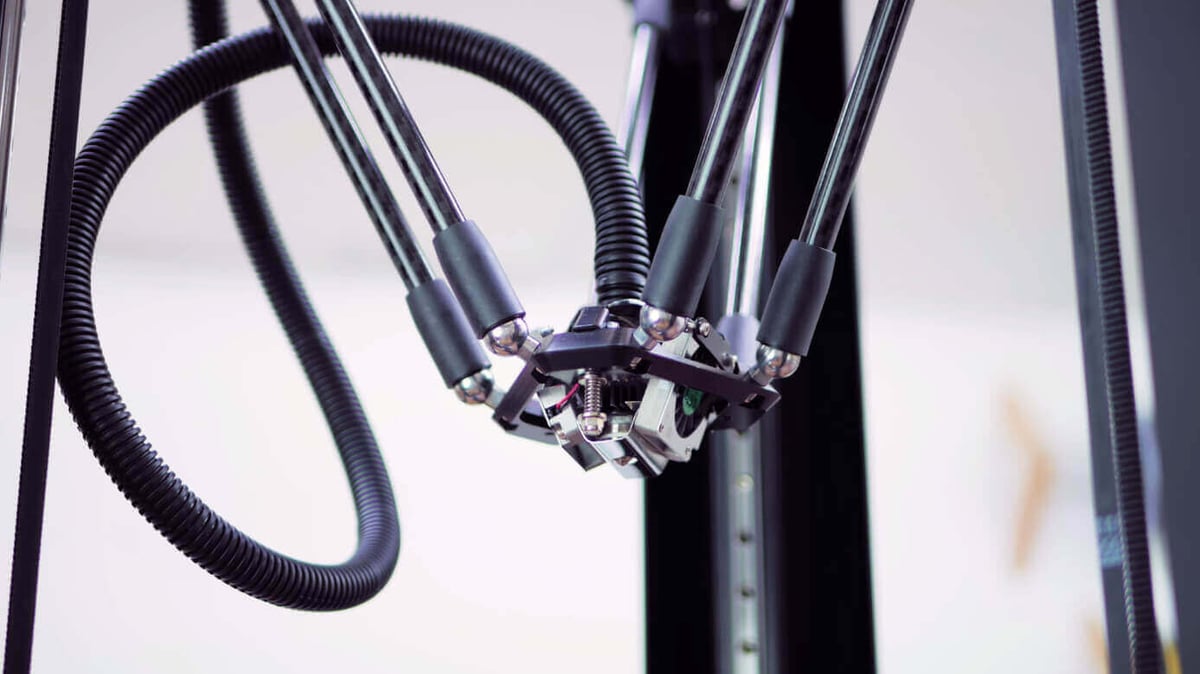
The three carriages themselves are also machined from aluminum and ride on these THK linear rails, which makes for an overall very rigid and precise linear motion system. The GT2 belts are clamped with these awesome aluminum couplers that make belt tensioning easy without introducing any extra softness to the motion system.
And I keep talking about how a delta or a Cartesian machine can both be very good platforms for a 3D printer as long as they are built well. And mechanically, the Atom 2.0 is definitely on the “built well” side here. The entire frame is super stiff and there is no slop or wobble in the joints or the effector, or anywhere else in the motion system. You can definitely see this in the print results, which show practically no artifacts from ringing or backlash.
And the way the Atom is configured, when it comes to firmware settings like acceleration or jerk, definitely prefers reliability and quality over pure speed and quantifiable and advertisable numbers as well. But that doesn’t mean the Atom won’t be able to reach higher print speeds. In fact, I randomly decided at some point “well, what would happen if i just now crank up the print speed to 200mm/s” and it handled it mostly okay.
The sensible acceleration limits kept speeds low for small details or curved surfaces where higher speeds would eat up your print quality, and for larger, straighter sections, the higher top speed did accelerate the print overall without much of a difference in overall print quality compared to the default 30 to 60mm/s speeds. However, one of the prints at these speeds showed a skipped step, so it’s probably best to stick to the defaults.
Surprisingly, the entire printer is still run by an 8-bit processor, which does handle the delta motion itself without a hiccup, but does struggle when you try to use the LCD display during a print. A 32-bit board would make a bit more sense for a Delta, and in the near future, this exact Atom 2.0 will be home to one of those.
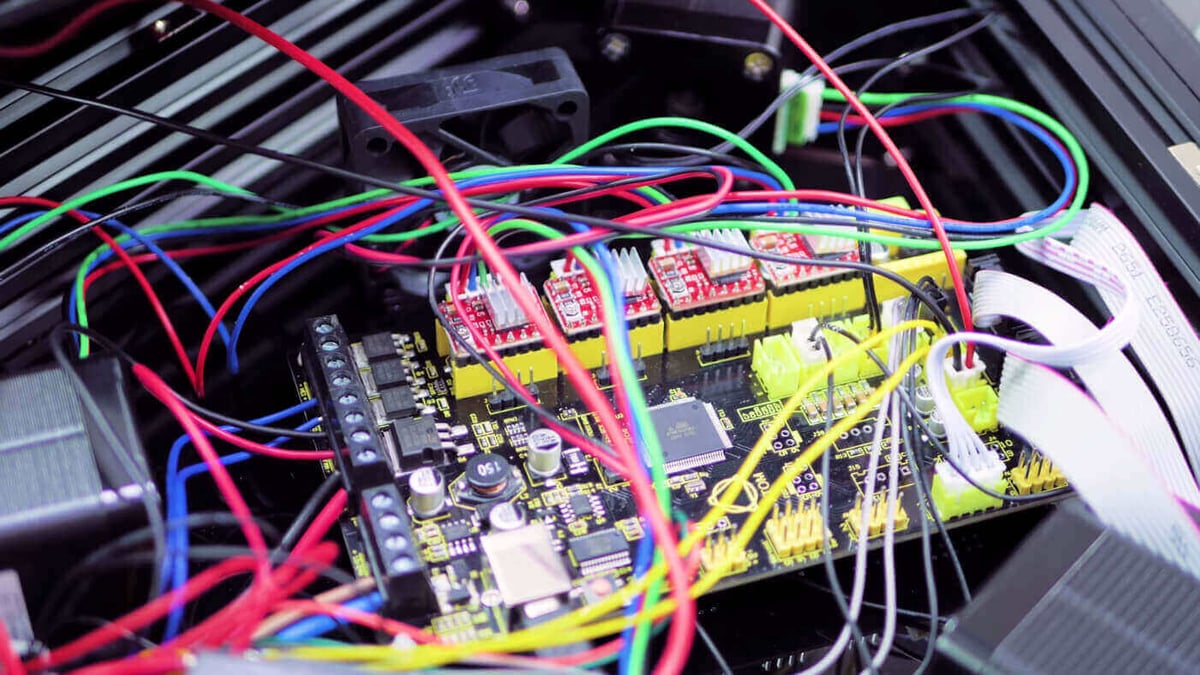
The mainboard out of the box is an Atom-branded one which is probably based on one of the MKS boards. And surprisingly, the heated bed upgrade does not use the board’s MOSFet intended for that exact purpose. Instead it adds a solid state relay to control the bed’s power lines. I guess it works, but i feel like simply using a better MOSFet on the board would have been more reasonable and overall cheaper, as well as more efficient.
Layer One Atom 2.0 Review: Construction
So the Atom 2.0 comes as a kit and doesn’t require soldering or crimping or drilling things out — unless you damage the pre-crimped wires — and you do most of the assembly with a bunch of hex keys. While it took me 15 hours in a livestream to assemble it, in a normal environment it would probably be more of a 5 to 10 hour task.
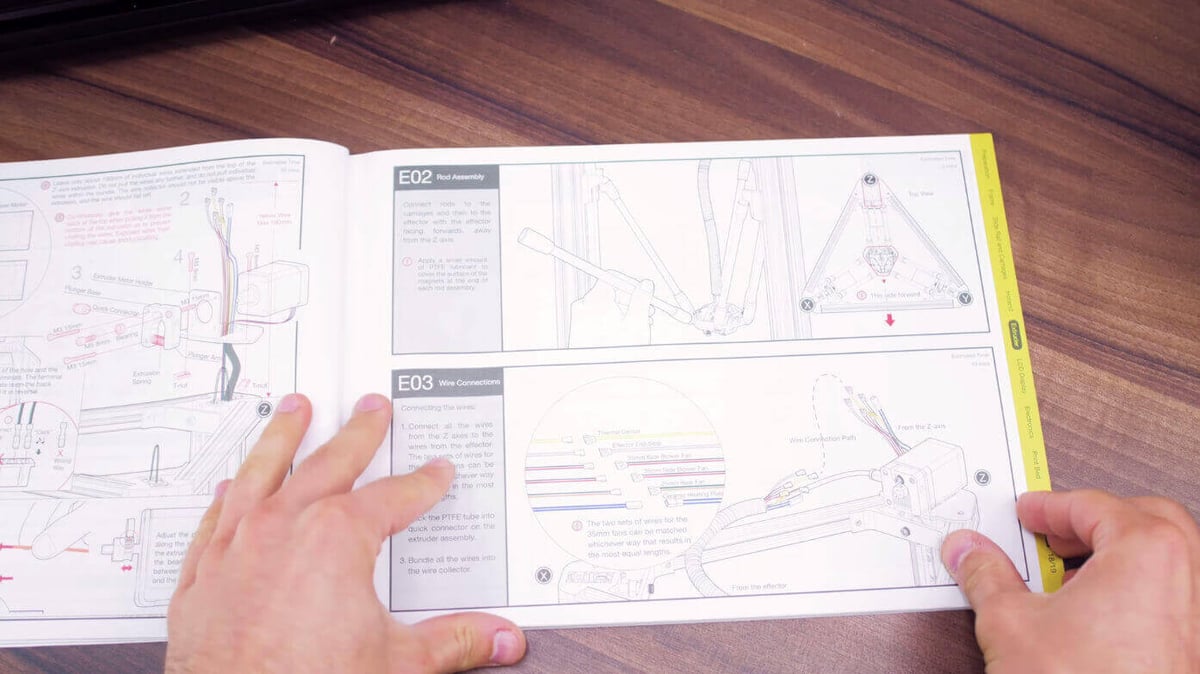
The manual is very detailed with good illustrations for each step – probably even a bit too detailed for me personally – but it does cover all the steps that take you from a bunch of individual parts to a finished and working machine.
What could still use some work, though, are the included slicer profiles. Sure, you can get a profile for the old Cura (and soon even for the new Cura), as well a ready-to-go KISSlicer zip, but it’s all just for one PLA material and one layer height. So at the moment you still need to go in and optimize each material and layer height yourself unless you’re happy with the defaults.
On the topic of materials, the Atom 2.0 is mostly intended for PLA, and while it does print the easier PETs like TGlase well, the hotend’s default PID tune does struggle to keep it steady at higher temperatures. Also, the PTFE parts in the hotend also mean that you probably shouldn’t take it much higher than, about 240°C to 250°C.
There are a few more kinda nitpicky issues I have with the Atom 2.0. No dealbreakers, but room for improvement. So with the heated bed upgrade, you get a larger Meanwell power supply instead of the external power brick you’d use with the unheated version.
However, the IEC plug you get to wire to the power supply doesn’t have its ground a.k.a. protected earth pin connected, which gives the entire metal printer frame that tingly, electric feeling when you run your fingers over it — since it now has a capacitive coupling to the live phase.
(You can sometimes feel the same thing on Macbooks, by the way, which also use power supplies without a protected earth pin.)
Also, the heated bed is rather slow to heat up and cool down, since it’s a round PCB heater stuck to an aluminum plate, which in turn seats the glass build plate.
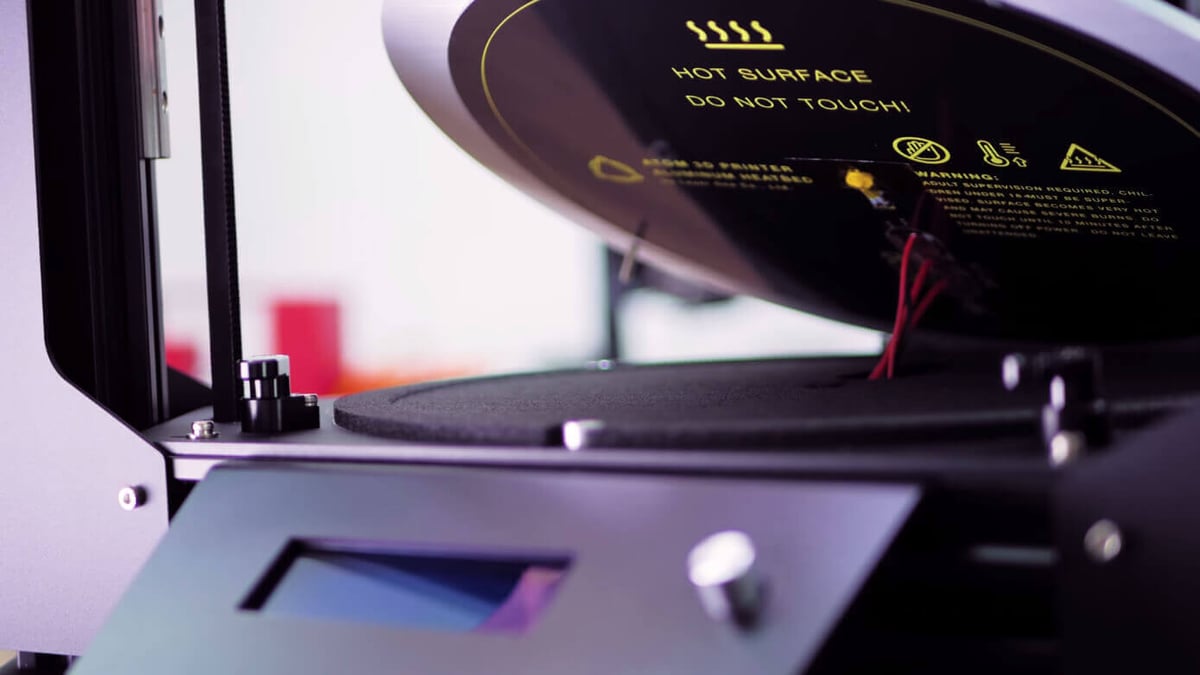
On the flipside, though, that makes the glass build plate easy to remove and reinstall, and PLA sticks wonderfully to the glass as long as you make sure to clean it properly.
Then, as I’ve mentioned before, everything in here runs off of an 8 bit processor, plus a text-only LCD, which feels out of place for a Delta 3D printer at this price point.
Layer One Atom 2.0 Review: Print Quality
The prints, while looking really good overall, do have visible microstepping artifacts. These are particularly noticeable on translucent prints, and they’re of course not aligned with the X, Y and Z axis of your part, but following the delta’s own coordinate system.
Maybe 0.9° motors instead of these oversized 1.8° ones might have helped here. Or maybe just swapping out the Allegro drivers with some Trinamic ones.
Also, the extruder with its aluminum hobbed gear doesn’t perform exceptionally well in combination with the specific hotend, which does feel like it’s a bit harder to push filament through compared to other hotends on a bowden tube.
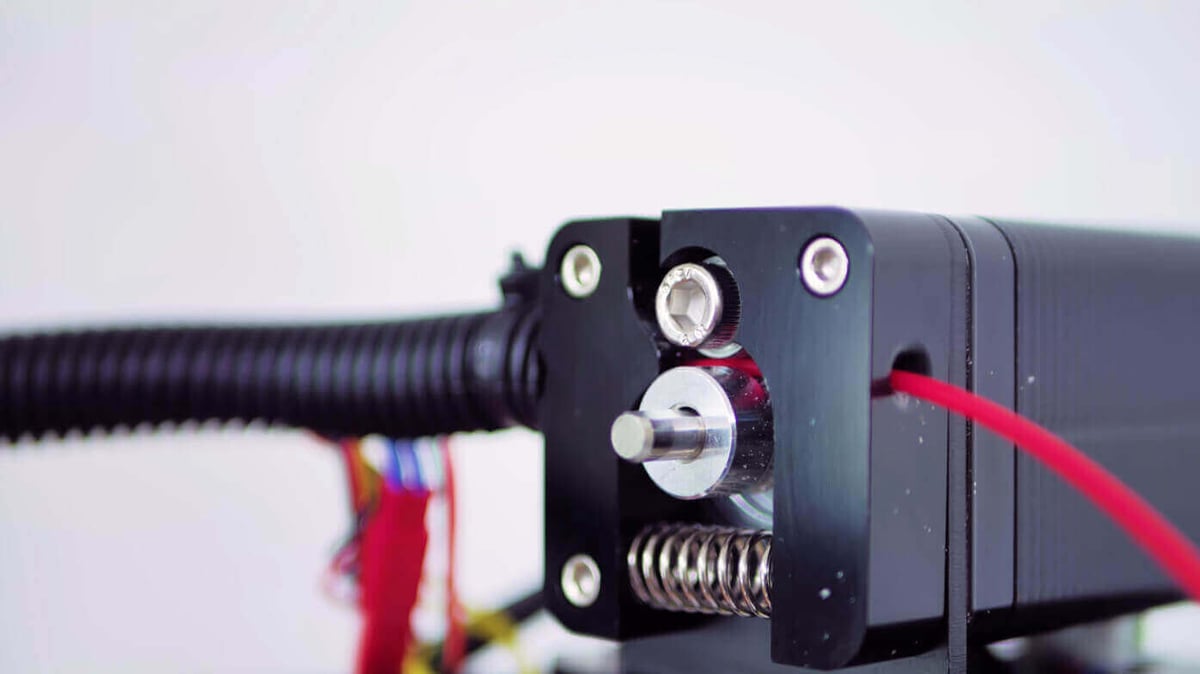
The combination works on most prints, but I’ve had it slip and grind as soon as the filament spool showed any sort of resistance or I used large layers relative to the print speed — which means a higher filament flow rate — so you can sometimes make out extruder artifacts on faster prints.
And while Layer One do recommend you adding printed bowden clips to the couplers and little fan shrouds to the part cooling fans, these aren’t included straight out of the box for whatever reason. The bowden clips do make a huge difference to the print quality, since they make the bowden system more direct and reduce retract artifacts!
And just small things like having to use these spring clips, which failed after a few prints, to run both part cooling fans from a single output… Also, having tinned wires going in screw clamps, which can be sorta dangerous in the long run.
But to be honest, in the end, it works! These little issues are all something you can either fix while building or upgrade down the road if you want a better experience out of the Atom 2.0.
Print quality is well above average, anything from 250 to 50µ layers works consistently, and the 50µ layer print has actually been the best low-layer-height print I’ve ever produced on any printer.

With glossy and straight-walled parts, you do see those Delta resolution artifacts, but they are mostly cosmetic and also basically disappear on more organic shapes.
It’s not the fastest machine either, and I’ve had comments that it’s still slow for a delta at the higher print speeds. But to honest, I don’t really care about that much since I’ll always prefer a single, clean print to several prints that all don’t look as nice.
And stuff like the strings you’re still seeing on some parts are simply the result of the supplied slicer profiles, which i know Layer One are already working on improving.
Layer One Atom 2.0 Review: Recommended Setup
So price-wise, the Atom 2.0 starts at $1,699, but I would always recommend going for a heated bed, since it makes printing so much more comfortable and reliable (even with PLA).
That adds another $349 to the base price, which includes the power supply, heated bed itself, new bed clips, the power input panel and the frame extension. By default, the frame isn’t quite as tall and ends right here. To be honest, that is slightly expensive for a heated bed.
Once you factor in shipping and such, it’s solidly past $2,000, which I feel is justified for the hardware, since it’s all metal and custom machined and sexy… But it’s still a kit, and it’s still not super perfect in every single regard.
If you also want the Atom Shell, that’s another $139, for the spool holder add $39. Well, you could also use this crossbrace and just stick that through your filament roll.
Oh and for filament, their $29 per kilogram PLA actually prints pretty darn well on this and on other machines.
Layer One Atom 2.0 Review: Conclusion
So where does that leave the Layer One Atom 2.0? Well, overall it’s a super sturdy machine that does print well.
While there are a few detail issues that still need to be fixed, it is still a well-thought-out, attractive machine that works “as is”, but still leaves you with some room to grow if you want to start upgrading it.
The things the Atom 2.0 already does well it does really well, which is something I prefer over having a machine that is mediocre at everything.
Now, the people at Layer One were happy about my feedback and criticisms – at least that’s what they told me – but there will be an Atom 2.5 coming out in the next few months.
I will be doing an update on what changed compared to the Atom 2.0, but from what I’ve been told, many of the things I’m criticizing here will be fixed in the 2.5.
License: The text of "Stealth Black: Layer One Atom 2.0 Delta 3D Printer Review" by All3DP is licensed under a Creative Commons Attribution 4.0 International License.