Featured image of Cura: Horizontal Expansion – Simply Explained
Expanding Your 3D Toolbox
Cura: Horizontal Expansion – Simply Explained

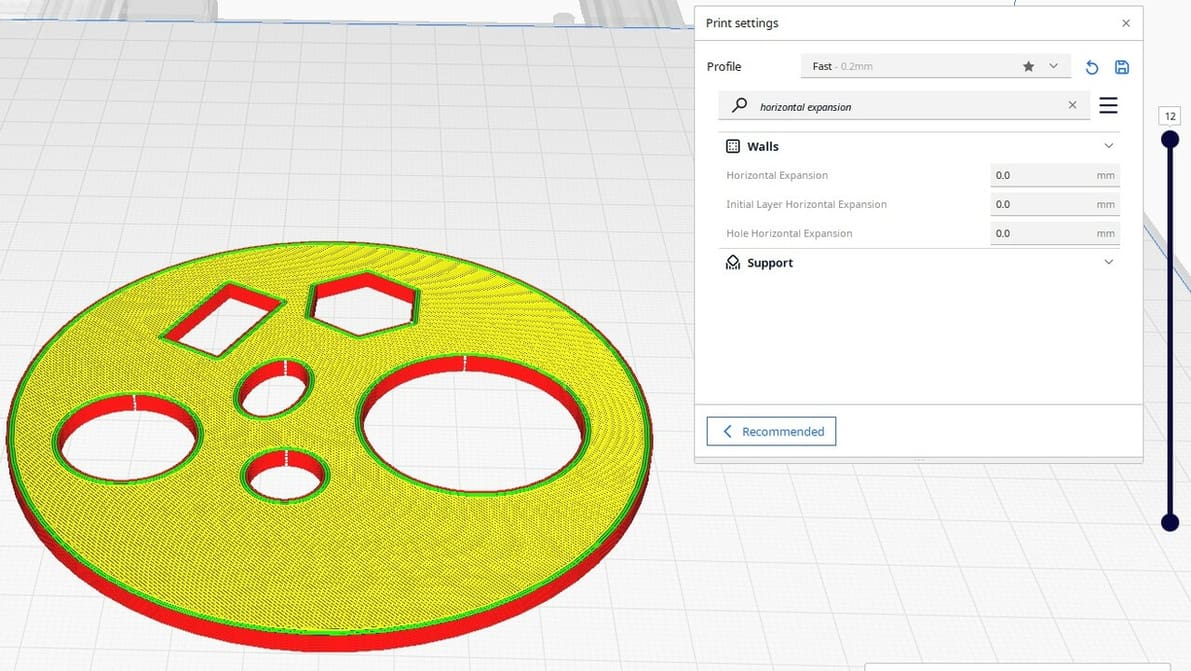
Cura Horizontal Expansion settings can fix dimensional inaccuracies and cure elephant's foot. Read on to learn more!

by Brian Leonard
Featured image of Cura: Print One at a Time – Simply Explained
One Benchy at a Time
Cura: Print One at a Time – Simply Explained

Cura's print "One at a Time" slicer setting can be super handy. Read on to learn how it works, how to use it, and more!

Featured image of The Best Anycubic Kobra Neo Cura Profile / Settings
Fast & Precise Kobra
The Best Anycubic Kobra Neo Cura Profile / Settings

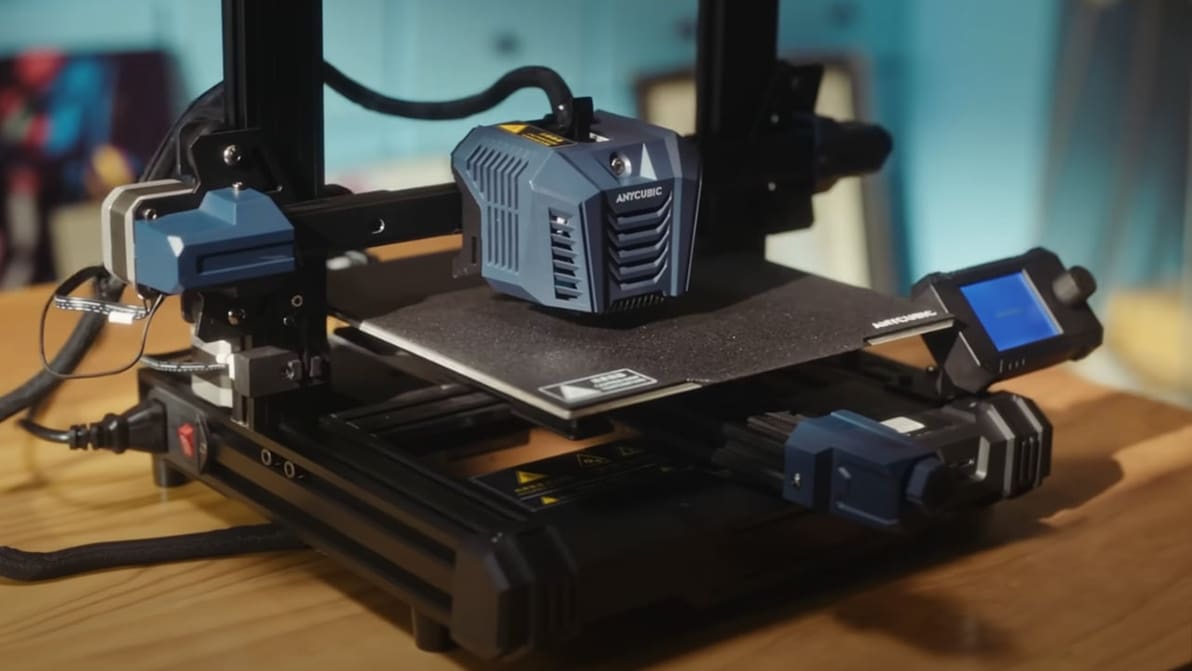
Looking for the perfect Anycubic Kobra Neo Cura profile? Read on for settings that will help ensure perfect prints, every time!

by Gloria E. Magarotto
Featured image of Lithophanes with Cura: Easy Tutorial (incl. Best Settings)
From Digital to Physical
Lithophanes with Cura: Easy Tutorial (incl. Best Settings)

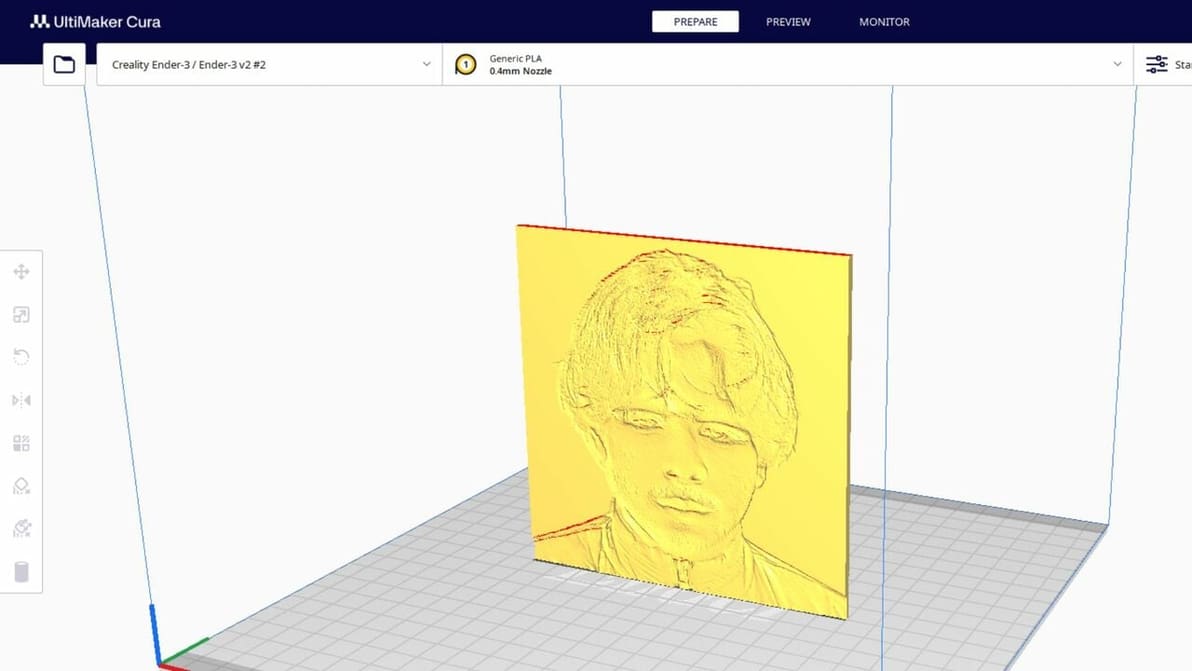
Lithophanes turn digital pictures into tangible ones that you can see when light shines through. Check out how to make a lithophane in Cura!

by Priyank Pal
Featured image of Cura: Support Z Distance – Simply Explained
Lean on Me
Cura: Support Z Distance – Simply Explained

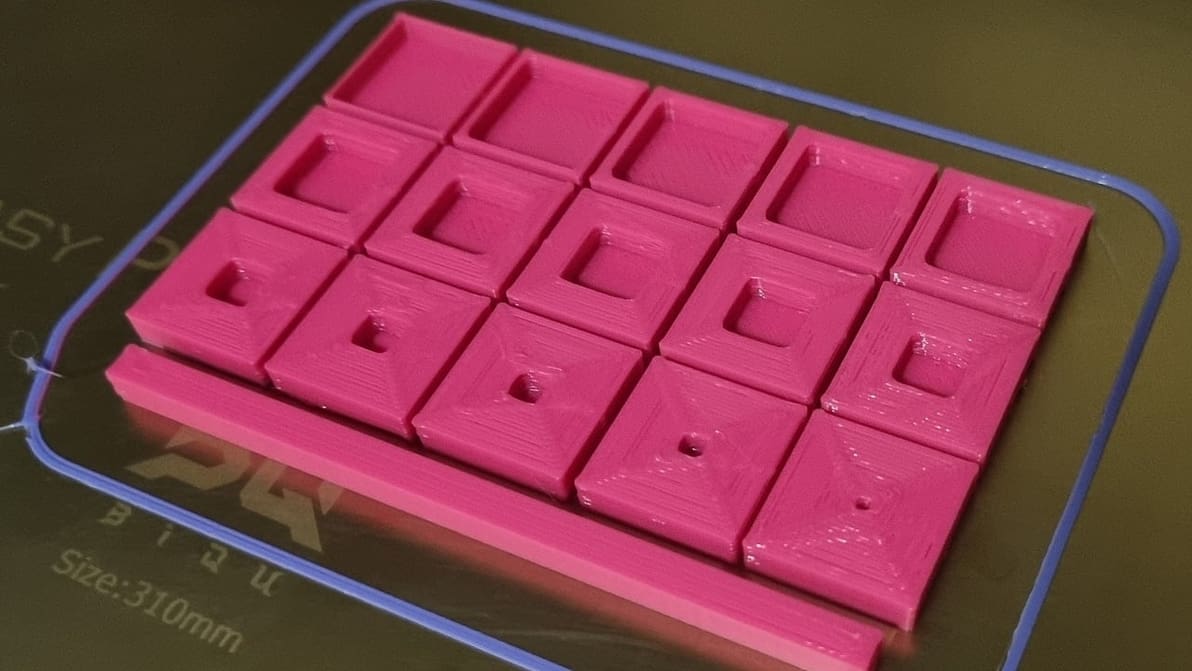
Support Z Distance in Cura can make removing supports a breeze! Read on to learn about this setting and how to tune it for your prints.

by Vincent Reitinger
Featured image of How to Optimize Cura Support Settings
Support Your Supports
How to Optimize Cura Support Settings

Cura offers a powerful range of settings to play with. Learn about the main Cura support settings and how to best support your prints.

Featured image of The Best Creality K1 Cura Profile / Settings
Set Your K1 Up for Success
The Best Creality K1 Cura Profile / Settings

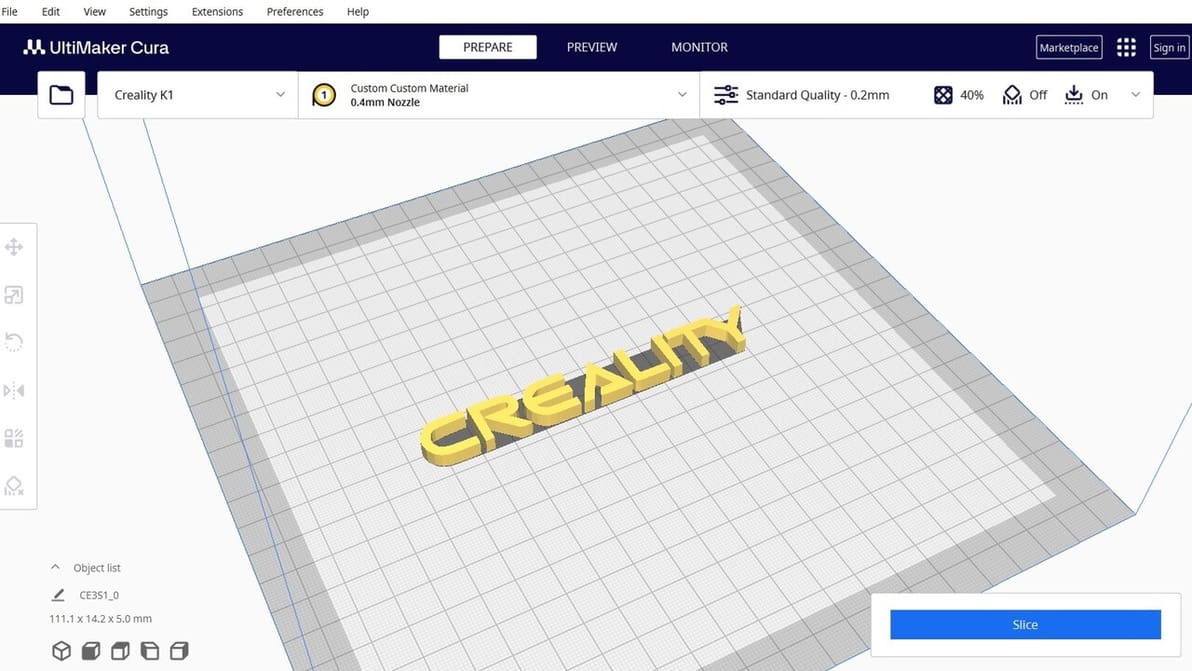
Looking for the perfect Creality K1 Cura profile? Check out these settings and unleash the lightning-fast potential of your Creality K1!

by Timothy Solomon
Featured image of Cura: Combing Mode – Simply Explained
No Strings Attached
Cura: Combing Mode – Simply Explained

In Cura, combing is an important setting that reduces retractions and can prevent stringing. Learn how you can use combing mode in Cura!

by Jackson O'Connell
Featured image of How to Connect Cura to OctoPrint – 2 Simple Steps
Slice & Send Sans SD Card!
How to Connect Cura to OctoPrint – 2 Simple Steps

Connecting Cura to your OctoPrint server has never been simpler. Here's all you need to know to connect Cura and OctoPrint!

Featured image of Cura Adaptive Layers – Simply Explained
Cura's Evolving
Cura Adaptive Layers – Simply Explained

Cura's adaptive layers feature uses varying layer heights to achieve increased detail while reducing print time. Read on to learn more!

by Jackson O'Connell
Advertisement
Advertisement
Featured image of Cura Tree Support: All You Need to Know
Branch Out
Cura Tree Support: All You Need to Know

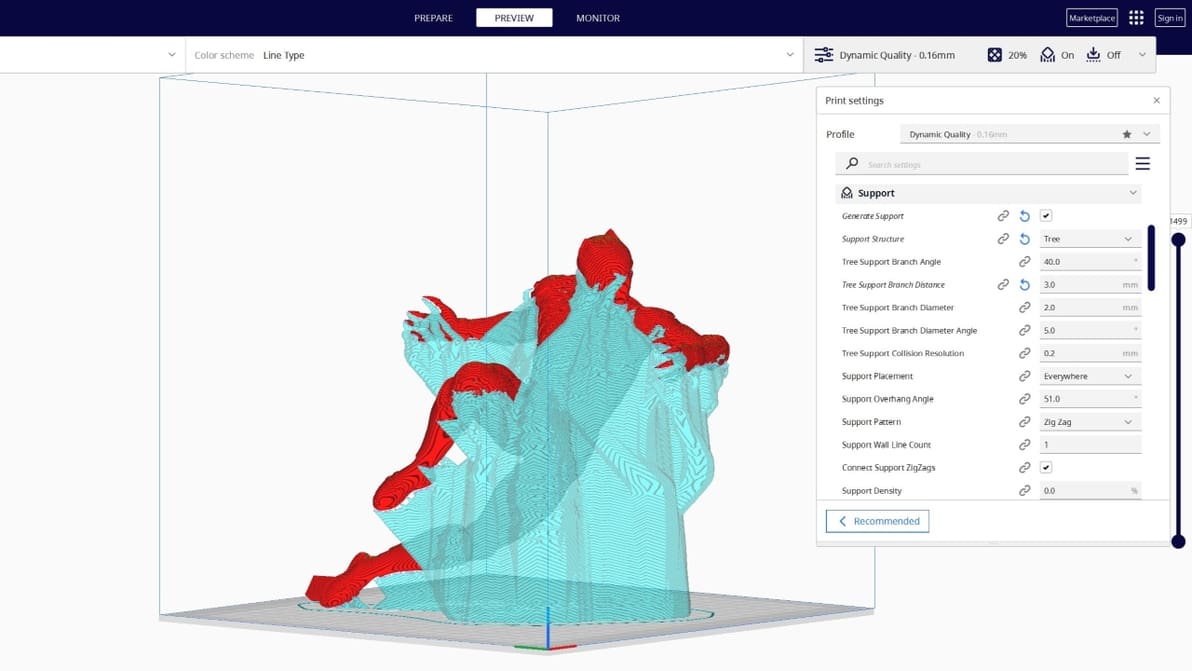
Tree supports are efficient and tidy. Find out why the Cura tree support setting is one of our favorite 3D printing tricks.

by Pranav Gharge
Featured image of The Best Cura Plug-ins of 2024
Icing on the Cake
The Best Cura Plug-ins of 2024

Plug-ins for UltiMaker's Cura take an already great slicer to a whole new level. Check out our top picks for the best Cura plug-ins!

Featured image of Creality Slicer vs Cura: The Differences
Slicing Software Showdown
Creality Slicer vs Cura: The Differences

Creality Slicer vs Cura: slicing through the noise to find your perfect 3D printing partner! Read all about how these slicers stack up.

by Priyank Pal
Featured image of How to Set Up Linear Advance in Marlin
Under Pressure
How to Set Up Linear Advance in Marlin

Linear advance can predict nozzle pressure for more consistent extrusion. Read on to learn how to set up linear advance in Marlin!

by Jackson O'Connell
Featured image of Cura Coasting Settings: Simply Explained
The Coast Is Clear
Cura Coasting Settings: Simply Explained

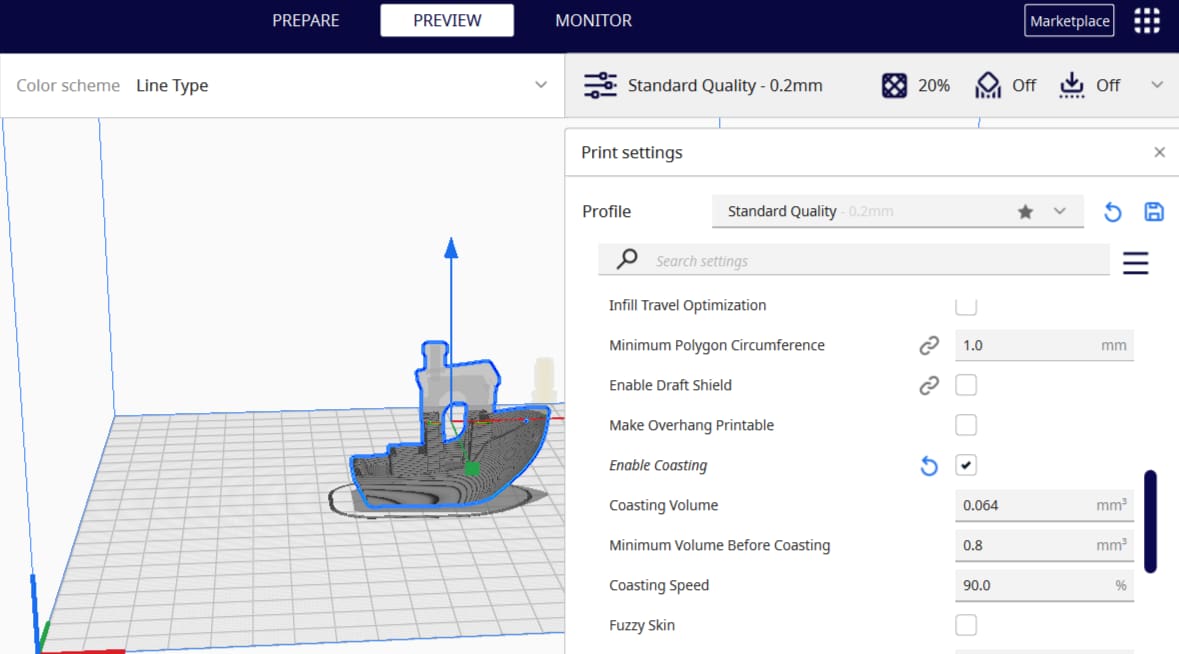
Cura is a 3D slicer with some very neat features. Keep reading to learn about the best Cura coasting settings and see what they can do!

by Pranav Gharge
Featured image of The Best Anycubic i3 Mega Cura Settings / Profile
One Tweak at a Time
The Best Anycubic i3 Mega Cura Settings / Profile

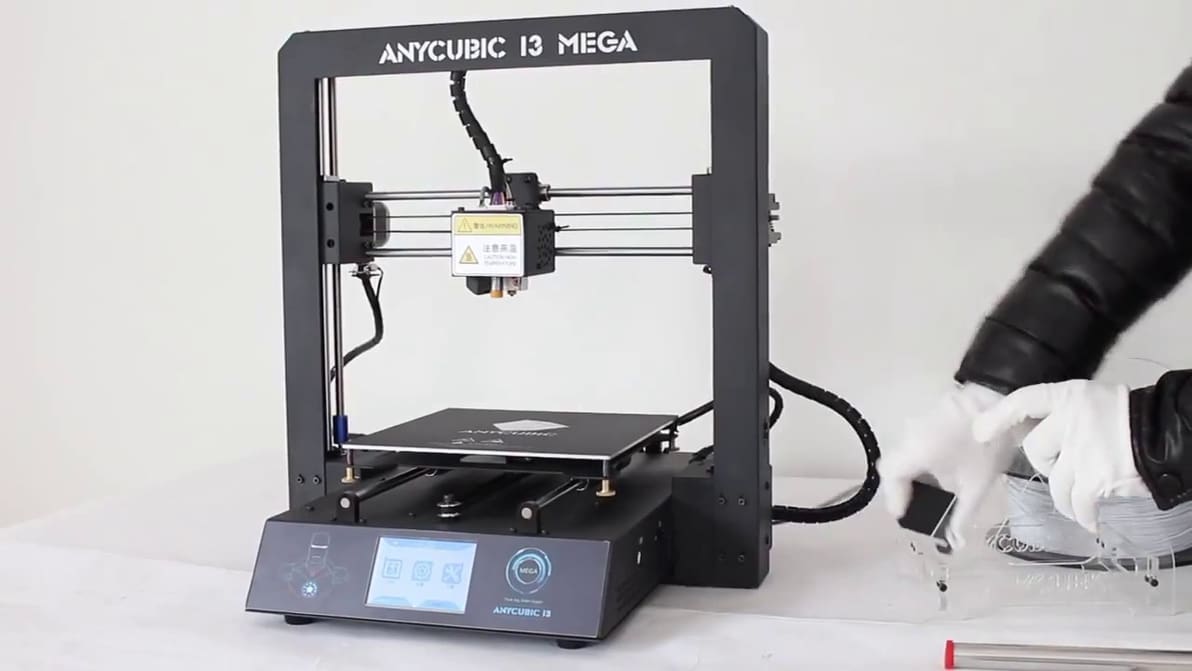
Looking for optimal Anycubic i3 Mega Cura settings? Here is what we suggest as the best Cura Anycubic i3 Mega Cura profile.

by Leo Gregurić
Featured image of Cura: Z Offset – Simply Explained
Cura Offset from A to Z
Cura: Z Offset – Simply Explained

Z offset control can be useful in a number of ways, including printing on top of an object. Learn how to adjust Cura's Z offset setting!

Featured image of Cura: Outer Wall Wipe Distance – How to Use This Setting
Flawless Z Seam
Cura: Outer Wall Wipe Distance – How to Use This Setting

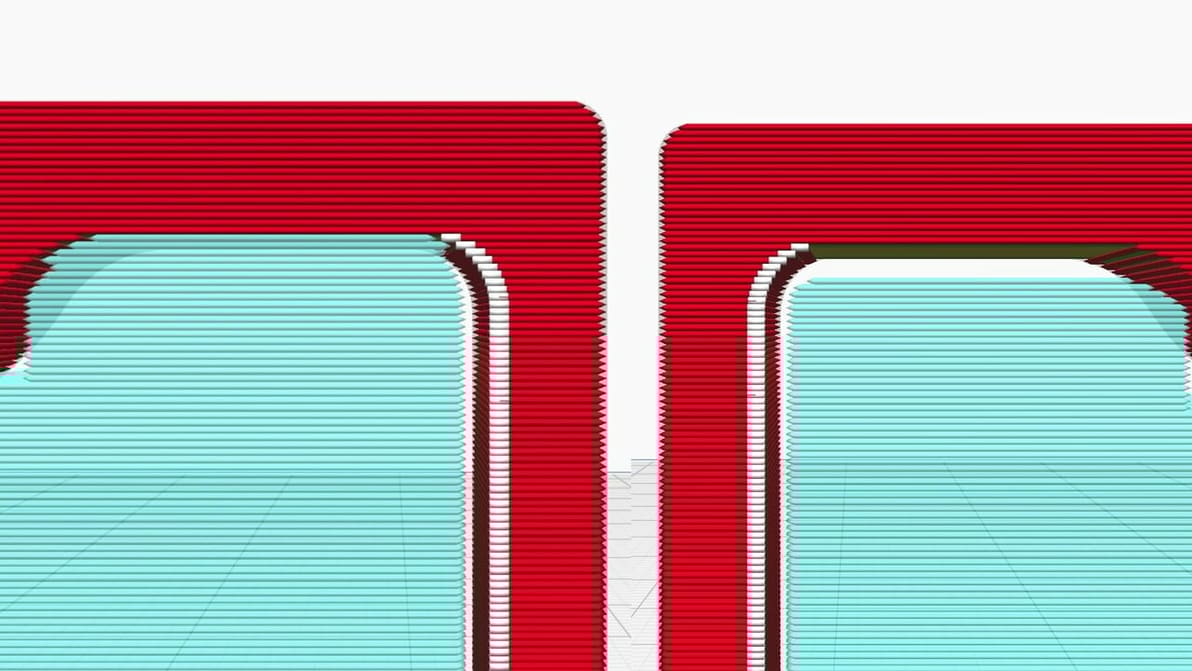
Z seam issues can make or break a 3D printed part. Check out how to reduce your print's Z seams by changing Cura's Outer Wall Wipe Distance.

by Gabriel Boyd
Featured image of Cura: Honeycomb Infill – How to Get It
Buzz, Buzz, Buzz
Cura: Honeycomb Infill – How to Get It

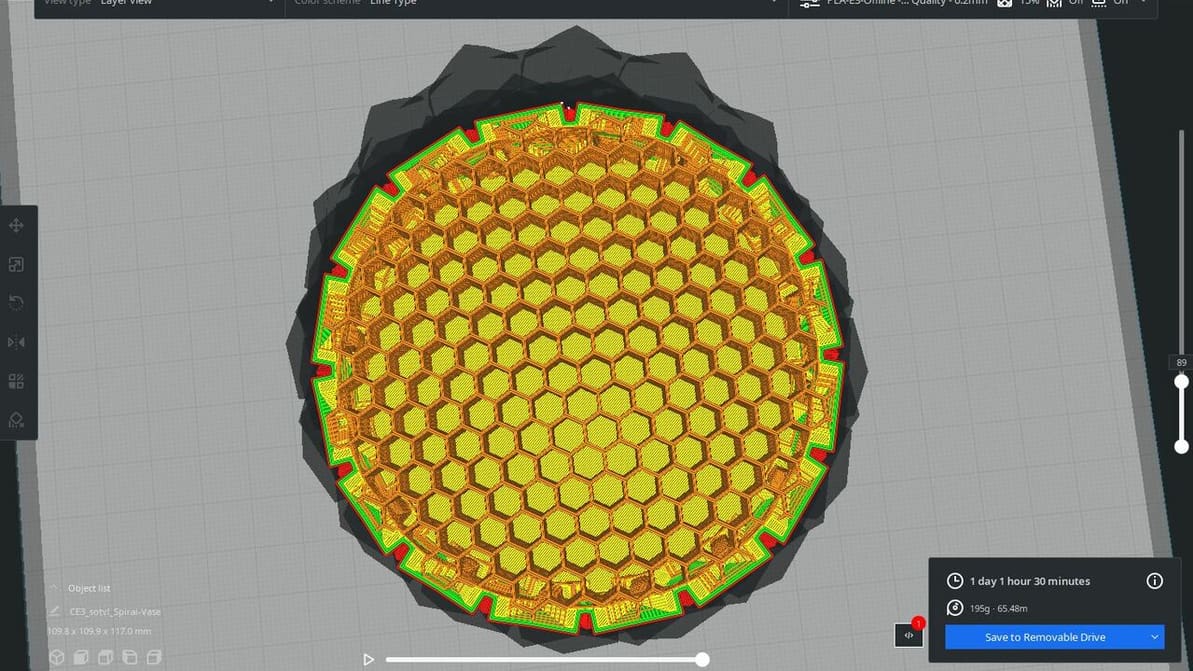
Ultimaker Cura comes with many great features but lacks a honeycomb infill pattern. Read on for a hack to get Cura honeycomb infill!

by Jackson O'Connell
Featured image of 3D Printing Shells: All You Need to Know
Those Walls Be Thick!
3D Printing Shells: All You Need to Know

3D printing shells are more important than you might think. Read on to learn more about how they affect your model's strength and stability!

by Che Simons
Advertisement
Advertisement