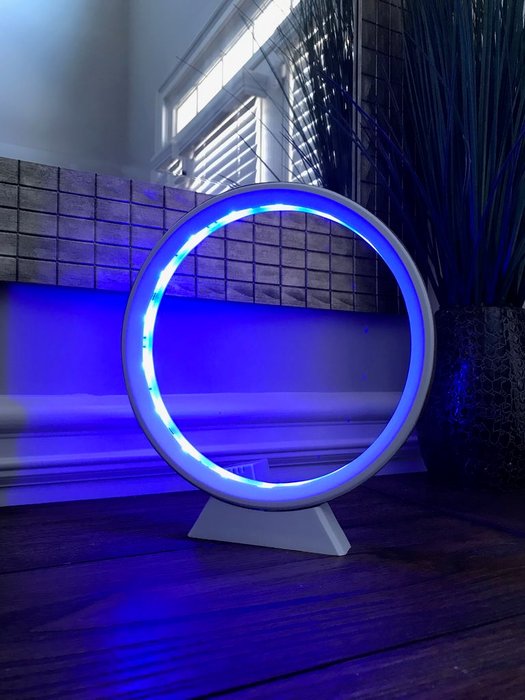
This weekend, we’re looking back at a 3D printed LED ring lamp created by designer and maker “adylinn”. This light fixture is stylish and easy to make, and even has a walnut wood veneer finish on the outside!
We’ve seen a number of lamps and light fixtures created with 3D printing, but we oftentimes find that the best results come when the technology is melded with other techniques. One of the most popular 3D printing projects on the DIY-centric website Instructables is the LED Ring Lamp, a 3D printed light design that has a smooth wood veneer finish.
Believe it or not, with just some LED lights and post-processing paints and tools, these type of objects are quite simple for novice makers to take on, and will really spruce up your home. And so, for today’s Weekend Project, we’ll look at the LED Ring Lamp, created by Instructables user “adylinn”, and show you just how easy it is to make a decorative lamp that will have visitors asking: ‘what section of Ikea did you find that amazing furnishing in?!’
Originally shared with the maker community in 2017, the LED Ring Lamp has gained recognition for its minimalist design and sleek wood finish. Let’s take a look at what you need and how to create this project on your own.
3D Printed LED Ring Lamp: What do you Need?
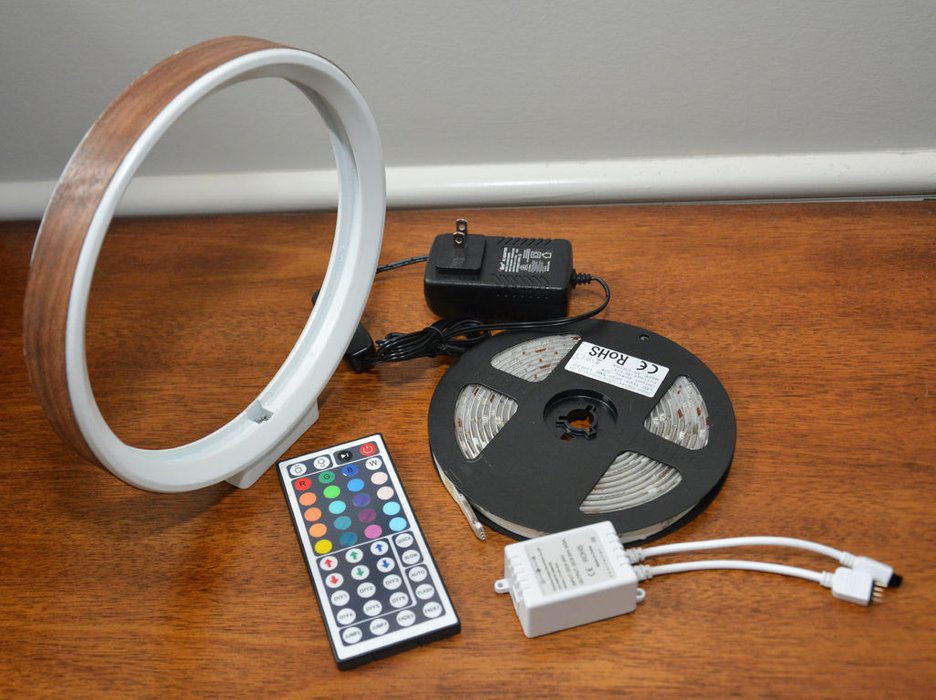
First and foremost, you’ll need the STL files for the 3D printed parts of the LED lamp. This includes the base and the ring of the lamp, both of which can be downloaded from the project’s Instructables page. The specific filament choice is not important here, so feel free to experiment with different colors and types.
Aside from that, here’s what else you’ll need to build your own 3D printed LED Ring Lamp:
- Primer
- White Spray Paint
- Clear Coat
- Walnut Wood Veneer
- Linseed Oil
- Glue
- Sanding Paper
- RGB LED Light Strip
3D Printed LED Ring Lamp: Putting it Together
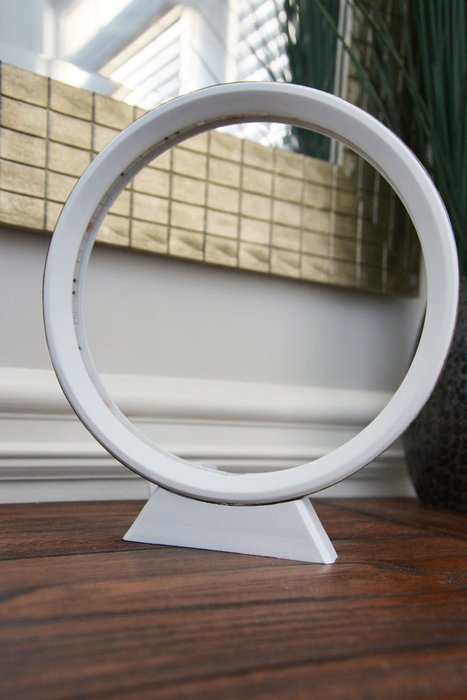
The assembly process for the LED Ring Lamp isn’t very difficult, but will require a fair amount of spray painting, so be sure to prepare an open or well-ventilated environment to work within. The first step is to 3D print the ring and the base, which adylinn recommends using a 0.2mm layer height and around 15-20 percent infill, as well as support structures and a brim.
Once the support material and brim are removed, you’ll begin sanding the 3D printed parts, starting with a low grit and slowly working your way up. After drying and smoothening out the parts, apply an even coat of primer. Repeat the sanding and wiping process once more before painting the 3D printed ring and base with whatever color you desire. Lastly, add a clear coat of spray paint as soon as the colored spray paint has finished drying.

The next step is to wrap the walnut wood veneer around the 3D printed ring. Start by measuring how much you need to make it around the entire ring and cut it a bit longer than you need. To apply the wood around the lamp, you’ll need a clothing iron (with no water inside). Heat up the iron and wrap the wood around the ring, using the iron to melt the adhesive and stick to the 3D printed ring.
“The general speed to avoid scorching wood is 2 inches per second but it seems to be quite tolerant of the heat. Do this until all veneer is glued onto ring,” adylinn explains on the project’s Instructables page.
When you have the wood veneer successfully attached to the ring, trim up the excess and make sure the entire finish is fully attached to the outside of the lamp. Apply the linseed oil to the entire veneer finish and allow it to sit for 10-15 minutes.
The final step is to mount the LED strip on the inside of the 3D printed ring. Again, measure and cut the LED with a bit of excess, then feed the strip into the base and connect it with the power connector. Use the adhesive to attach the LED strip, route the wire outside of the back of the base and plug it in. That’s all there is to it! Now you have yourself a sleek and modern 3D printed lamp with a classy wood veneer finish.
To learn more about the project, be sure to check it out on Instructables.
License: The text of "[Project] 3D Printed LED Ring Lamp with a Wood Veneer Finish" by All3DP is licensed under a Creative Commons Attribution 4.0 International License.